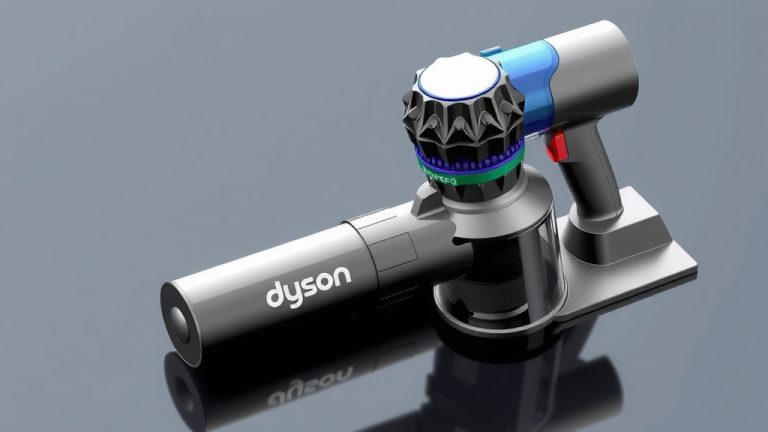
How to Disassemble a Dyson DC07 Vacuum [Step-by-Step Instructions]
Ever found yourself staring at your Dyson DC07, wondering if you can somehow take it apart and give it a thorough clean or repair a broken part? Disassembling a vacuum might seem like rocket science, but fear not! Like peeling layers off an onion, we’ll break down the steps to simplify it for you.
Tools Required
Before diving in, let’s gather what we need. Think of these tools as your trusty knights, ready to aid in your quest:
- Philips screwdriver
- Flathead screwdriver
- Soft cloth or towel
- Can of compressed air
Safety Precautions
Safety first, folks! Ensure you’re not in for a shocking surprise. Here’s how to stay safe:
- Unplug the vacuum and remove any visible debris.
- Work in a well-lit area.
- Keep small parts away from children and pets.
Understanding the Parts
Before you begin, it’s essential to familiarize yourself with the DC07’s components—like getting to know characters in a novel before understanding the plot.
Main Components
- Body of the vacuum
- Dust container or bin
- Filter compartment
- Brush bar and belt
- Hose and wand
Disassembly Steps
Let’s embark on the journey to disassemble the Dyson DC07. We’ll break it down into manageable bits, like a jigsaw puzzle:
Step 1: Dust Bin and Cyclone
Start by removing the dust bin and cyclone. Press the release catch to detach the bin, empty it, and place it aside.
Step 2: Filter
Next, open the filter compartment by unclipping the locking mechanisms. It’s like popping the hood of a car!
Step 3: Hose and Wand
Detach the hose from the main body. This part can be a bit tricky, so be gentle to avoid any damage.
Step 4: Brush Bar and Belt
Flip the vacuum over to access the brush bar and belt. Use the screwdriver to unlock the brush bar housing and remove it carefully.
Step 5: Cleaning and Maintenance
With the parts separated, now’s the time to clean. Use the compressed air to blow out dust and debris, wipe parts with a cloth, and ensure the filters are spotless.
Reassembling Your Dyson DC07
Think of this as putting Humpty Dumpty back together again, but with much more success!
Step 1: Brush Bar and Belt
Reinstall the belt and brush bar—ensure the tension is adequate before securing it back into place.
Step 2: Hose and Wand
Snap the wand and hose back into their respective positions, making sure everything clicks together snugly.
Step 3: Filter
Close the filter compartment securely. It’s the cherry on top of your vacuum pie!
Step 4: Dust Bin and Cyclone
Finally, reattach the dust bin by aligning it and clicking it into place.
Conclusion
And there you have it—a fully disassembled and reassembled Dyson DC07. By following these step-by-step instructions, not only have you cleaned and potentially repaired your vacuum, but you’ve also gained confidence in understanding how it all fits together. Next time, disassembly won’t feel like deciphering an ancient scroll.
FAQs
Q: What should I do if my DC07 doesn’t turn on after reassembly?
A: Double-check all connections and ensure the components are seated correctly. Check the power source and try resetting the machine.
Q: How often should I clean the filters?
A: Dyson recommends cleaning the filters every three to six months, depending on usage.
Q: Can I replace parts of the DC07 myself?
A: Yes, many parts like the brush bar and hose can be easily replaced by following similar disassembly steps.
Q: What if the vacuum has lost suction?
A: Check for blockages in the hose or filters and ensure there’s no significant wear on the brush bar or belt.
Q: Is it okay to wash the filter with water?
A: Yes, the pre-motor filter can be washed with cold water. However, ensure it is totally dry before reinserting it.
This article is structured to provide clear, step-by-step guidance on how to disassemble a Dyson DC07 vacuum, making use of HTML formatting suitable for WordPress publication. Each section builds on the next, ensuring a comprehensive understanding of the process while maintaining an engaging narrative style.
![7 Best Full Size Vacuum For Pet Hair [2026]](https://bathroomexplorer.com/wp-content/uploads/2026/05/7-best-full-size-vacuum-for-pet-hair-2026-featured-768x432.jpg)