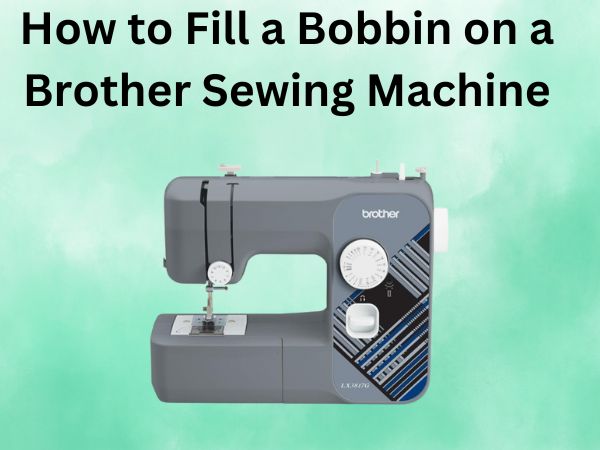
How to Fill a Bobbin on a Brother Sewing Machine [Step-by-Step Guide]
Are you ready to dive into the world of sewing, but unsure where to start with your bobbin? Filling a bobbin might seem like a small part of the sewing process, but it’s crucial for ensuring smooth stitches. Let’s unravel this mystery step-by-step!
Table of Contents
An Introduction to Sewing with Brother Machines
Brother sewing machines are cherished by sewing enthusiasts worldwide for their reliability and user-friendly features. Whether you’re a beginner or an experienced seamstress, understanding how to correctly fill a bobbin is essential. Let’s thread the needle together and see how Brother machines stand out!
Importance of a Properly Filled Bobbin
Why is filling a bobbin so vital? Picture this: you’re in the middle of stitching your masterpiece, and suddenly, your machine jams. A poorly filled bobbin can lead to uneven stitches, thread bunching, or even damage. Just like a well-tuned engine, a correctly filled bobbin keeps your sewing running smoothly.
Understanding the Role of a Bobbin
The bobbin holds the lower thread, and when coordinated with the upper thread, forms the stitch. Imagine a dance where two partners must move in sync, with the bobbin being one of these partners. Without proper filling, you’d miss a beat!
Getting Familiar with Your Brother Sewing Machine
Before we start, let’s get acquainted with your Brother sewing machine. Each model might have slight differences, but the core functionality remains consistent. Knowing your machine’s layout is like reading a map before a journey.
Parts to Focus On
- Bobbin Winder
- Spool Pin
- Bobbin Case
- Winding Tension Disk
Essential Tools for Filling a Bobbin
You don’t need an arsenal of tools to fill a bobbin, just a few essentials:
- Empty bobbin
- Thread
- Scissors
- Your Brother sewing machine
Step-by-Step Guide to Filling a Bobbin
Now, let’s roll up our sleeves and fill that bobbin!
Step 1: Prepare Your Thread
Place your thread on the spool pin and secure it with a cap. Ensure it’s tightly fitted, ready to embark on its journey to the bobbin.
Step 2: Pass the Thread Through the Tension Disk
Guide the thread through the winder tension disk. This step is crucial as it ensures even tension is applied, much like the tuning pegs on a guitar, controlling the tightness of the strings.
Step 3: Insert the Bobbin on the Winder
Place your empty bobbin on the bobbin winder spindle. Push it to the right until it clicks into place and locks securely.
Step 4: Wind the Thread Around the Bobbin
Lead the thread end through the small hole in the bobbin. Hold the end while pressing the sewing machine pedal slightly; this begins the winding process—a bit like cranking the gears to start a bicycle.
Step 5: Engage the Bobbin Winder
Enable the bobbin winder mechanism by switching it on. You’ll notice the bobbin spinning and winding the thread effortlessly.
Step 6: Fill the Bobbin
Keep the pedal pressed until the desired fullness is achieved. It’s generally a good idea to leave a little space at the top, preventing overfilling.
Step 7: Trim the Thread
Once filled, snip the connecting thread with your scissors, freeing your newly wound bobbin.
Troubleshooting Common Bobbin Issues
Encounter bumps along the road? Let’s troubleshoot!
Problem: Uneven Threads
Ensure the thread is correctly threaded through the tension disk. Like a well-balanced meal, even tension is vital.
Problem: Bobbin Not Engaging
Check the alignment of the bobbin and the winder mechanism. Sometimes, a simple nudge fixes the issue!
Best Practices for Perfect Bobbin Winding
For seamless sewing, follow these best practices:
- Use quality thread to prevent breakage.
- Ensure the bobbin case is clean and lint-free.
- Avoid overfilling to maintain even stitches.
Conclusion
Filling a bobbin on a Brother sewing machine might seem daunting at first, but with the right approach and a bit of practice, it becomes second nature. Remember, every stitch begins with a well-filled bobbin, setting the foundation for your sewing projects. So, gear up, wind those bobbins, and let your creativity sew wild!
FAQs
How do I know when my bobbin is full?
Most Brother machines automatically stop winding when the bobbin is full. Visually, the thread should look evenly wound and fill up to about 90-95% of the bobbin capacity.
Can I use any type of thread for filling the bobbin?
While you can use most types, it’s recommended to use thread that complements your fabric and upper thread. Always opt for quality threads to ensure better stitch integrity.
Why is my bobbin thread bunching?
This often occurs due to improper threading or tension settings. Refill your bobbin ensuring it’s correctly threaded through the winder tension disc. Also, check your machine’s tension settings.
How often should I clean the bobbin case?
Regular maintenance is key to smooth sewing. Aim to clean your bobbin case every few projects, or if you notice any lint buildup affecting stitch quality.
Is it necessary to use Brother branded bobbins?
While it’s best to use Brother bobbins for optimal performance, compatible alternatives are available. Just ensure they’re the correct size for your machine model.


