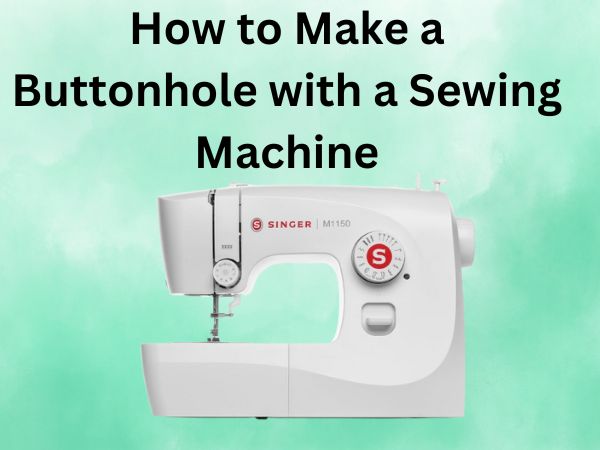
How to Make Buttonholes on a Sewing Machine [Properly]
Are you ready to add a new dimension to your sewing projects? Making buttonholes on a sewing machine can transform a plain piece of fabric into something functional and fabulous. Let’s dive into the world of buttonholes and understand the magic behind creating them seamlessly with your trusty sewing companion. In this guide, we’ll explore all there is to know about buttonholes—from choosing the right tools to step-by-step instructions and troubleshooting common issues.
Table of Contents
Introduction to Buttonholes
Buttonholes are those nifty little openings that allow buttons to pass through, securing two pieces of fabric together. Picture this: a coat without buttonholes would be like a car without wheels—pretty useless, right?
Types of Buttonholes
Before we jump into the how-to, let’s chat about the different types of buttonholes you might encounter. Knowing which one to use is like choosing the right dance move at a party—it makes all the difference!
- **Keyhole Buttonhole** – Ideal for coats and jackets due to its round opening at one end.
- **Bound Buttonhole** – A fancy option perfect for elegant garments.
- **Hand-stitched Buttonhole** – Offers a traditional and rustic feel.
- **Round-End Buttonhole** – Suitable for delicate fabrics to prevent fraying.
Understanding Your Sewing Machine
To create flawless buttonholes, familiarize yourself with your sewing machine. It’s like learning the ins and outs of a new smartphone—the more you know, the smoother the experience.
Check Your Machine’s Settings
Each machine has different settings and capabilities. Ensure your machine can create buttonholes automatically or if you’ll be doing it manually.
Buttonhole Presser Foot
Most sewing machines come with a buttonhole presser foot. This handy tool is essential for keeping your buttonholes neat and uniform.
Essential Tools and Materials
Gathering your materials is like prepping for a bake-off—you don’t want to start only to realize you’re out of sugar (or in this case, thread).
- Sewing machine with buttonhole feature
- Buttonhole presser foot
- Thread matching your fabric
- Seam gauge or ruler
- Fabric marker or chalk
- Scissors or seam ripper
Preparation Steps Before Stitching
Before you let the needle fly, there are a few things to check off your to-do list. Think of it as stretching before a workout.
Test on a Scrap Fabric
Always, always, always test your buttonholes on a scrap piece of fabric. It’s like taking a car for a test drive before buying—better safe than sorry!
Mark Buttonhole Placement
Use a fabric marker to mark where each buttonhole will go, ensuring they’re evenly spaced and aligned.
Step-by-Step Guide to Sewing Buttonholes
Time for the main event! Follow these steps to sew perfect buttonholes:
- Attach the buttonhole presser foot to your sewing machine.
- Select the buttonhole stitch on your machine.
- Place your fabric under the presser foot, aligning the starting point with the needle.
- Lower the presser foot and begin sewing slowly to ensure accuracy.
- Complete the stitching and carefully cut open the hole with a sharp tool.
Using Automatic Buttonhole Features
Many modern sewing machines come with an automatic buttonhole feature, making it as easy as pressing a few buttons. How cool is that?
Manual Buttonhole Techniques
If you’re using a machine without an automatic feature, don’t worry. Manual buttonholes can be just as beautiful with a bit more attention to detail.
Finishing Techniques
Once your buttonhole is sewn, finish by reinforcing the edges with fray check to ensure durability.
Common Mistakes and How to Avoid Them
Even experienced sewists stumble from time to time. Here’s how to dodge the most common buttonhole blunders:
- Using too thick or thin fabric without adjusting settings.
- Misaligned buttonholes by not marking fabric properly.
- Overcutting the buttonhole.
Troubleshooting
Buttons not fitting? Uneven stitching? This section is your toolbox for fixing those pesky issues.
Creative Buttonhole Ideas
Buttonholes don’t have to be boring! Mix it up with different colors, shapes, and placements for a unique touch.
Care Tips for Long-Lasting Buttonholes
Like any well-loved garment, proper care will keep your buttonholes looking fresh and lasting longer.
- Avoid pulling on the button too aggressively.
- Reinforce with additional stitching if needed.
Conclusion
Creating buttonholes might seem daunting at first, but practice and patience truly make perfect. Whether you’re using a state-of-the-art sewing machine with automatic features or manually crafting each buttonhole with care, the result is a garment that feels polished and professional. So go on, let your creativity soar and give those fabrics the closure they deserve.
Frequently Asked Questions
1. Can all sewing machines make buttonholes?
Not all sewing machines have a buttonhole feature. While most modern machines do, older or more basic models may require you to sew buttonholes manually.
2. What is the best type of buttonhole for a thick fabric?
Keyhole buttonholes are ideal for thicker fabrics, such as coats, since they provide a round end that accommodates the bulk of thick fabric without straining.
3. How do I fix a buttonhole that was cut too large?
If a buttonhole is cut too large, you can sew a second, smaller buttonhole inside the existing one to provide a better fit for the button.
4. How can I prevent my buttonholes from fraying?
Applying a fray check solution or sewing a zigzag stitch around the edges of the buttonhole can help prevent fraying and prolong the life of the buttonhole.
5. What should I do if my sewing machine’s automatic buttonhole feature isn’t working properly?
First, ensure the machine is properly threaded and the presser foot is correctly attached. If issues persist, consult your machine’s manual or contact the manufacturer for support.