

Install Your Home Air Conditioner: A Step-by-Step Guide
Yes, you can install a home air conditioner yourself with the right tools and a bit of patience. DIY installation can save you money on professional fees, but it requires careful planning and execution. We’ll guide you through the process, from preparation to final checks, to help you achieve a cool and comfortable home.
Before you begin, understand that different types of AC units have varying installation needs. Window units are generally simpler to install than portable or through-the-wall models. Gathering the necessary tools and materials upfront is key to a smooth DIY experience. Safety is also a top priority, so always follow manufacturer instructions and electrical safety guidelines.
- Gather all necessary tools and materials before starting.
- Understand the specific requirements for your AC unit type.
- Prioritize safety by following manufacturer instructions.
- Prepare the installation area thoroughly.
- Test the unit to ensure proper function.
Let’s walk through exactly how to get your new air conditioner up and running, step by step, so you can beat the heat!
“`htmlSetting Up Your Home Air Conditioner Installation
Installing your own air conditioner can be a rewarding DIY project. It’s a great way to save money and get your home feeling comfortable fast. This guide breaks down the steps to get your new AC unit up and running. We’ll focus on common types like window and portable units.
Choosing the Right Spot for Your AC
Where you place your air conditioner matters a lot. A good location ensures efficient cooling. It also prevents potential problems down the road. For window units, choose a sturdy window that opens easily. The unit should sit level and securely in the frame.
Window Unit Placement Tips
When installing a window AC, make sure the window is strong enough to hold its weight. You don’t want your new AC taking an unexpected trip outside! The unit needs to be tilted slightly outward. This helps condensed water drain properly. Many units come with a bracket for extra support. Always check your specific model’s recommendations.
Portable AC Considerations
Portable air conditioners need access to a window for the exhaust hose. Find a spot near an electrical outlet. The exhaust hose shouldn’t be too long or have sharp bends. This can make the unit work harder than it needs to. Keep the unit away from heat sources like direct sunlight or radiators.
Gathering Your Tools and Materials
Before you begin, having the right tools makes the job much easier. You wouldn’t build a shelf without a hammer, right? For AC installation, think about what you’ll need.
Essential Tools You’ll Need
- Screwdriver set: For various screws on the unit and mounting hardware.
- Level: To ensure the unit is installed correctly.
- Measuring tape: To confirm clearances and fit.
- Drill with bits: For any pilot holes or mounting screws.
- Utility knife: For opening boxes or trimming materials.
- Work gloves: To protect your hands.
- Safety glasses: Always protect your eyes.
Necessary Materials
- Your new air conditioner unit and its manual.
- Mounting brackets or support structures (if not included).
- Sealing materials like foam strips or weatherstripping.
- Screws and fasteners appropriate for your installation location.
- Extension cord (if absolutely necessary, but avoid if possible).
Always refer to your AC unit’s manual. It will list any specific tools or parts recommended by the manufacturer. We found that a well-organized tool belt can be a lifesaver during installation.
Preparing the Installation Area
This step is as important as the installation itself. A clean and prepared area leads to a smoother process. Think of it as laying the groundwork for a great performance.
Cleaning and Clearing Space
Clear the area where the AC will be placed. Remove any obstructions. For window units, clean the window frame and sill thoroughly. Dust and debris can interfere with a good seal. For portable units, make sure the floor is clean where the unit will sit.
Ensuring Proper Ventilation
Air conditioners need airflow to work effectively. Make sure there’s enough space around the unit. Don’t block the air intake or exhaust vents. For window units, avoid placing them where curtains or blinds will constantly obstruct airflow. Experts recommend at least 12 inches of clearance around the unit’s sides and back for most models (Energy Star).
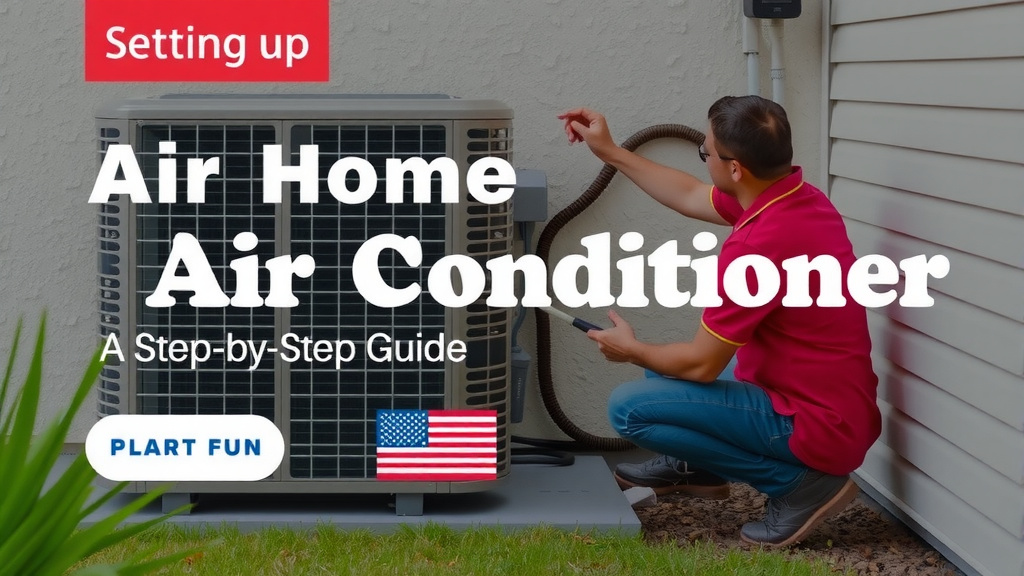
Installing Your Air Conditioner: Step-by-Step
Now for the exciting part! Let’s get your air conditioner installed. Follow these steps carefully for a successful setup.
Window Unit Installation Process
First, assemble any side panels or accordion curtains that came with your unit. Carefully lift the unit into the window opening. Ensure it’s centered and fits snugly. Most units need to rest on the sill and be supported at the top. Use the included mounting hardware to secure it. This might involve screws into the window frame or a support bracket. Double-check that the unit is level or tilted slightly outward for drainage. Seal any gaps around the unit with foam or weatherstripping. This prevents air leaks and keeps pests out.
Portable Unit Setup
Portable ACs are generally easier to set up. Place the unit in its chosen spot. Connect the exhaust hose to the back of the unit. Then, attach the window bracket to the other end of the hose. Insert the bracket into your window opening. Secure it in place. Make sure the hose is not kinked or crushed. Plug the unit into a properly grounded outlet. Avoid using extension cords if possible, as they can be a fire hazard. If you must use one, ensure it’s heavy-duty and rated for the AC’s power draw.
Testing Your New AC Unit
You’ve done the hard work! Now it’s time to test your unit. This ensures everything is working as it should.
Initial Power-Up and Checks
Turn on your air conditioner. Listen for any strange noises. Check that the fan is blowing air. Select a cooling mode and set the temperature. Allow the unit some time to start cooling the room. Feel the air coming from the vents. Is it cool?
Monitoring Performance
Observe the unit for a short period. Make sure there are no warning lights. Check that water is draining properly from window units. For portable units, check the water collection tank if it has one. Ensure the unit is cooling the space effectively. If anything seems off, turn it off and consult your manual or a professional.
Quick Installation Checklist
- Unit Positioned Correctly? Check for level and proper clearance.
- Securely Mounted? Ensure it’s stable and won’t fall.
- Sealed Properly? No obvious air gaps around the unit.
- Drainage Working? Water should flow away from the unit.
- Power Connected Safely? Using the right outlet.
- Tested and Cooling? Does it feel noticeably cooler?
Conclusion
You’ve successfully navigated the steps to install your new home air conditioner! By preparing your space, gathering the right tools, and carefully following the installation process for your unit type, you’ve taken control of your home’s comfort. Remember to always prioritize safety and consult your manual if you encounter any issues. Enjoy the cool, refreshing air you’ve worked hard to achieve. Your next step is simply to relax and feel the difference your DIY effort has made.
Frequently Asked Questions
How do I know if my window is strong enough for a window AC unit?
Check the weight limit specified in your AC unit’s manual. Most modern windows can support standard window AC units, but it’s wise to ensure the frame is in good condition. If you’re unsure, a quick visual inspection for any signs of rot or damage is recommended.
Can I use an extension cord for my portable air conditioner?
It’s best to avoid extension cords if at all possible for safety reasons. If you absolutely must use one, ensure it’s a heavy-duty cord specifically rated for the power draw of your AC unit. A cord that’s too light can overheat and become a fire hazard.
What is the purpose of tilting a window AC unit slightly outward?
Tilting the unit outward allows condensation to drain properly. This prevents water from accumulating inside your home or the unit itself, which can lead to water damage or mold growth. Your unit’s manual will specify the correct tilt angle.
How often should I clean my air conditioner’s filter?
You should clean your air conditioner’s filter at least once a month during the cooling season. A clogged filter restricts airflow, making your AC work harder, reducing efficiency, and potentially leading to breakdowns. It also impacts the air quality in your home.
What should I do if my new AC unit is making strange noises?
If you hear unusual noises, turn the unit off immediately. Check the installation manual to see if the noise is described as normal operation. If not, ensure the unit is securely installed and that nothing is obstructing the fan. If the noise persists, contact the manufacturer or a qualified HVAC technician.

![7 Best Stand Alone Portable Air Conditioner [2026]](https://bathroomexplorer.com/wp-content/uploads/2026/06/7-best-stand-alone-portable-air-conditioner-2026-featured-768x432.jpg)
![7 Best Mini Air Conditioner For Dorm Room [2026]](https://bathroomexplorer.com/wp-content/uploads/2026/06/7-best-mini-air-conditioner-for-dorm-room-2026-featured-768x432.jpg)