How Often Should You Vacuum Refrigerator Coils
You should vacuum your refrigerator coils about twice a year, or roughly every six months. Doing so helps your fridge run more efficiently and can even extend its lifespan by preventing dust buildup. Neglecting this simple maintenance task can lead to higher energy bills and more frequent repairs.
Those coils on the back or bottom of your fridge work hard to keep your food cold. When they get covered in dust, lint, and pet hair, they struggle to release heat. We found that this struggle makes your refrigerator use more energy and work overtime, which is something none of us want.
- Vacuum coils every 6 months.
- Dust buildup makes your fridge work harder.
- Clean coils save energy and money.
- This is simple, important fridge maintenance.
Let’s get into the specifics of why this is so important and how you can easily tackle it yourself. We’ll make sure your fridge stays happy and healthy!
Your Refrigerator’s Hidden Workhorses: How Often to Clean Coils
Those coils you might not even know exist are superheroes for your fridge. They help dissipate heat so your food stays cold. You should aim to clean them about twice a year. This simple task keeps your refrigerator running efficiently and can prevent bigger problems down the road.
Why Bother Cleaning Refrigerator Coils? The Dust Bunnies’ Revenge
Think of your refrigerator coils like the engine of your car. If the engine is covered in gunk, it won’t perform its best. Dust, lint, and pet hair love to gather on refrigerator coils. This buildup acts like a blanket, trapping heat. When coils can’t release heat effectively, your fridge has to work much harder. This extra effort uses more energy. We found that a dirty coil can make your fridge consume up to 30% more electricity (Energy Star). That’s a lot of wasted power!
The Energy Drain: A Costly Problem
When your refrigerator works harder, your energy bill goes up. Over time, this can add up to a noticeable amount of money. We found that maintaining clean coils is one of the easiest ways to keep your energy costs down. It’s a small effort for a big payoff. Plus, who doesn’t want to save money on their utility bills?
Extending Your Fridge’s Lifespan: A Smart Investment
Constantly running your refrigerator on overdrive because of dirty coils puts a strain on its components. This can lead to premature wear and tear. Over time, this might mean needing repairs or even replacing your refrigerator sooner than you’d like. We found that regular cleaning helps prevent this strain. It’s like giving your fridge a spa day to keep it young and healthy.
When Exactly Should You Schedule Coil Cleaning?
The general rule of thumb is every six months. This is a good baseline for most households. However, certain conditions might call for more frequent cleaning. Let’s break down when you might need to clean them more often.
Factors Influencing Cleaning Frequency
Do You Have Pets?
If you have furry friends, especially those that shed, you’ll want to clean your coils more often. Pet hair is a major culprit when it comes to clogging up refrigerator coils. You might find yourself cleaning them every three to four months if shedding is significant. We found that pet owners often need to be more vigilant.
How Dusty is Your Home?
Some homes are just dustier than others. If you notice dust accumulating quickly on surfaces, your refrigerator coils are likely no exception. In very dusty environments, consider cleaning your coils quarterly, or every three months. This helps combat the rapid buildup.
Are Your Coils in a High-Traffic Area?
Refrigerators placed in garages or workshops might be exposed to more dust and debris from those environments. If your fridge isn’t in a climate-controlled, clean kitchen, you may need to inspect and clean the coils more frequently, perhaps every four to five months.
Signs Your Coils Need Cleaning NOW
Sometimes, your refrigerator will give you hints that its coils are struggling. You don’t always have to wait for the six-month mark. Here are some warning signs:
- Your refrigerator sounds like it’s working louder than usual. That extra hum could be its way of shouting for help.
- The refrigerator feels warmer than normal, especially around the back or bottom.
- You notice an increase in your electricity bill. Did your fridge go on a power trip?
- Food isn’t staying as cold as it should. Cold food is the primary job, after all!
If you see any of these signs, it’s a good idea to check your coils. Don’t wait for the scheduled cleaning if your fridge is already struggling. We found these symptoms often correlate with dusty coils.
The Coil Cleaning Checklist: Easy Steps for Success
Getting your coils clean is simpler than you might think. You don’t need to be a repair person to do it. Here’s a quick rundown of what you’ll need and how to do it:
Gather Your Supplies
Before you start, make sure you have these items handy:
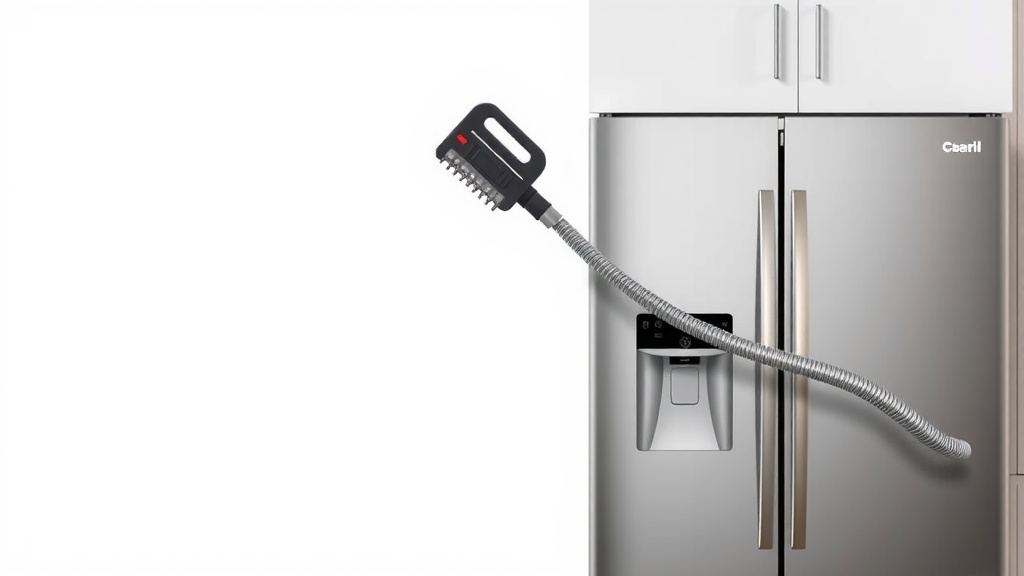
- Vacuum cleaner with a brush or crevice attachment.
- A long, thin brush (like a radiator brush or chimney brush) if you have one.
- A dusting cloth or duster.
- A step stool or sturdy chair if your coils are hard to reach.
Safety First!
This is non-negotiable. Always unplug your refrigerator from the wall outlet before you start cleaning. This prevents any electrical shock. We cannot stress this enough – safety is always first!
Locate and Access Your Coils
Most refrigerators have coils on the back or underneath the unit. If they are on the back, you may need to gently pull the fridge away from the wall. If they are underneath, you might need to remove a kick plate or grille. Check your refrigerator’s manual if you’re unsure.
The Cleaning Process: Step-by-Step
Here’s how to tackle the dust:
- Initial Dusting: Use your dusting cloth or duster to gently brush away loose dust and debris.
- Vacuuming: Attach the brush or crevice tool to your vacuum cleaner. Carefully vacuum the coils. Work from top to bottom. Get into any tight spots.
- Brush It Out: If there’s stubborn grime, use your long, thin brush to loosen it. Then, vacuum again. This step is key for really deep cleaning.
- Wipe Down: If your coils are very dirty, you can use a slightly damp cloth to wipe them down. Make sure they are completely dry before you plug the fridge back in.
Putting It All Back Together
Once you’re finished, gently push your refrigerator back into place. Plug it back into the wall outlet. You’re done!
The Routine for a Happy Fridge: A Simple Checklist
To make sure you don’t forget this important maintenance, try this simple checklist:
- Set a reminder on your phone for every six months.
- Check your pets’ shedding habits and adjust the reminder if needed.
- Listen to your fridge; if it sounds strained, inspect the coils.
- Look at your energy bill; a sudden spike might mean cleaning is overdue.
- Schedule it during a time you’re already doing other home maintenance.
By following these guidelines, you ensure your refrigerator coils get the attention they deserve. This keeps your appliance efficient and saves you money. It’s a win-win for your home and your wallet!
Conclusion
You’ve learned that vacuuming your refrigerator coils roughly every six months is a simple yet vital maintenance task. Keeping those coils clean prevents your fridge from working overtime, which we found can significantly increase your energy use and costs. It’s a small investment of your time that pays off by saving money and extending your appliance’s life. Don’t let dust bunnies win! Your next step is to check your calendar and set a reminder for your next coil cleaning. Your refrigerator (and your wallet) will thank you.
Frequently Asked Questions
How do I know if my refrigerator coils are dirty?
You might notice your refrigerator sounds louder than usual, or it might feel warmer than normal around the unit. An unexplained increase in your electricity bill is also a common sign. If your food doesn’t seem to be staying as cold as it should, that’s another indicator.
Can I clean my refrigerator coils without unplugging the fridge?
No, you absolutely should not. For your safety and to prevent damage to the refrigerator, always unplug the unit from the wall outlet before you begin cleaning. We found this is the most critical step for preventing electrical shock.
What kind of vacuum attachments are best for cleaning refrigerator coils?
A vacuum cleaner with a brush attachment or a crevice tool works very well. The brush helps loosen dust, and the crevice tool can get into tight spaces. If you have a long, thin brush, like a radiator brush, that can also be very effective for dislodging stubborn dirt before vacuuming.
Do I need to pull the refrigerator out to clean the coils?
Often, yes. If your coils are located on the back of the refrigerator, you’ll likely need to gently pull the unit away from the wall to access them. If they’re underneath, you may need to remove a kick plate or grille first. Consult your refrigerator’s manual if you’re unsure how to access them.
How often should I clean coils if I don’t have pets and my house isn’t very dusty?
If you don’t have pets and your home generally doesn’t collect dust quickly, the standard recommendation of cleaning your refrigerator coils every six months should be sufficient. However, it’s still a good idea to listen to your fridge and watch your energy bill for any unusual signs.
![7 Best Cordless Vacuum Cleaner For Long Hair [2026]](https://bathroomexplorer.com/wp-content/uploads/2026/05/7-best-cordless-vacuum-cleaner-for-long-hair-2026-featured-768x432.jpg)