How to Assemble Your Vacuum Cleaner: Step-by-Step Guide
Assembling a vacuum cleaner is usually a straightforward process that takes just a few minutes. Most vacuums come with clear instructions and parts that click or snap together easily. You can typically get your new vacuum ready to tackle dust bunnies in less than 10 minutes.
We know opening a new appliance can sometimes feel a bit daunting. Many users find that vacuum assembly is designed to be user-friendly, often requiring no tools. It’s designed to get you cleaning quickly, so don’t worry about complicated steps.
- Unpack all parts carefully.
- Check the instruction manual.
- Identify main body, hose, and attachments.
- Connect pieces according to manual diagrams.
- Ensure all connections are secure.
Let’s walk through exactly how to put your new vacuum cleaner together, step by step. We’ll make sure you’re ready for your first cleaning session in no time.
Getting Your New Vacuum Cleaner Set Up
Putting together a new vacuum cleaner is usually a breeze. Most models are designed so you can get them ready in about 10 minutes. Think of it like building with LEGOs, but for grown-ups who want a cleaner house. We’ll guide you through each step to make sure it’s easy.
Before You Start: Unpacking and Inventory
First things first, let’s get everything out of the box. Carefully unpack all the parts and lay them out. You’ll want to make sure nothing is missing. This is also a good time to check for any accidental damage that might have happened during shipping.
Most vacuums come with a user manual. This is your best friend right now. It has diagrams and specific instructions for your model. Give it a quick look to see how the pieces are meant to fit together. It’s usually quite visual.
What to Look For in the Box
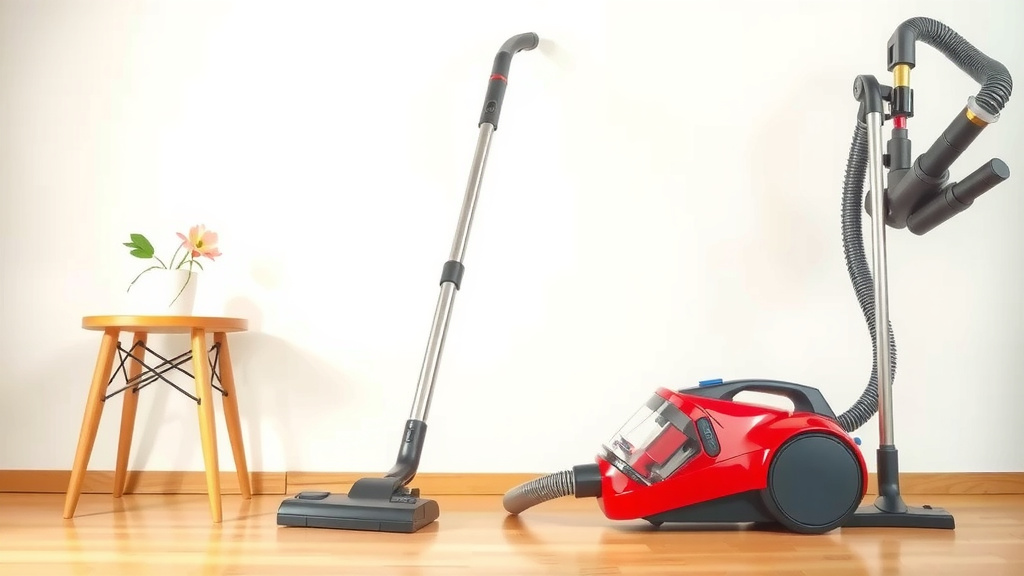
You’ll typically find a few main components. There’s the main body of the vacuum, which is the heart of the machine. Then there’s the wand or extension tube, often in a few sections. You’ll also likely have a hose and various cleaning attachments. Don’t forget the power cord!
Assembling the Main Body and Wand
The main body of your vacuum might be the upright part or a canister. For upright vacuums, the handle usually needs to be attached. Look for a slot or connection point on the main body. You’ll likely just slide the handle in until it clicks into place.
For canister vacuums, you’ll usually connect the hose to the canister unit. Find the port on the canister. The hose end will have a connector that pushes into the port. You might need to give it a gentle twist or press a button to secure it. Always listen for that satisfying click sound.
Connecting the Wand Sections
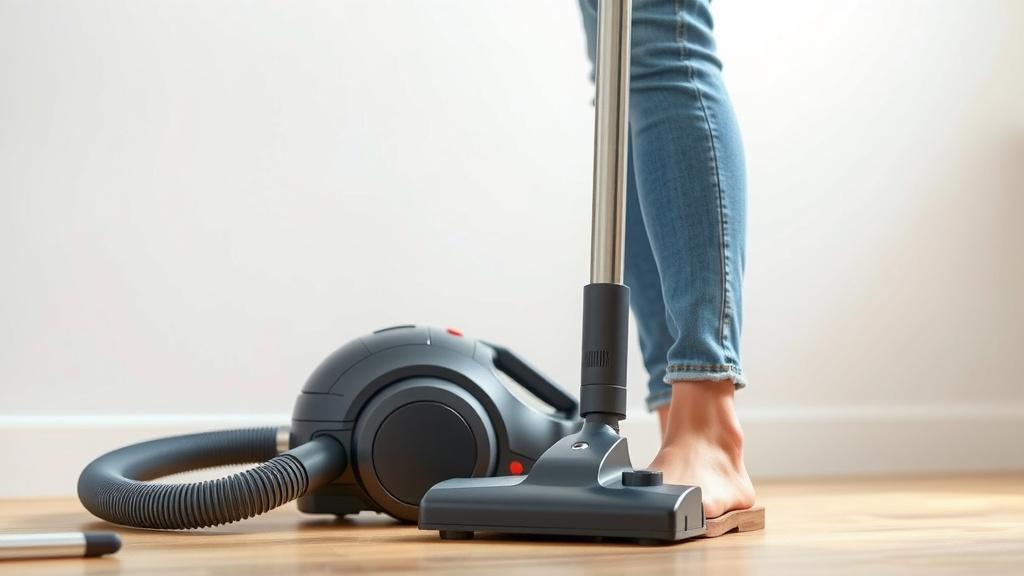
If your wand comes in multiple pieces, they usually connect easily. One end of a wand section will fit into the other. Often, you just push them together until they feel snug. Some might have a small button or latch to release them later, but for assembly, just push firmly.
Attaching the Hose and Cleaning Tools
The hose is where a lot of the action happens, especially for reaching under furniture or cleaning stairs. On an upright vacuum, the hose typically connects to the back or side of the main unit. It might have a specific port for it.
For canister vacuums, the hose connects to the main body as mentioned earlier. The other end of the hose will connect to the wand. Again, this is usually a push-and-click type of connection. Ensure it’s firmly seated so you don’t lose suction.
Choosing and Using Attachments
Your vacuum probably came with a few different tools. These are for specific cleaning jobs. You might have a crevice tool for tight spots, a dusting brush for delicate surfaces, or an upholstery tool for furniture. These attachments usually fit onto the end of the wand.
To attach them, simply push the desired tool onto the end of the wand or hose. They are designed to fit snugly. Most don’t require any special effort. If you’re struggling, double-check the manual to make sure you have the right part and are connecting it correctly.
Adding the Dustbin or Bag
This is a really important step for collecting all that dirt you’ll be sucking up. If your vacuum uses a bag, find the compartment for it. It usually opens with a latch or button. Place the new bag in, ensuring it’s seated correctly, and close the compartment securely.
If your vacuum is bagless, it will have a dustbin or canister. This part often detaches easily. Look for a release button or latch. You’ll likely need to empty the bin before its first use or make sure it’s clean. Then, reattach it to the vacuum body until it clicks.
Final Checks Before Your First Clean
You’re almost there! Before you plug it in and start cleaning, let’s do a quick review. Make sure all the parts you connected are secure and tight. Wiggle them a little to be sure. A loose connection can affect suction power.
Check that the power cord is free of knots and kinks. Ensure the dustbin or bag is properly in place. If your vacuum has height adjustments, set it to the appropriate level for your floor type. Most modern vacuums adjust automatically or have a simple dial.
A Quick Assembly Checklist
Here’s a handy checklist to make sure you haven’t missed anything:
- All parts unpacked and accounted for?
- Manual consulted for specific steps?
- Handle or main body connected securely?
- Hose and wand properly attached?
- Cleaning attachments ready to go?
- Dustbin or bag correctly installed?
Powering Up and Testing Suction
Now for the moment of truth! Plug your vacuum into a power outlet. Turn it on and listen. You should hear the motor whirring and feel the suction. If you have a bare floor, you can test it by hovering the nozzle just above the surface to feel the pull.
For carpet, you might need to adjust the height setting. Many experts suggest starting with a higher setting and lowering it if needed. You want to ensure it’s picking up dirt effectively without being too hard to push. A quick test run in a small, visible area can give you confidence.
Understanding Common Vacuum Types
While the general assembly steps are similar, different vacuum types might have slight variations. Understanding your type can help.
| Vacuum Type | Key Assembly Points |
|---|---|
| Upright | Handle to body, hose to unit, attachments to wand. Often self-propelled or easy to push. |
| Canister | Hose to canister, hose to wand, attachments to wand. Wand is usually multi-piece. |
| Stick | Handle and wand often one piece, attachments connect directly. Very lightweight. |
| Handheld | Minimal assembly, often just charging or adding a small attachment. |
No matter which type you have, the goal is always the same: make it easy to clean. Manufacturers aim for straightforward assembly so you can start enjoying a cleaner home faster. If anything feels confusing, the manual is your best reference.
Conclusion
You’ve successfully navigated the assembly of your new vacuum cleaner! As we’ve shown, putting it together is typically a quick and easy process, often requiring no tools at all. You’ve learned to identify the main parts, connect them securely, and prepare your vacuum for its first cleaning task. Remember, your user manual is always there if you need a quick reference. Now that your vacuum is ready, go ahead and tackle those dust bunnies with confidence!
Frequently Asked Questions
Do I need any tools to assemble my vacuum cleaner?
Most modern vacuum cleaners are designed for tool-free assembly. Parts usually click or snap together securely. Check your instruction manual, but typically, you won’t need a screwdriver or any other tools to get your vacuum ready to go.
What if a part doesn’t seem to fit?
If a part feels difficult to connect, don’t force it. Double-check that you’re using the correct piece and that it’s oriented the right way. Review the diagrams in your user manual – sometimes a slight adjustment or a different angle is all that’s needed for a perfect fit.
How do I know if the hose or wand is attached correctly?
A secure connection is key for good suction. You should hear a distinct click when the hose or wand is properly seated. Wiggle the connection gently; if it feels loose or wobbles, try reattaching it until it feels firm and stable.
Can I use attachments before assembling the main parts?
It’s best to complete the main assembly first. Attachments are designed to connect to the end of the wand or hose. Ensuring the core components are put together correctly will give you a stable base to then add your cleaning tools.
My vacuum has a lot of parts, how do I know if I have everything?
Before you start, carefully unpack all components and compare them to the parts list or diagram in your instruction manual. This inventory check will help you confirm that nothing is missing or damaged from shipping, so you can proceed with confidence.
![7 Best Lightweight Corded Vacuum For Pet Hair [2026]](https://bathroomexplorer.com/wp-content/uploads/2026/06/7-best-lightweight-corded-vacuum-for-pet-hair-2026-featured-768x432.jpg)