ez chill r134a refrigerant how to use for Efficient Car AC Recharge
It’s happened to nearly every car owner: the AC suddenly blows warm air during a sweltering summer commute. The dashboard vents offer no relief, and frustration builds as the temperature climbs. In these moments, knowing ez chill r134a refrigerant how to use can save both time and money, sparing a trip to the mechanic.
Many drivers face this exact problem—especially with older vehicles. The solution often lies in recharging the air conditioning system with R134a refrigerant. Understanding the right steps, safety precautions, and common pitfalls transforms an intimidating maintenance task into a quick, manageable fix.
Consider a small business owner who depends on their delivery van. When the AC fails, they don’t have time to waste. By using EZ Chill R134a, the owner restores cool air in under 30 minutes, keeping business on track during peak season.
This article breaks down the process into clear, actionable steps. Readers will learn what’s required, how to avoid mistakes, and when it’s smart to seek expert help. No guesswork—just a straightforward guide to keeping any vehicle cool and comfortable.
Gather Supplies and Prepare the Vehicle
Before diving into the process, it’s essential to set the stage with the proper equipment and workspace. Anyone looking to learn ez chill r134a refrigerant how to use must first gather the necessary supplies and follow safety protocols. The right preparation streamlines the process, reduces errors, and prevents potential hazards.
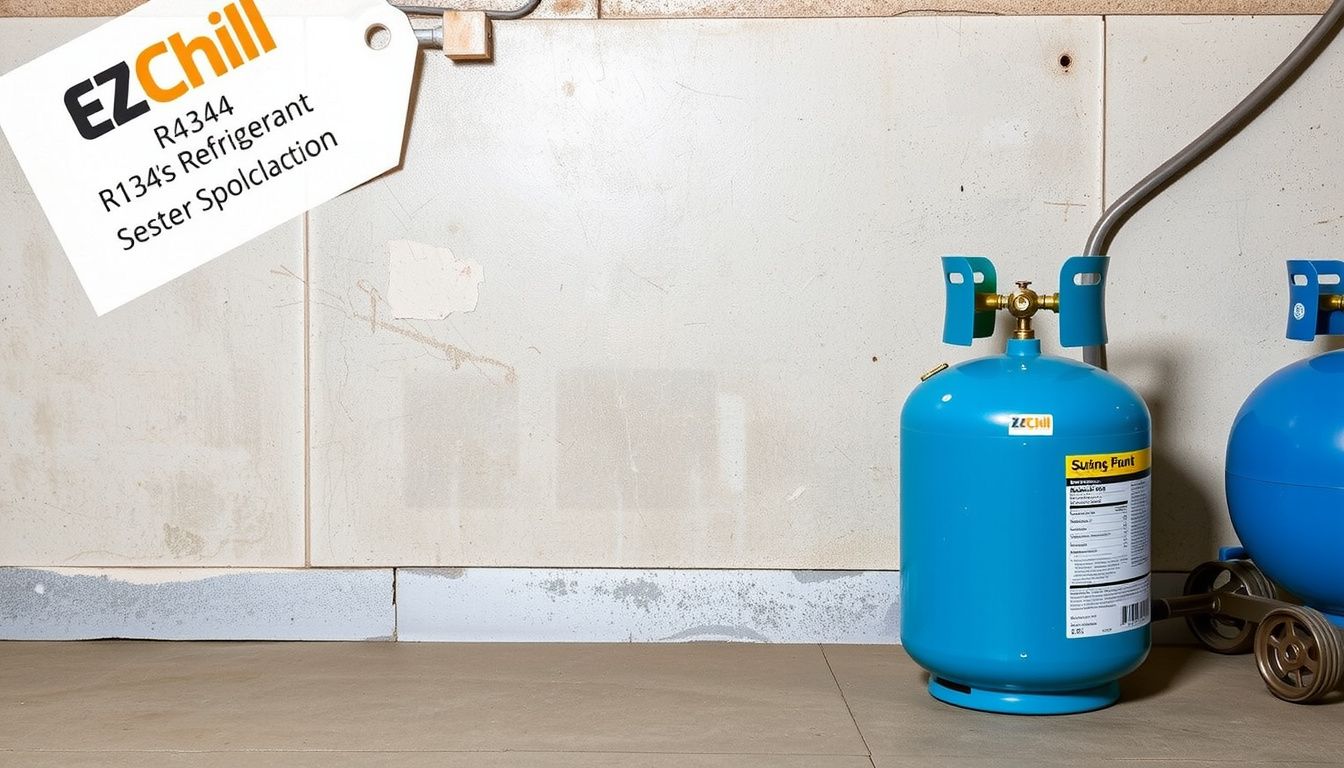
Start by assembling all required items. The essentials include:
- EZ Chill R134a refrigerant canister (with or without a built-in gauge, depending on model)
- Protective gloves and safety glasses
- Clean rag or towel
- Owner’s manual for vehicle-specific AC system details
- Thermometer for monitoring vent temperature
Choose a well-ventilated, shaded workspace. High temperatures can skew pressure readings, and direct sunlight may affect the refrigerant’s performance. If possible, work on a flat surface to ensure vehicle stability.
Next, shut off the engine and allow it to cool for at least 15-20 minutes. This minimizes the risk of burns and provides a safer environment for handling pressurized refrigerant. Pop the hood and secure it with the prop rod or hood struts.
Take a moment to inspect the AC system visually. Look for obvious leaks, cracked hoses, or corroded connectors. If a major leak or damaged component is visible, stop and consult a professional before proceeding.
Using refrigerant on a compromised system is ineffective—and potentially hazardous.
Refer to the owner’s manual to confirm the type and capacity of refrigerant specified for the vehicle. While R134a is standard for most modern vehicles, exceptions exist. Misapplication can cause costly damage.

Example: Maria, a DIY enthusiast, once skipped checking her AC system’s hoses before adding refrigerant. She later discovered a hidden crack that led to wasted product and more extensive repairs. Thorough preparation could have flagged the issue early, saving time and money.
With supplies on hand and the vehicle prepped, the process can move forward smoothly—setting up for accurate diagnosis and effective recharging.
Identify Low Refrigerant Symptoms and Locate Service Port
After gathering tools and prepping the vehicle, the next step is to confirm whether a recharge is actually needed. Recognizing the symptoms of low refrigerant ensures you don’t waste time or product on an AC system that may have unrelated issues.
Common signs of low refrigerant include:
- Warm air blowing from AC vents when set to maximum cool
- Compressor clutch failing to engage or cycling rapidly
- Visible frost or ice buildup on AC lines or evaporator
- Unusual hissing or bubbling noises under the hood
- Noticeably decreased airflow even at full fan speed
Start the engine and set the air conditioning to its coldest setting, with the fan on high. Observe the compressor clutch at the front of the AC compressor. If it’s not engaging, or if it clicks on and off rapidly, the refrigerant may be low.
Next, locate the vehicle’s low-pressure service port. This is where the EZ Chill R134a refrigerant is added. Typically, the low-pressure port is found on the larger aluminum AC line running from the compressor to the accumulator or firewall.
It’s usually marked with an ‘L’ or a blue/black cap.
- Turn off the engine for safety.
- Wipe the area around the port with a clean rag to prevent debris from entering the system.
- Remove the cap carefully and keep it somewhere safe.
Pro Tip: The low-pressure port is always the only port that the EZ Chill R134a quick-connect fitting will attach to. Forcing the fitting onto the high-pressure port risks equipment damage or personal injury.
Example: When James tried his first AC recharge, he almost connected the canister to the high-pressure port. Luckily, the fitting didn’t match, prompting him to double-check the owner’s manual and locate the correct low-pressure port near the firewall.
Identifying these symptoms and locating the correct service point ensures the process remains safe, targeted, and effective—eliminating guesswork from the equation.
Apply ez chill r134a Refrigerant Step by Step
Now that all supplies are ready and the low-pressure port has been located, it’s time to safely apply the ez chill r134a refrigerant. Precision and patience here will ensure optimal AC performance and prevent overcharging.

Before connecting the can, shake it for several seconds. This ensures an even mix for proper charging. With the engine running and AC on max, follow these actions:
- Attach the Hose: Connect the charging hose to the refrigerant can. Then, securely snap the coupler onto the AC system’s low-pressure service port. Listen for a click—this confirms a proper connection.
- Purge Air from the Hose: Briefly loosen the can’s connection at the hose to release any trapped air, then re-tighten immediately. This step reduces the risk of air bubbles entering the system.
- Dispense Refrigerant: Squeeze the trigger to begin charging. Add refrigerant in short bursts—usually 10 seconds per burst. After each burst, let the system circulate the refrigerant for about 30 seconds.
- Monitor Gauge Readings: Carefully watch the pressure gauge included with most ez chill kits. The ideal range for most vehicles is between 25–55 psi. Never exceed the green zone on the gauge.
- Check for Fullness: Stop charging if the gauge reaches the optimal range or if cool air begins blowing from the vents. Overfilling can damage the system.
Pro Tip: Always keep the refrigerant can upright to prevent liquid from entering the system. Use gloves and eye protection—safety first.
Look at this real-world scenario: A technician notices a sedan’s AC only blows lukewarm air. After following these steps and adding half a can of ez chill r134a, the vents quickly deliver icy air, and gauge readings stabilize in the safe zone.
Common Mistake: Overcharging. If the gauge needle moves into the red, stop immediately and consult a professional.
Test System Performance and Monitor Results
Once the system is charged, validating performance is critical. This ensures the recharge was effective and that no issues linger. Here’s how to do it right:
- Check Vent Temperature: Insert a thermometer into the center dashboard vent. With AC on max and recirculate mode enabled, the temperature should drop significantly—often to the 40s (°F) or lower, depending on ambient conditions.
- Observe System Pressure: With the engine running, recheck the low-pressure gauge. Stable readings in the recommended range indicate a successful recharge.
- Listen for Odd Noises: Any hissing, rattling, or clicking could signal leaks or mechanical problems. Silence means the system is likely sealed and functioning correctly.
- Check for Moisture or Oil: Inspect the service port and surrounding lines for any signs of refrigerant oil or moisture—these could indicate a leak.
- Test Under Real Conditions: Take the vehicle for a short drive with the AC on. Monitor for consistent cooling and any warning lights.
Pro Tip: Log gauge readings and vent temperatures before and after charging. This record can help diagnose future issues and confirm system health.
Here’s a practical example: After recharging with ez chill r134a, a driver checks the vent with a digital thermometer—air now measures 42°F, down from a previous 68°F. The gauge holds steady at 38 psi. No leaks, no odd sounds, and cold air flows consistently during a 15-minute test drive.
Common Mistake: Skipping the temperature check. Without verifying cold air at the vent, it’s easy to overlook partial charges or hidden leaks.
What to Do Now
You’ve seen how simple it can be to recharge an AC system with ez chill r134a refrigerant once the right steps are clear. The process saves time and helps restore cold air without a trip to the mechanic.
After following the procedure, keep an eye on AC performance over the next several days. If the system cools effectively, you’ve likely solved the problem. If warm air returns quickly, that’s a sign of a larger leak or mechanical issue requiring professional service.
For example, a driver in Phoenix found immediate relief after using ez chill, but when the AC faded again after a week, a technician discovered a faulty compressor. That quick home recharge provided temporary comfort and crucial diagnostic information.
Ready for your next move? If your AC is blowing cold, enjoy the comfort. If issues persist, schedule a professional inspection—don’t ignore ongoing symptoms. Take charge of your comfort and vehicle maintenance today.