How to Add a Tank to Your Air Compressor for Extra Air Storage
As an experienced DIYer, I know how crucial a reliable air compressor can be for a wide range of projects – from inflating tires to powering pneumatic tools. However, there are times when even the most powerful compressor just doesn’t provide enough continuous airflow to get the job done. That’s where adding an air storage tank can make all the difference.
You see, a standard air compressor has a limited tank capacity, which means it can only hold a certain amount of compressed air before needing to re-pressurize. This can lead to frustrating interruptions in your work, as the compressor cycles on and off to maintain the required pressure. By adding a dedicated air storage tank, you can effectively increase your available air volume, giving you more sustained airflow and fewer interruptions.
Table of Contents
Choosing the Right Air Tank for Your Compressor
Before you start the installation process, it’s important to select the right air tank for your specific compressor. The most critical factors to consider are the tank’s size (in gallons) and the maximum pressure rating (in PSI).
As a general rule, you’ll want to choose a tank that’s at least 2-3 times the size of your compressor’s built-in tank. This will provide a significant boost in available air volume. The pressure rating should match or exceed the maximum output pressure of your compressor, ensuring a seamless integration.
It’s also worth considering factors like the tank material (steel is a popular choice for its durability), the presence of a drain valve, and whether the tank comes equipped with the necessary mounting hardware.
Step-by-Step Guide to Adding an Air Tank
Once you’ve selected the perfect air tank for your needs, it’s time to get to work. Here’s a step-by-step guide to help you through the installation process:
1. Gather Your Tools and Supplies
- Your new air storage tank
- Wrench set
- Teflon tape or pipe sealant
- Drill and appropriate drill bits
- Mounting hardware (if not included with the tank)
2. Prepare the Compressor
Start by unplugging your air compressor and ensuring it’s completely depressurized. This will make the installation process much safer and easier.
3. Mount the Air Tank
Choose a suitable location for the air tank, keeping in mind factors like accessibility, available space, and proximity to the compressor. Use the mounting hardware to securely attach the tank to the wall or a sturdy surface.
4. Connect the Air Lines
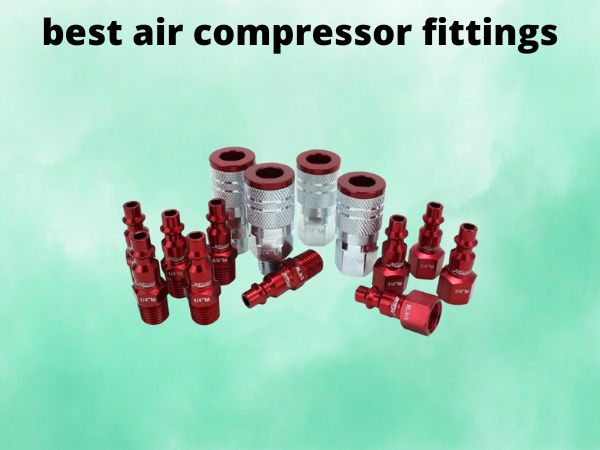
Carefully remove the existing air line from the compressor’s output port. Apply Teflon tape or pipe sealant to the threads, then attach the new air line leading to the air tank. Make sure all connections are tight and secure to prevent air leaks.
5. Test and Adjust
Plug in your air compressor and turn it on. Allow the system to fully pressurize, then check for any air leaks around the new connections. If everything looks good, you’re ready to put your new air storage tank to work!
Conclusion
Adding an air storage tank to your compressor is a simple yet highly effective way to improve its performance and versatility. By increasing your available air volume, you’ll enjoy more sustained airflow, fewer interruptions, and the ability to tackle a wider range of projects with ease.
Remember to choose the right tank size and pressure rating for your specific compressor, and follow the installation steps carefully to ensure a safe and successful setup. With a little time and effort, you’ll be well on your way to unlocking the full potential of your air compressor system.
FAQs
How much air storage capacity do I need?
As a general rule, you’ll want an air storage tank that’s at least 2-3 times the size of your compressor’s built-in tank. This will provide a significant boost in available air volume and help prevent interruptions in your work. The exact size you need will depend on the specific demands of your projects and the output capacity of your compressor.
Do I need to upgrade my compressor’s pressure rating?
Not necessarily. As long as the maximum pressure rating of your new air storage tank matches or exceeds the output pressure of your compressor, you shouldn’t need to upgrade the compressor itself. The tank will simply allow you to store more of the air your compressor is already producing.
Can I install the air tank myself, or should I hire a professional?
In most cases, adding an air storage tank to an existing compressor is a straightforward DIY project that doesn’t require professional installation. As long as you have basic tools and follow the steps carefully, you should be able to handle the installation yourself. However, if you’re ever unsure or uncomfortable with any part of the process, it’s always best to consult with a qualified technician.
How do I maintain my new air storage tank?
Proper maintenance of your air storage tank is essential to ensuring its longevity and safe operation. Be sure to regularly check the tank for any signs of corrosion or damage, and always depressurize the system before performing any maintenance or inspections. Additionally, you’ll want to drain any accumulated moisture from the tank on a regular basis to prevent rust and other issues.
What are the safety considerations when adding an air tank?
Safety should always be the top priority when working with compressed air systems. Make sure to choose a tank that’s rated for the appropriate pressure, and never exceed the maximum pressure limit. Additionally, be cautious of any air leaks and always depressurize the system before disconnecting or servicing any components. Following the manufacturer’s instructions and taking proper precautions will help ensure a safe installation and operation of your new air storage tank.