Assemble Your Dyson Ball Vacuum: A Simple Guide
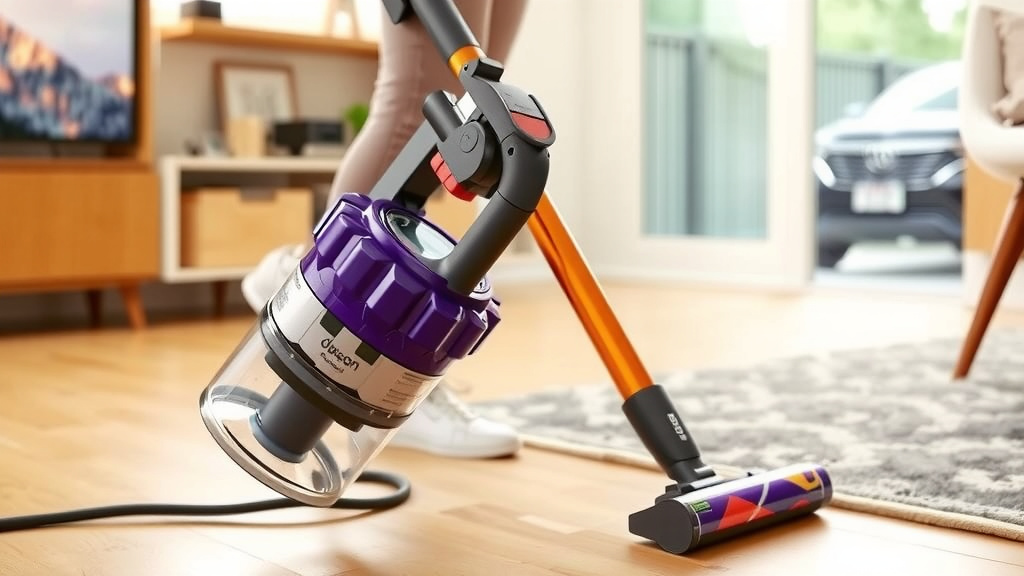
Assembling your new Dyson Ball vacuum cleaner is a straightforward process. You’ll typically need to connect the wand and hose to the main body, and then attach the floorhead. It’s designed for quick setup so you can start cleaning in minutes. Most models require minimal tools, making the Dyson Ball assembly very user-friendly.
Many users find that understanding the different parts helps immensely. Each component clicks into place securely, ensuring a good seal for optimal suction power. We’ve found that paying attention to the distinctive locking mechanisms prevents any accidental disconnections during use.
TL;DR:
- Connect the wand and hose.
- Attach the main floorhead.
- Listen for a click to confirm connection.
- No tools are usually needed.
- Assembly is designed to be quick.
Let’s walk through exactly how to put your Dyson Ball together, step by step.
Putting Your Dyson Ball Vacuum Together
Getting your new Dyson Ball vacuum ready to tackle messes is surprisingly simple. You’re probably eager to start cleaning, and we found that Dyson designs these vacuums for a quick setup. Most assembly involves just a few clicks. You won’t need any special tools for this. We’ve broken down the process into easy steps so you can get to that satisfying clean in no time.
Unpacking and Identifying the Components
First things first, let’s get everything out of the box. You’ll typically find the main vacuum body (the “Ball”), the wand, the hose, and the cleaner head. There might also be some smaller attachments included. Take a moment to lay everything out. This helps you see what’s what. We found that checking your model’s manual is always a good idea, though most components are quite intuitive.
Connecting the Wand and Hose to the Ball
This is usually the first main step. Look at the main body of the vacuum, the part with the ball. You’ll see a designated spot where the wand connects. It often has a button or a specific shape to guide you. Simply align the wand with this point and push firmly until you hear a satisfying click. This click confirms it’s securely locked in place. Don’t force it; if it doesn’t seem to fit, double-check the alignment.
Next, you’ll connect the hose. The hose usually attaches to the back or side of the main vacuum body. Again, look for the corresponding port. The hose end is shaped to fit only one way. Slide it in and give it a gentle push. You should feel it seat itself, and sometimes there’s another audible click. We found that a secure hose connection is vital for suction, so make sure it’s snug.
Troubleshooting Wand and Hose Connections
What if it doesn’t click? Don’t panic! We’ve seen users sometimes struggle with the hose. Make sure there are no packing materials obstructing the connection point. Sometimes, twisting the hose slightly as you push can help it seat properly. If you’re still having trouble, check the manual for your specific model. They often have diagrams that can clear things up.
Attaching the Cleaner Head
Now for the part that hits the floor! The cleaner head is the large attachment at the bottom. It usually connects to the front of the main vacuum body. You’ll see a slot or opening there. Align the cleaner head with this point. It’s designed to slot in easily.
Push the cleaner head upwards towards the vacuum body. You’ll feel it connect. Many Dyson Ball models have a locking mechanism here, so listen for that familiar click. This ensures the cleaner head is firmly attached and won’t detach during use. We found that ensuring this connection is solid is key for effective cleaning, especially on different floor types.
Securing the Cleaner Head Properly
Once it’s attached, give the cleaner head a gentle wiggle. It shouldn’t feel loose. If it does, try disconnecting and reattaching it. Sometimes, debris can get caught in the connection point, preventing a full lock. Cleaning that area might be necessary. We’ve found that even a small obstruction can prevent that secure fit you need.
Putting the Attachments to Use
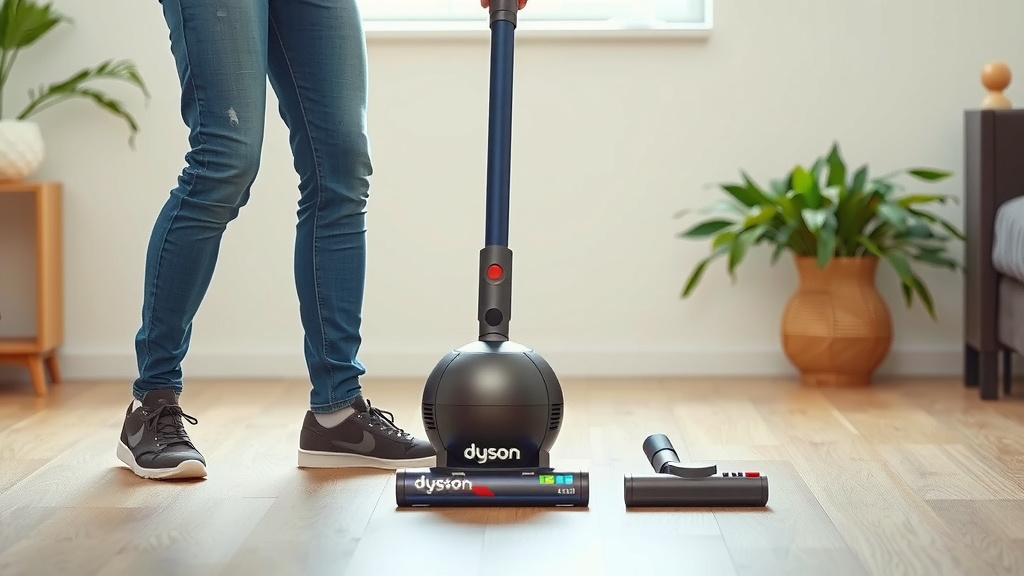
Your Dyson Ball vacuum likely came with additional tools, like a crevice tool or a dusting brush. These are designed to fit onto the end of the wand or directly onto the hose. Simply push the desired attachment onto the end of the wand or hose. They usually have a simple push-fit design. You’ll feel them secure in place, ready for tasks like cleaning furniture or reaching tight corners. We found these accessories really boost the vacuum’s versatility.
Storing Your Attachments
Many Dyson vacuums come with a way to store these tools, either on the vacuum itself or in a separate caddy. Check your manual to see if your model includes an onboard tool storage solution. This keeps your attachments handy and prevents them from getting lost. We found that having them readily available makes quick cleanups even easier.
Your Dyson Ball Assembly Checklist
Ready to confirm you’ve got everything connected correctly? Here’s a quick checklist:
- Wand Connected: Did your wand click securely into the main body?
- Hose Attached: Is the hose firmly seated in its port?
- Cleaner Head Secured: Does the floorhead feel solid and locked in place?
- Attachments Fit: Do your extra tools attach smoothly to the wand or hose?
- No Loose Parts: Have you checked that everything is snug and secure?
- Ready to Roll: Does the vacuum stand upright without wobbling?
A Quick Look at Dyson Ball Components
Understanding the names of the parts can be helpful. Here’s a simple breakdown:
| Part Name | Function |
|---|---|
| The Ball™ | Houses the motor and sophisticated technology for steering. |
| Wand | Extends your reach for cleaning floors and high-up areas. |
| Hose | Connects to the main body and wand, allowing for flexibility. |
| Cleaner Head | The primary brush bar attachment for floors. |
| Bin | Collects the dirt and debris. Needs regular emptying. |
Final Checks Before You Power Up
Before you hit the power button, give your assembled Dyson Ball vacuum one last once-over. Ensure the bin is empty and properly seated. Check that the cord is fully unwound. We found that these small details can help prevent issues and ensure your first cleaning session goes smoothly. You’re all set to experience the power of your new Dyson!
Conclusion
You’ve successfully assembled your Dyson Ball vacuum! We found that connecting the main components – the ball, wand, hose, and cleaner head – is designed to be simple. Remember to listen for that satisfying click to ensure each part is securely locked in place. This quick setup means you’re ready to tackle messes right away. Now that your vacuum is ready, go ahead and experience its powerful cleaning performance on your floors and beyond. Enjoy a cleaner home!
Frequently Asked Questions
My Dyson Ball wand won’t click into place, what should I do?
Don’t force it if it doesn’t click. We recommend first checking for any packing materials or debris that might be blocking the connection point. Sometimes, gently wiggling or slightly twisting the wand as you push can help it seat properly.
How do I know if the cleaner head is attached correctly?
A correctly attached cleaner head will feel very secure and shouldn’t wiggle loosely. You should hear a distinct click when it locks into place. If it feels wobbly, try disconnecting and reattaching it, ensuring the connection area is clean.
What if the hose doesn’t seem to connect firmly?
A firm hose connection is vital for good suction. Make sure you’re aligning the hose end correctly with the port on the vacuum body. If it’s still loose, inspect both the hose end and the port for any obstructions.
Do I need any tools to assemble my Dyson Ball vacuum?
Typically, no tools are required for assembling your Dyson Ball vacuum. Dyson designs them for a tool-free setup. All the main parts, like the wand, hose, and cleaner head, are meant to click or push into place.
Can I use attachments before the main vacuum is fully assembled?
We suggest completing the main assembly first by connecting the wand, hose, and cleaner head. Once those core parts are securely attached, you can then easily attach your desired tools to the end of the wand or hose for specific cleaning tasks.