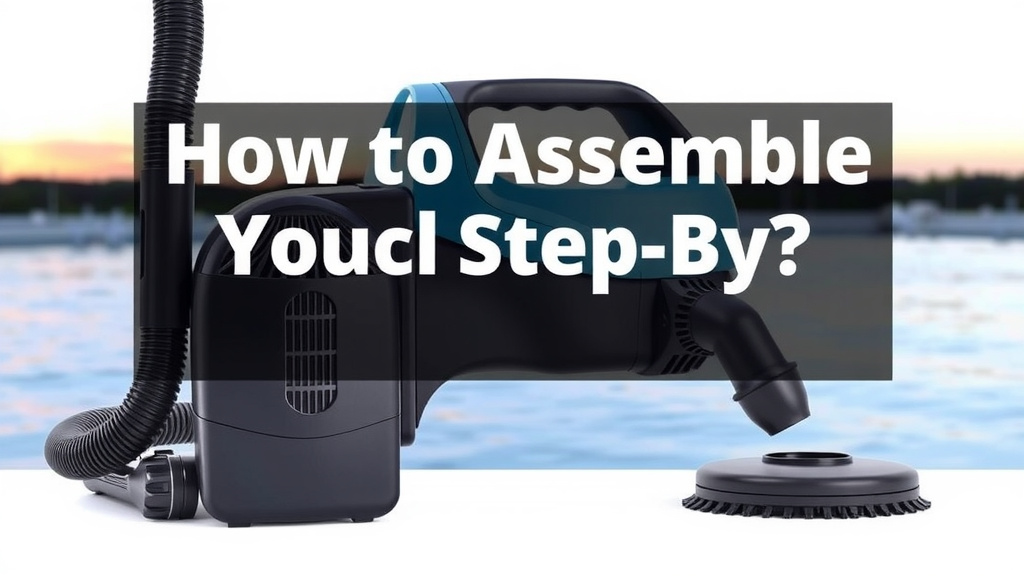
How to Assemble Your Pool Vacuum Step-by-Step
Assembling your pool vacuum is surprisingly simple and usually takes just a few minutes. Most pool vacuums consist of just a few main parts that click or screw together. Getting your pool vacuum ready means you’ll have a sparkling clean pool in no time.
Understanding the different components, like the vacuum head, telescoping pole, and hose, is key. This process ensures your vacuum is ready to tackle debris. We found that most common pool vacuums follow a similar assembly pattern, making it easy for any homeowner to follow.
- Attach the vacuum head to the pole.
- Connect the hose to the vacuum head.
- Attach the other end of the hose to your skimmer.
- Check for any leaks.
- Ensure all connections are secure.
Let’s walk through exactly how to put your pool vacuum together, step by step, so you can get back to enjoying your clean pool.
Putting Your Pool Vacuum Together: A Simple Guide
Assembling your pool vacuum is easier than you might think. Most vacuums are designed for quick setup. You’ll only need a few minutes to get it ready. Let’s walk through the process so you can enjoy a clean pool.
Understanding Your Pool Vacuum Parts
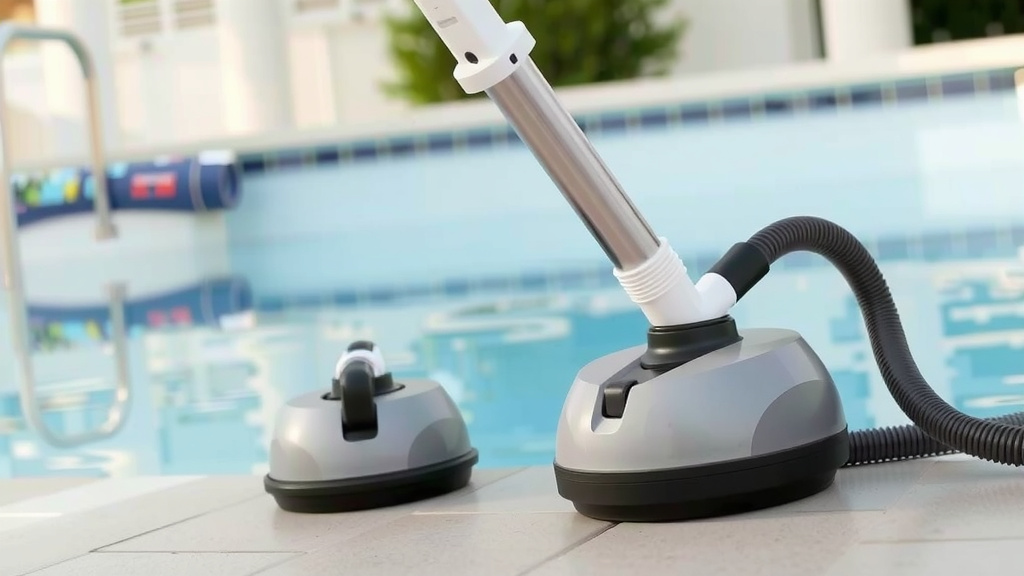
Your pool vacuum likely comes with a few key components. Knowing what each piece does helps with assembly. You’ll typically find a vacuum head, a telescoping pole, and a hose. Sometimes there are also weights or connectors. These parts work together to suck up debris.
The Vacuum Head: Your Debris Collector
The vacuum head is the part that actually touches the bottom of your pool. It has openings where water and dirt are drawn in. Many heads have wheels or brushes to help them glide smoothly. Some heads are designed for specific pool types, like in-ground or above-ground pools.
The Telescoping Pole: For Reach and Control
The telescoping pole allows you to extend your reach across the pool. It connects to the vacuum head. You can adjust its length to suit your height and the size of your pool. This makes it easier to maneuver the vacuum head without getting fully in the water.
The Hose: The Waterway for Debris
The hose is the crucial link between your vacuum head and your pool’s filtration system. Water flows through the hose, creating suction at the vacuum head. This suction pulls debris into the vacuum head and then through the hose. Pool vacuum hoses are usually flexible and come in sections or as one long piece.
Step-by-Step Assembly Process
Now, let’s get your vacuum ready for action. The assembly is straightforward and requires no special tools for most models.
Attaching the Vacuum Head to the Pole
First, find the end of your telescoping pole. It usually has a locking mechanism or a simple connection point. Your vacuum head will have a corresponding slot or fitting. Most of the time, it’s a simple push and lock, or a twist-and-secure motion. You should hear a click or feel it become firm. Many experts recommend giving it a gentle tug to ensure it’s secure before proceeding (Pool & Hot Tub Alliance).
Connecting the Hose to the Vacuum Head
Next, locate the inlet on your vacuum head. This is where the hose attaches. The hose end often has a fitting that matches the vacuum head’s inlet. You might need to twist the fitting onto the inlet until it’s snug. Make sure there’s a good seal here. A loose connection can cause your vacuum to lose suction power. We found that a tight connection is key for efficient cleaning.
Connecting the Other End of the Hose to Your Skimmer
This is a critical step for creating suction. You’ll need to connect the free end of your vacuum hose to your pool’s skimmer. Your skimmer is the opening in the side of your pool that has a basket. Many vacuum hoses come with an adapter that fits directly into the skimmer opening. Some may require you to remove the skimmer basket temporarily. Carefully insert the hose fitting into the skimmer. You want a good seal so that your pump can pull water efficiently through the hose. If your hose is in sections, ensure they are all securely connected before this step. We found that some homeowners use a weighted diverter to help keep the hose submerged and improve suction.
Priming Your Pool Vacuum Hose
Before you start vacuuming, you need to prime the hose. This means filling it with water. Submerge the vacuum head and pole into the pool. Slowly feed the hose into the water. You might need to move the hose around to get all the air out. Keep doing this until water fills the entire hose. You’ll see bubbles escaping from the skimmer connection as you fill it. This process ensures that air isn’t drawn into your pool pump, which could cause it to lose prime. Many pool maintenance guides suggest holding the free end of the hose up to the water’s surface until you see a steady flow of water coming out, indicating it’s full (Association of Pool & Spa Professionals).
Final Checks Before You Begin
Before you plunge your vacuum into action, a few quick checks can save you hassle later.
Securing All Connections
Go over each connection point. Is the pole securely attached to the head? Is the hose firmly connected to the head and the skimmer? A simple wiggle test can often reveal loose fittings. You want everything to feel solid and stable.
Checking for Leaks
While not always obvious, a small leak can reduce suction. Look for any drips or water escaping from the hose connections. If you see any, try to tighten the fitting or ensure the seal is properly seated. We found that even a small air leak can significantly impact vacuuming performance.
Ensuring Proper Hose Submersion
Make sure your entire vacuum hose is under the water. If any part of it is exposed to air, your pump could suck in air instead of water. This can lead to a loss of suction and potentially harm your pump. Double-check that the hose is fully submerged from the vacuum head all the way to the skimmer.
Quick Assembly Checklist
Here’s a quick rundown to make sure you haven’t missed anything:
- Vacuum head securely attached to the telescoping pole.
- Hose firmly connected to the vacuum head.
- Other end of the hose connected to the pool skimmer.
- Hose is fully submerged and free of kinks.
- All connections are tight and appear leak-free.
- Pump is running and creating suction at the skimmer.
Conclusion
You’ve successfully assembled your pool vacuum! We covered the essential parts and walked through each connection step. Attaching the head to the pole, connecting the hose, and securing it to the skimmer are key. Remember to prime the hose and double-check all connections for leaks. Your pool is now ready for a thorough cleaning. Grab your pool brush, and get ready to enjoy a crystal-clear oasis!
Frequently Asked Questions
How do I know if my pool vacuum hose is properly primed?
Your hose is primed when water fills it completely. You should see air bubbles escaping from the skimmer connection as you fill it. Holding the free end of the hose up to the water’s surface until you see a steady stream of water indicates it’s full.
What if my pool vacuum seems to have weak suction?
Weak suction is often due to loose connections or air leaks. Go back and ensure the hose is tightly secured to both the vacuum head and the skimmer. Also, check that the entire hose is submerged and free of kinks.
Do I need to remove my skimmer basket when attaching the hose?
In many cases, yes. The vacuum hose fitting often needs direct access to the skimmer opening. Removing the basket temporarily usually allows for a better seal and improved suction power for your vacuum.
Can I use a pool vacuum if my pool pump is off?
No, your pool pump must be running to create the necessary suction for the vacuum. The pump pulls water through the hose and vacuum head, which is how debris is collected.
My pool vacuum hose came in sections. How do I connect them securely?
Most sections simply screw together. Ensure you twist them tightly to form a secure connection. Check each section before attaching the hose to the vacuum head and skimmer to prevent leaks and maintain strong suction.
![7 Best Handheld Vacuum For Suction [2026]](https://bathroomexplorer.com/wp-content/uploads/2026/06/7-best-handheld-vacuum-for-suction-2026-featured-768x432.jpg)