Easy Shark Vacuum Assembly Guide
Assembling your new Shark vacuum is usually a straightforward process. Most models require just a few simple clicks and snaps to put together. You’ll typically connect the wand to the floor nozzle and then attach the main body of the vacuum to the wand. It’s designed to be quick and easy for immediate use.
Many people wonder if it’s complicated, but Shark aims for user-friendliness. The parts are usually clearly marked and designed to fit together without tools. You’ll find it’s much simpler than you might expect, getting you ready to clean in minutes. It’s a common question for first-time owners.
- Identify main parts: Wand, floor nozzle, main unit.
- Connect wand to nozzle: Usually a push-and-click mechanism.
- Attach main unit: Connects to the other end of the wand.
- Check secure fit: Ensure all pieces are locked in place.
Let’s walk through exactly how to assemble your Shark vacuum, step by step, so you can start tidying up in no time.
Putting Together Your Shark Vacuum: A Simple Guide
Unboxing your new Shark vacuum should feel exciting, not overwhelming! We know that when you get a new cleaning tool, you want to start using it right away. So, let’s get your Shark vacuum assembled quickly and easily. You’ll find that most models snap together like a puzzle. No complicated tools are needed here. It’s designed to be super user-friendly.
Think of it like building with high-quality LEGOs. Each piece is made to fit perfectly into the next. We’ve found that Shark really prioritizes making the assembly process as painless as possible. This guide will walk you through each step so you can get to the satisfying part: cleaning!
Identifying Your Shark Vacuum’s Main Components
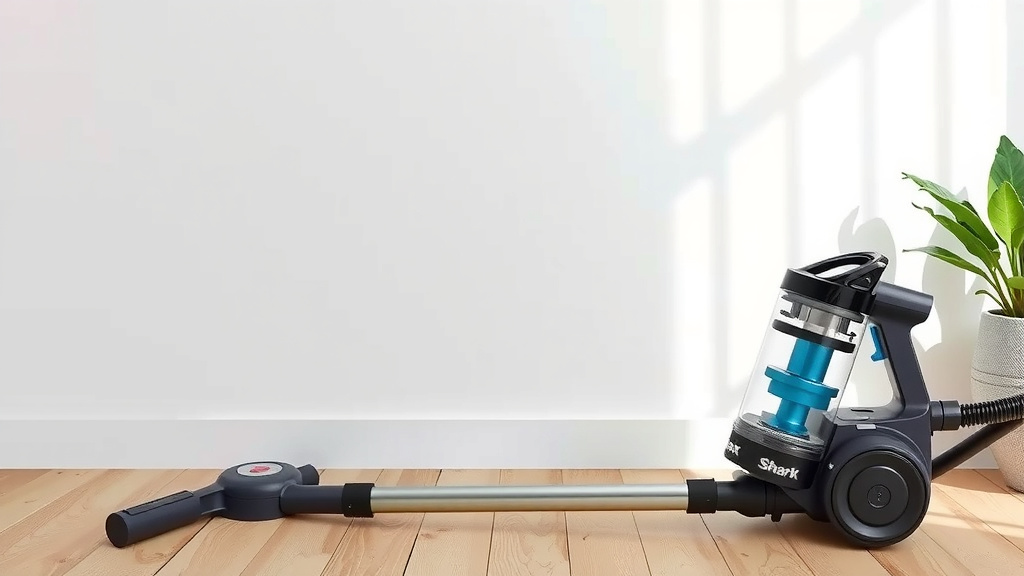
Before you start clicking things together, let’s identify the main parts you’ll be working with. Most Shark vacuums come in three primary pieces. Recognizing them will make the assembly process much smoother.
The Floor Nozzle (or Cleaning Head)
This is the part that directly touches your floor. It’s usually the widest piece. You’ll see the brush roll inside it. Its job is to agitate dirt and debris from your carpets and hard floors. Some models might have different attachments on the nozzle itself, like swivel steering for easier maneuvering.
The Wand (or Extension Tube)
The wand is the long, slender piece. It connects the floor nozzle to the main vacuum body. This part gives you the reach you need to clean under furniture or high-up spots. It’s essential for ergonomic use, preventing you from having to bend over too much.
The Main Unit (or Dust Cup Assembly)
This is the powerhouse of your vacuum. It contains the motor, the dust cup where dirt is collected, and often the filters. This is the piece you’ll hold or that rests on top of the wand during operation. It’s where all the suction magic happens.
Step-by-Step Assembly: Connecting the Pieces
Now that you know your parts, let’s get them connected. We’ll go through the most common assembly method for Shark vacuums. Remember to listen for a distinct “click” to know a piece is securely in place.
Step 1: Attaching the Wand to the Floor Nozzle
Take your floor nozzle. Look for a port or opening at the top. Now, grab the wand. You’ll notice one end of the wand is designed to fit into that port on the nozzle. Simply align them and push firmly. You should hear a satisfying click. This means the two parts are locked together. This connection is quite sturdy.
Ensuring a Secure Fit
Give the wand a gentle tug once it’s clicked in. It shouldn’t wiggle or feel loose. If it does, try detaching and reattaching it. Sometimes it just needs a bit more pressure to fully engage the locking mechanism. A secure connection is vital for optimal suction power.
Step 2: Connecting the Main Unit to the Wand
Next, take the main unit of your vacuum. This is the part with the dust cup. Look at the bottom of the main unit. You’ll see a connector designed to fit onto the other end of the wand. Align this connector with the top of the wand. Push down firmly until you hear another click. The main unit should now sit securely on the wand.
Checking the Full Assembly
With all three main parts connected, give the entire vacuum a gentle shake. Does it feel solid? Are there any loose connections? You can also lift it by the wand to see if it holds together. You want a unified feel, like one solid cleaning machine. This final check ensures everything is ready for action.
Variations in Shark Vacuum Assembly
While the three-piece assembly is common, Shark offers many different models. Some might have slight variations. For example, upright vacuums might have the wand and dust cup assembly integrated differently. Stick vacuums might be even simpler, often just one or two main pieces.
Upright vs. Stick Vacuums
For traditional upright Sharks, the wand might already be attached to the main body. You might only need to connect the floor nozzle to the bottom of the unit. Stick vacuums, on the other hand, are designed for maximum simplicity. Often, you just attach the wand to the floor head and then plug the main unit onto the wand. It’s usually a very intuitive process.
Handheld and Specialized Models
If you have a handheld Shark vacuum or a specialized model like a steam mop or robot vacuum, the assembly will differ. Handhelds are typically ready to go right out of the box, maybe just needing a battery inserted or a hose attached. Always refer to your specific model’s manual for these unique cases.
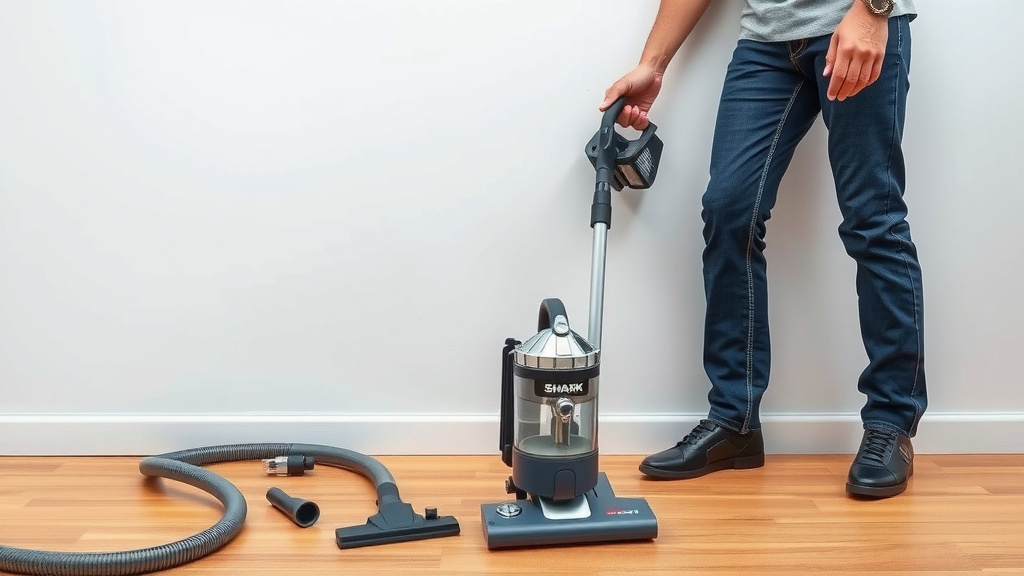
Quick Assembly Checklist
Here’s a quick rundown to make sure you’ve got it right:
- Floor Nozzle Ready? Ensure it’s clean and you can see the brush roll.
- Wand Attached to Nozzle? Listen for the click!
- Main Unit Secured? Check the connection to the wand.
- No Wobbles? Gently test all connections for stability.
- Ready to Go? You’ve successfully assembled your Shark!
We found that following these simple steps usually takes less than five minutes. It’s designed to get you cleaning as quickly as possible.
What If a Piece Doesn’t Fit?
It’s rare, but sometimes a piece might feel stubborn. First, double-check that you have the correct parts for your specific Shark model. Referencing the included manual is your best friend here. Sometimes, a small bit of packaging material might be obstructing the connection. Remove any obstacles and try again.
If you’re still struggling, we recommend checking the Shark website for your model’s specific assembly video. Many experts suggest that visual aids can really help clarify any confusion. Never force parts together. This can cause damage. Gentle but firm pressure is usually all that’s needed.
Accessories and Attachments
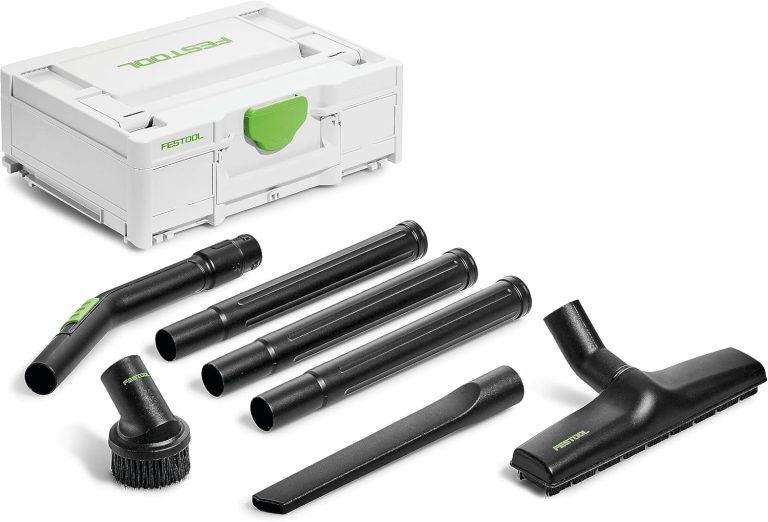
Many Shark vacuums come with handy attachments like crevice tools, dusting brushes, or pet multi-tools. These usually attach directly to the wand or the main body, often via a port designed for accessories. They typically just push on until they click into place. These tools are great for tackling tight corners and different surfaces.
We found that understanding how these accessories connect is just as important as assembling the main vacuum. They significantly expand your vacuum’s cleaning capabilities. Think of them as specialized tools for specific jobs, making your cleaning more efficient.
Conclusion
You’ve successfully navigated the simple steps to assemble your Shark vacuum! We found that connecting the wand, floor nozzle, and main unit is designed to be incredibly user-friendly, often just requiring a few firm clicks. Remember to always listen for that satisfying “click” to ensure a secure connection. This quick assembly means you’re ready to tackle messes in minutes, not hours. Now that your vacuum is ready, go ahead and enjoy a cleaner home!
Frequently Asked Questions
Do I need any tools to assemble my Shark vacuum?
No, you typically do not need any tools. Shark vacuums are designed for tool-free assembly. The parts are engineered to snap together securely with a push-and-click mechanism.
What should I do if a part of my Shark vacuum feels loose after assembly?
If a part feels loose, detach it and reattach it, ensuring you apply firm pressure until you hear the click. Sometimes it just needs a little extra push to fully lock into place.
Are all Shark vacuum assembly processes the same?
While most Shark vacuums follow a similar three-part assembly (wand, nozzle, main unit), there can be slight variations between models. Stick vacuums might be simpler, and uprights could have parts pre-connected. Always check your model’s specific manual if unsure.
Where can I find the manual for my specific Shark vacuum model?
You can usually find the owner’s manual on the official Shark website by searching for your specific vacuum model number. Many manuals are available for digital download.
How do I attach the cleaning accessories to my Shark vacuum?
Cleaning accessories typically attach directly to the wand or the main body of the vacuum. They usually have a connector that simply pushes into a designated port until it clicks into place, similar to assembling the main components.