How to Assemble Your Vacuum Cleaner Easily and Fast
Assembling your new vacuum cleaner is usually pretty straightforward. Most models require you to simply snap the main parts together, attach the hose and wand, and perhaps secure a bag or bin. It often takes less than 15 minutes to get your vacuum ready to tackle dust bunnies.
We know unboxing a new appliance can be exciting, but instructions can sometimes feel overwhelming. Don’t worry; we found that most vacuums are designed for easy DIY setup. You’ll likely just need to connect the body, handle, and any attachments.
- Unpack all parts carefully.
- Identify the main body, wand, and hose.
- Look for connection points and click mechanisms.
- Attach any necessary accessories like bags or filters.
- Test the power and suction.
Let’s walk through exactly how to assemble your vacuum step by step, so you can get cleaning in no time!
Putting Your New Vacuum Together
So, you’ve unboxed your brand new vacuum cleaner. That’s fantastic! Getting it ready to go shouldn’t be a chore. We found that most models are designed for simple assembly. Think of it like putting together a puzzle, but way more useful. You’ll typically just connect a few main pieces. Let’s break down the process step-by-step.
Unpacking and Identifying Parts
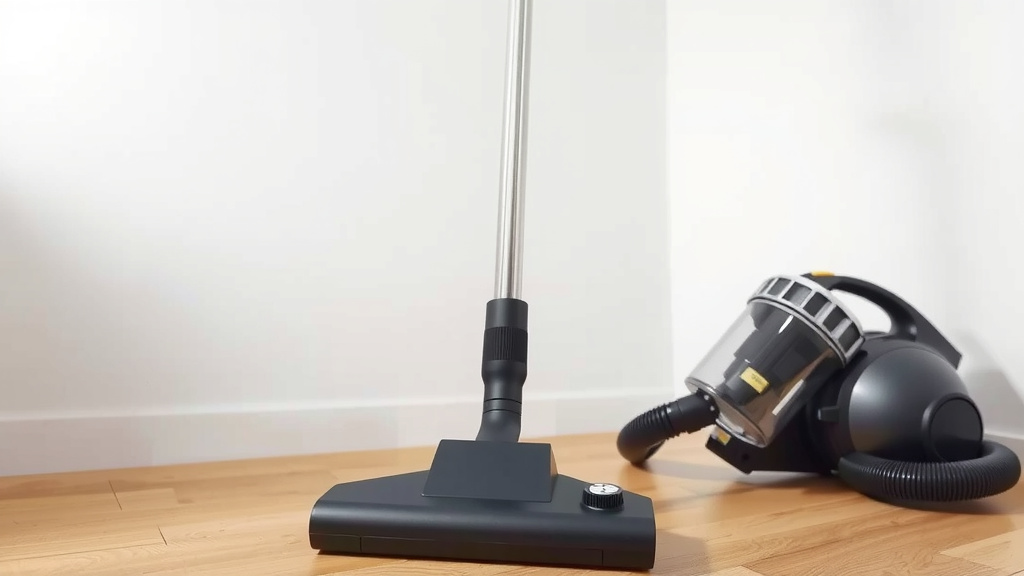
First things first, gently unpack everything from the box. Lay out all the components on a clean, flat surface. This makes it easier to see exactly what you have. Most vacuums come with a main body unit, a wand or extension tube, and a hose. You might also find different brush heads, crevice tools, or upholstery attachments. Check your user manual to make sure you have all the parts listed. This step prevents any surprises later on.
Connecting the Main Body and Wand
This is often the most satisfying part. You’ll usually see a clear slot or connector on the main vacuum body. Your wand or extension tube will have a corresponding end. Simply align them and push firmly until you hear or feel a satisfying click. This click means the pieces are securely locked together. Many manufacturers use a button release system, so you might need to press a button while inserting or removing parts. Always refer to your manual if you’re unsure about the connection mechanism.
Understanding Different Wand Types
Some vacuums have a single-piece wand. Others might have a wand that breaks into two sections for easier storage. If yours is two-part, you’ll connect those pieces first, usually by sliding one into the other until they lock. Then, you’ll attach the assembled wand to the main vacuum body. It’s all about creating a long enough reach for comfortable cleaning.
Attaching the Hose
The hose connects the main body to the wand or cleaning head, depending on your vacuum’s design. Look for a port on the vacuum body, often near the base or the handle area. The hose will have a fitting that slides or twists into this port. Again, listen for that confirmation click. Some hoses might require a gentle twist to lock them in place. Make sure the hose is attached securely; a loose connection can affect suction power. We found that a properly seated hose is key to optimal performance.
Ensuring a Tight Seal
A tight seal at both ends of the hose is really important for good suction. If you notice air escaping, gently detach and reattach the hose. Double-check that any clips or locking mechanisms are fully engaged. A good seal means more dirt gets sucked up, not lost into the air.
Installing the Dust Bag or Emptying the Bin
This step varies greatly depending on whether you have a bagged or bagless vacuum. If you have a bagged model, you’ll need to insert a new dust bag. Locate the compartment where the bag goes. Usually, there’s a flap or a door to open. Slide the bag’s cardboard collar onto the designated fitting, ensuring it’s snug. Then, close the compartment door securely. For bagless vacuums, you’ll likely have a dustbin that detaches. Simply pull it off, empty the contents into your trash can, and then reattach it. Make sure it clicks back into place firmly. Many experts recommend emptying the bin when it’s about two-thirds full. This helps maintain consistent suction power (Cleveland Clinic).
Checking and Installing Filters
Most modern vacuums have filters to trap fine dust and allergens. These are super important for air quality. Your manual will show you where the filters are located. They might be near the dustbin, under a cover, or in the exhaust area. Some filters are washable, while others need to be replaced periodically. If you’re installing a new filter, make sure it’s the correct type for your model and that it sits flush in its housing. Clean or replace filters as recommended to keep your vacuum running efficiently and your air clean. Studies show that regular filter maintenance can significantly improve indoor air quality (EPA).
Attaching Specialty Tools and Accessories
Your vacuum likely came with extra attachments for different cleaning tasks. These might include a crevice tool for tight spaces, an upholstery tool for furniture, or a dusting brush. These tools typically attach to the end of the wand or directly to the hose. They often have a simple push-and-click or twist-and-lock mechanism. You’ll want to attach the right tool for the job before you start cleaning. This makes your vacuum more versatile.
A Quick Assembly Checklist
Let’s run through a quick checklist to make sure you’re all set:
- All parts are unpacked and accounted for.
- The main body and wand are securely connected.
- The hose is attached firmly at both ends.
- A dust bag is installed or the dustbin is correctly in place.
- Any necessary filters are properly seated.
- Any initial attachments you plan to use are connected.
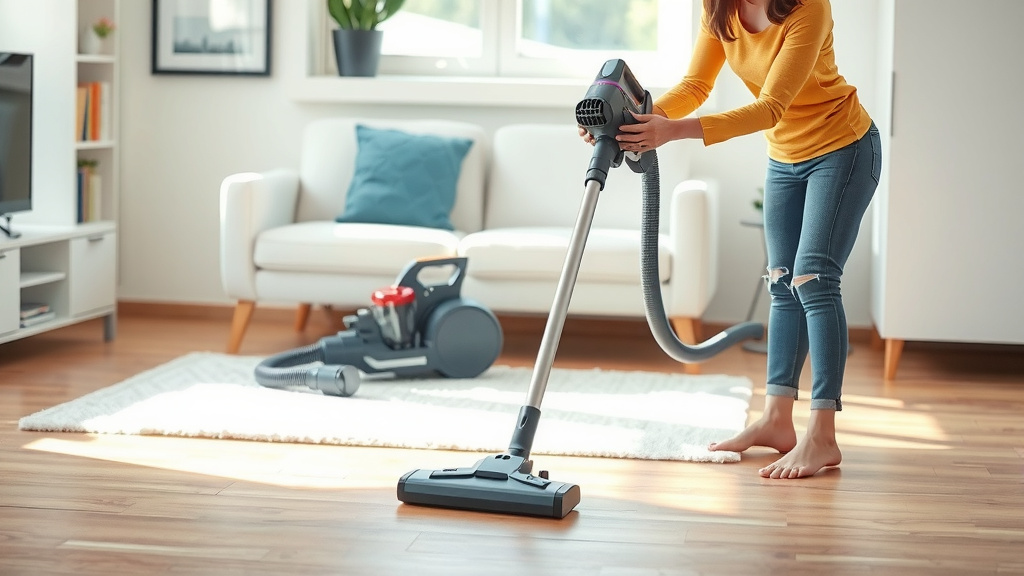
Once everything is put together, it’s time for the moment of truth! Plug in your vacuum and give it a quick test run. Does it power on? Does it sound right? You should feel that satisfying pull of suction. If everything feels solid and it’s working as expected, congratulations! You’ve successfully assembled your new vacuum cleaner and are ready to tackle those dusty floors. It’s amazing how quickly you can get a powerful cleaning tool ready for action.
Conclusion
You’ve now seen how assembling your new vacuum cleaner is a simple process. By carefully unpacking, identifying your parts, and following the click-and-connect steps, you’ll have your machine ready in minutes. Remember to ensure a tight seal on the hose and properly install bags or bins for optimal suction. Taking these few steps ensures your vacuum works efficiently right out of the box. Now, plug it in and enjoy a cleaner home!
Frequently Asked Questions
What if a part doesn’t seem to fit or click into place?
First, double-check that you have the correct part for that specific connection point. Refer back to your user manual to ensure you are aligning the pieces correctly. Sometimes, a gentle but firm push is needed, but if it still feels forced, stop and re-evaluate. You don’t want to damage any components.
Do I need any tools to assemble my vacuum?
In most cases, no tools are required. Vacuum manufacturers design them for easy, tool-free assembly. You’ll typically just need your hands to connect the main body, wand, hose, and any accessories. Always check your manual, but expect a straightforward, snap-together setup.
How do I know if the dust bag or bin is installed correctly?
For bagged vacuums, ensure the cardboard collar of the bag is fully seated on the fitting and that the compartment door closes securely. For bagless models, the dustbin should click firmly into place. You’ll often feel or hear a distinct “click” when it’s properly secured, indicating a good seal.
My new vacuum has a strange smell. Is that normal after assembly?
It’s not uncommon for new appliances to have a slight manufacturing smell. Running the vacuum for a few minutes in a well-ventilated area should help dissipate it. If the smell is strong or resembles burning plastic, unplug the vacuum immediately and recheck all connections and filter installations, or contact customer support.
Can I use my vacuum if the hose isn’t perfectly sealed?
We recommend not using your vacuum if the hose has a poor seal. Air leaks can significantly reduce suction power, meaning your vacuum won’t clean as effectively. It might also cause the motor to work harder than necessary. Re-seat the hose firmly at both ends to ensure a tight connection.
![7 Best Handheld Vacuum For Stairs With Carpet [2026]](https://bathroomexplorer.com/wp-content/uploads/2026/06/7-best-handheld-vacuum-for-stairs-with-carpet-2026-featured-768x432.jpg)

![7 Best Cordless Vacuum For Berber Carpet [2026]](https://bathroomexplorer.com/wp-content/uploads/2026/05/7-best-cordless-vacuum-for-berber-carpet-2026-featured-768x432.jpg)