How to Attach Your Kirby Vacuum Belt Step-by-Step
Attaching a new Kirby vacuum belt is a fairly straightforward process. You’ll typically need to turn off and unplug your vacuum first. Then, you can usually lift the bottom plate and slip the old belt off. Finally, place the new belt onto the motor shaft and the brush roll. Many people find this repair easier than they expect!
Your Kirby vacuum might not be cleaning effectively if the belt is worn out. A broken or stretched belt means the brush roll can’t spin correctly. This affects how well your vacuum picks up dirt and debris. We found that a properly functioning belt is key to a clean carpet.
- Turn off and unplug your vacuum.
- Lift the bottom plate or handle.
- Remove the old, worn belt.
- Place the new belt on the motor shaft.
- Connect the other end to the brush roll.
Let’s walk through exactly how to get that new Kirby belt on there step by step so your vacuum is ready to tackle any mess.
Getting Your Kirby Vacuum Belt Attached Properly
Replacing your Kirby vacuum belt is a task you can handle at home. A worn-out belt can cause your vacuum to lose suction. It also prevents the brush roll from agitating your carpet effectively. We found that knowing the right steps makes this job much easier.
Signs Your Kirby Vacuum Belt Needs Replacing
Your Kirby vacuum is a powerful machine, but like any tool, its parts wear out. The drive belt is a common component that needs attention over time. How do you know when it’s time to swap it out? Several signs point to a failing belt.
Reduced Cleaning Performance
The most obvious sign is that your vacuum isn’t cleaning like it used to. If your carpet still looks dirty after vacuuming, the belt might be the culprit. A loose or broken belt means the brush roll isn’t spinning at the correct speed. This directly impacts dirt pickup.
Unusual Noises
Listen to your vacuum. Is it making strange sounds? A worn belt can slip and cause a whining or squealing noise. This sound happens when the belt struggles to grip the motor shaft or brush roll. These noises are your vacuum telling you it needs help.
Visible Belt Damage
Sometimes, you can see the problem. If you can access the belt, look for any signs of wear. Is it frayed, cracked, or stretched out? A belt that looks thin or has pieces missing is definitely due for replacement. You might even find that the belt has completely snapped.
Preparing for the Kirby Belt Replacement
Before you start, gather everything you need. Having the right tools and a new belt ready will make the process smooth. We recommend having a clean workspace, too. This prevents losing small parts.
Gather Your Supplies
What exactly do you need? You’ll need a new Kirby vacuum belt. Make sure it’s the correct model for your specific Kirby vacuum cleaner. You might also need a flathead screwdriver or a small pry tool. These can help lift the bottom plate if it’s stuck.
Safety First: Power Down
This step is non-negotiable. Always turn off and unplug your vacuum cleaner before doing any maintenance. Electricity and moving parts are a dangerous combination. We found that unplugging the machine is the most critical safety step.
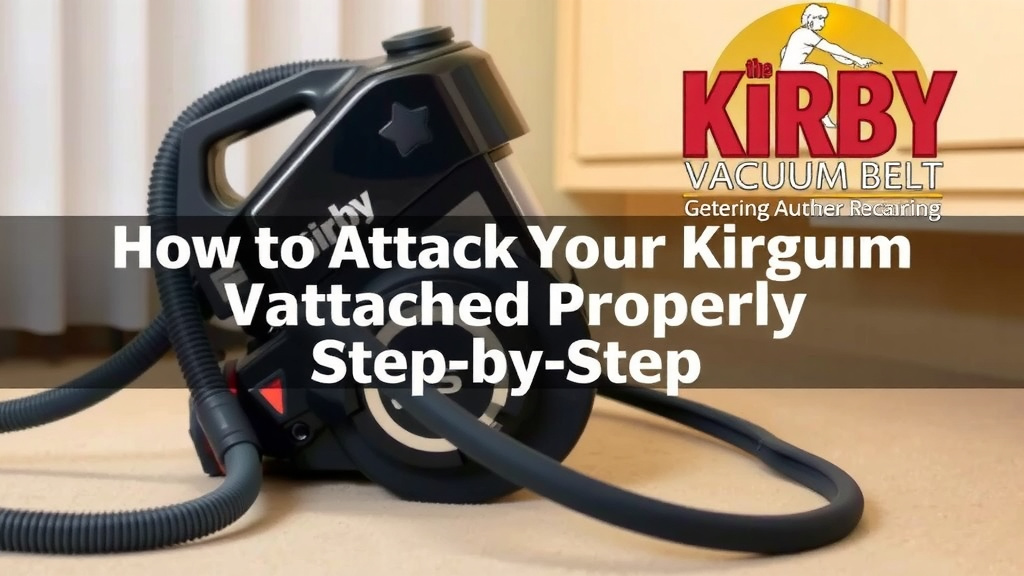
Step-by-Step Guide to Attaching Your New Kirby Belt
Now, let’s get to the core of the task. Attaching the new belt involves a few distinct steps. We’ll guide you through each one so you can get your vacuum back in top shape.
Accessing the Brush Roll and Belt
You need to get to the area where the belt is housed. This usually involves removing the bottom plate of your vacuum. Some Kirby models have a handle or latch that you lift. Others require you to unscrew a plate. Consult your vacuum’s manual if you’re unsure.
For most models, you’ll find clips or screws holding the bottom plate in place. Gently pry these open or remove the screws. The plate should then lift away. Be careful not to force anything, as you could damage your vacuum.
Removing the Old Belt
Once the bottom plate is off, you’ll see the old belt. It might be stretched or broken. Simply slide the old belt off the motor shaft. Then, carefully unhook it from the brush roll. If the belt is broken, you might just find the pieces. Dispose of the old belt properly.
Installing the New Belt
This is the main event! Take your new Kirby vacuum belt. Place one end of the new belt onto the motor shaft. This is usually a small metal post. Ensure it’s seated securely on the shaft.
Connecting to the Brush Roll
Next, stretch the other end of the belt. You need to hook it onto the brush roll. The brush roll is the large, spinning brush at the bottom of your vacuum. It might take a little effort to stretch the belt. This is normal, as the belt needs to be snug to work correctly. Some people find it easier to turn the brush roll slightly while guiding the belt on.
We found that a slight twist of the brush roll can help align the belt. Ensure the belt is centered on the brush roll. A crooked belt won’t spin evenly. It could also wear out faster.
Testing the Fit and Function
Before putting everything back together, give it a quick check. Spin the brush roll by hand. Does the belt move with it? Does it seem tight and secure? This is your chance to make sure it’s on correctly. A properly installed belt will move smoothly.
Reassembling Your Kirby Vacuum
Once you’re confident the belt is on correctly, you can reassemble your vacuum. Reattach the bottom plate. Make sure any clips or screws are secured tightly. You want everything to be firm and stable.
Final Checks and Getting Back to Cleaning
You’re almost done! Just a few more steps to ensure everything is perfect.
Plug In and Test Run
Plug your Kirby vacuum back in. Turn it on. Listen for any unusual noises. You can also gently press the vacuum against the carpet. The brush roll should spin freely. If it sounds good and spins well, you’ve succeeded!
Troubleshooting Common Issues
What if something isn’t quite right? If you hear grinding noises, the belt might be off-center or too tight. If the brush roll doesn’t spin, the belt could have slipped off the motor shaft. You may need to open it up again and re-seat the belt. We found that patience is key during this step.
Here’s a quick checklist to ensure you’ve covered everything:
- Vacuum unplugged
- Bottom plate/handle removed
- Old belt removed
- New belt on motor shaft
- New belt on brush roll
- Bottom plate reattached securely
Conclusion
You’ve successfully learned how to attach a new Kirby vacuum belt. This essential maintenance keeps your vacuum running efficiently. Remember to always prioritize safety by unplugging your machine. With a little care, you’ve ensured your Kirby can tackle dirt and debris effectively. Now that your vacuum is ready, go enjoy a cleaner home!
Frequently Asked Questions
How often should I replace my Kirby vacuum belt?
We found that most manufacturers recommend checking your Kirby vacuum belt every 6 to 12 months. However, this can vary based on how often you use your vacuum and the types of surfaces you clean. Visually inspect the belt for signs of wear during regular cleaning sessions.
My new belt feels very tight. Is that normal?
Yes, a new Kirby vacuum belt should feel snug. A belt that’s too loose won’t engage the brush roll properly, reducing cleaning power. If you had to stretch it significantly to get it on, that’s a good sign it’s the correct tension.
What if my Kirby vacuum belt keeps slipping off?
If the belt repeatedly slips off, first ensure you’ve removed all debris from the motor shaft and brush roll. Double-check that the belt is correctly seated on both components and that the bottom plate is securely fastened. We found that a bent motor shaft can also cause this issue.
Can I use a generic vacuum belt on my Kirby?
While generic belts might fit, we strongly advise using the correct Kirby replacement belt for your specific model. Kirby vacuums are designed with precise parts, and using the wrong belt can lead to poor performance or even damage to your machine.
What’s the difference between a drive belt and a brush roll belt?
In most Kirby vacuums, the belt you’re replacing is the drive belt, which powers the brush roll. Some older or specialized models might have separate belts for different functions, but for typical home use, you’re usually dealing with the main drive belt that connects the motor to the brush roll.
![7 Best Material For Vacuum Forming [2026]](https://bathroomexplorer.com/wp-content/uploads/2026/06/7-best-material-for-vacuum-forming-2026-featured-768x432.jpg)