How to Attach Vacuum Attachments Easily
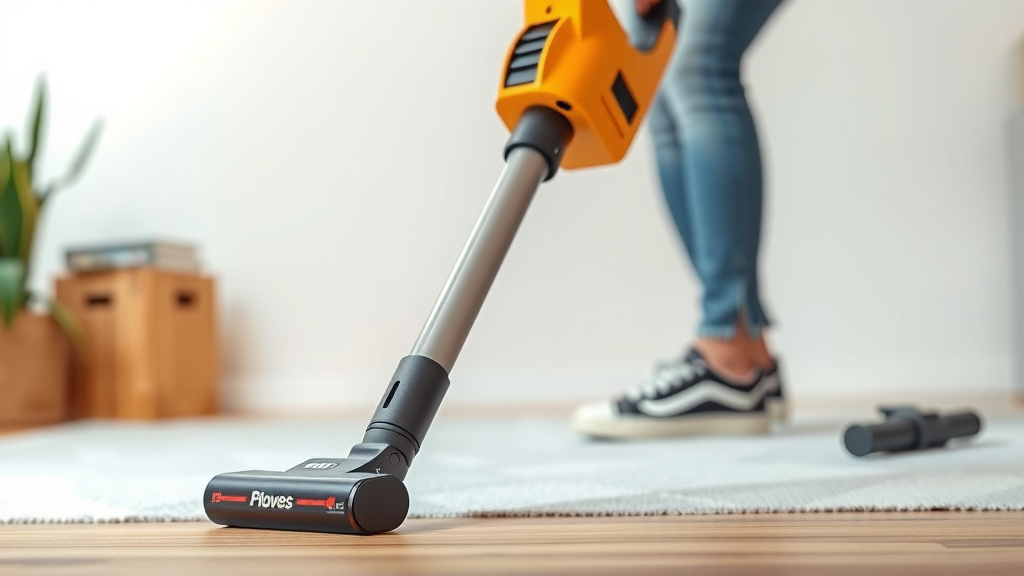
Attaching your vacuum attachments is usually a simple click or twist. Most vacuums use a quick-connect system for easy swapping. You’ll typically find a port on the wand or the vacuum body where accessories fit securely. This makes cleaning different surfaces a breeze!
Your vacuum likely came with several tools. These are designed for specific cleaning jobs, like crevice tools for tight spots or upholstery brushes. Matching the right attachment to the task helps you clean more effectively and protects your surfaces. We found that using the correct attachment can really cut down on cleaning time.
TL;DR:
- Vacuum attachments usually click or twist on.
- Look for a port on the wand or vacuum body.
- Different attachments tackle different cleaning jobs.
- Using the right tool makes cleaning easier.
Let’s walk through exactly how to get those handy vacuum tools connected so you can get back to your cleaning mission.
Connecting Your Vacuum Accessories with Ease
Attaching your vacuum’s cleaning tools is usually quite straightforward. Most modern vacuums feature a quick-connect system. This makes swapping out tools a breeze. You’ll typically see a port on the vacuum’s wand or body. Accessories just click or twist into place here. We’ve found this design really speeds up the cleaning process.
Identifying Your Vacuum’s Attachment Ports
Before you can attach anything, you need to know where the connections are. Most vacuums are designed with this in mind. Let’s find those ports!
The Wand Connection
The most common spot is right on the wand. This is the long tube you hold. You’ll usually find a round or rectangular opening near the top or bottom. This port is often where your main cleaning head connects. It’s also where many smaller tools will attach.
The Vacuum Body Port
Some vacuums also have ports directly on the main body of the machine. These are often used for specialized tools or when you’re using the vacuum as a canister. Look for similar-shaped openings on the plastic casing.
Understanding Different Attachment Types
Your vacuum probably came with a few different tools. Each one is designed for a specific cleaning job. Knowing what each tool does helps you pick the right one. This makes cleaning more effective and efficient.
The Crevice Tool
This is usually a long, narrow tool. It’s perfect for getting into tight spaces. Think about the gaps between couch cushions or along baseboards. We found this tool indispensable for those hard-to-reach spots. It has a slim profile that fits where larger heads can’t go.
The Dusting Brush
You’ll often recognize this by its soft bristles. It’s designed for delicate surfaces. You can use it on lampshades, bookshelves, or even electronics. It gently lifts dust without scratching. Many experts recommend using a dusting brush to protect delicate items (Good Housekeeping).
The Upholstery Tool
This attachment is typically wider and flatter. It often has a fabric strip or bristles. It’s ideal for cleaning furniture, curtains, and car interiors. It helps lift embedded dirt and pet hair from fabric surfaces. We found that using this on pet beds made a big difference.
The Power Brush/Mini Motorhead
Some vacuums come with a smaller version of the main floor head. This is often called a power brush or mini motorhead. It’s great for stairs, upholstery, or smaller carpeted areas. Its rotating brush helps agitate dirt for a deeper clean.
Step-by-Step Attachment Process
Ready to connect a tool? It’s usually very simple. Let’s walk through the common methods.
The Click-On Method
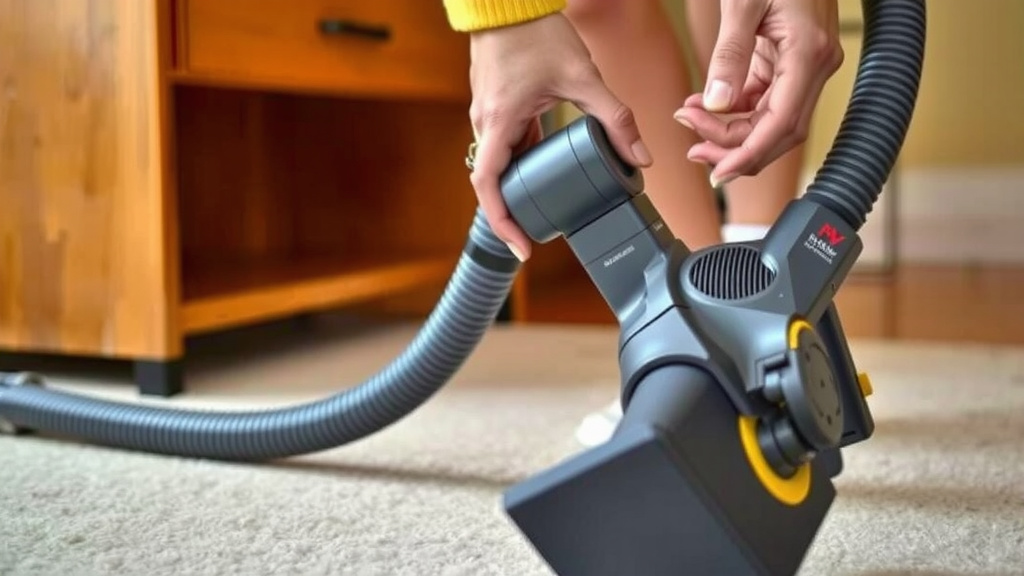
This is the most frequent type. You’ll see a button or tab on the end of the accessory. Line this up with the corresponding slot or opening on the wand or vacuum body. Push the accessory firmly until you hear or feel a click. This confirms it’s locked in place. Many sources describe this as the standard for modern vacuums.
The Twist-On Method
Some attachments use a twisting motion. You’ll see a specific shape on the base of the tool that matches the port. Insert the tool into the port. Then, twist it in the direction indicated (usually clockwise) until it locks. This provides a secure connection for some models.
Securing the Connection
Once attached, give the tool a gentle tug. It should feel securely fastened. If it feels loose or wobbly, it’s not properly connected. Try reattaching it, ensuring you hear or feel the lock engage. A secure fit prevents the attachment from falling off mid-task.
Troubleshooting Common Attachment Issues
What if it’s not clicking or twisting easily? Don’t worry, it happens!
Obstructions in the Port
Sometimes, a bit of dust or debris can get lodged in the attachment port. This can prevent a smooth connection. You can usually clear this by gently wiping the port with a dry cloth. For stubborn blockages, a soft brush might help.
Misalignment of the Connector
Are you sure you have the correct angle? Ensure the tab or connector on the accessory is lined up perfectly with the slot on the vacuum. Sometimes, trying a slightly different angle can help it slide into place. A common mistake is trying to force it without proper alignment.
Worn-Out Connectors
Over time, the plastic connectors on both the vacuum and the attachments can wear down. If an attachment consistently feels loose or won’t lock, the connector might be damaged. If this is the case, you might need to contact the manufacturer for replacement parts. We found that checking reviews for your specific model can sometimes reveal common issues like this.
Checklist: Getting Your Attachments Ready
To make sure you’re all set, run through this quick checklist:
- Identify the attachment port(s) on your vacuum.
- Choose the right tool for your cleaning task.
- Align the accessory connector with the vacuum port.
- Push or twist until you hear a secure click or lock.
- Give the attachment a gentle tug to confirm it’s secure.
- If it doesn’t attach easily, check for obstructions or misalignment.
Conclusion
You’ve now got the know-how to confidently attach any of your vacuum’s cleaning accessories. Remember, it’s typically a simple click or twist into the designated port on the wand or body. Using the right attachment for each job, whether it’s the crevice tool for tight spots or the upholstery brush for your sofa, will make your cleaning routine much more effective. Don’t let those handy tools go unused! Next time you vacuum, take a moment to select and attach the perfect accessory for the task at hand, and you’ll see a real difference in your home’s cleanliness.
Frequently Asked Questions
What if my vacuum attachment won’t click into place?
If an attachment isn’t clicking, first check for any visible obstructions like dust or debris inside the port or on the connector. Gently clean these areas. Then, ensure you have the correct alignment; try rotating the attachment slightly before pushing firmly.
Can I use attachments from a different vacuum brand?
Generally, it’s best to stick with attachments designed for your specific vacuum brand and model. While some might look similar, the connection ports and diameters can vary, leading to a loose or incompatible fit that could even damage your vacuum.
How do I know which attachment is for which surface?
Each attachment is designed for a purpose. Narrow, pointed tools are for crevices, soft-bristled brushes are for delicate surfaces like lampshades, wider tools with fabric strips are for upholstery, and mini motorheads are great for stairs and furniture.
Is it normal for some attachments to twist on while others click?
Yes, it’s very common! Different vacuum models use slightly different quick-connect systems. Some use a straightforward push-and-click mechanism, while others require a twist to lock the attachment securely into place.
My attachment feels loose after I attach it, what should I do?
If an attachment feels wobbly after you’ve connected it, it’s likely not fully locked. Re-attach it, making sure you feel or hear the distinct “click” or resistance of the lock engaging. A secure connection is essential for effective cleaning and to prevent the attachment from falling off.
![7 Best Cordless Vacuum For Golden Retriever Hair [2026]](https://bathroomexplorer.com/wp-content/uploads/2026/05/7-best-cordless-vacuum-for-golden-retriever-hair-2026-featured-768x432.jpg)

![7 Best Handheld Vacuum For Small Spaces [2026]](https://bathroomexplorer.com/wp-content/uploads/2026/05/7-best-handheld-vacuum-for-small-spaces-2026-featured-768x432.jpg)