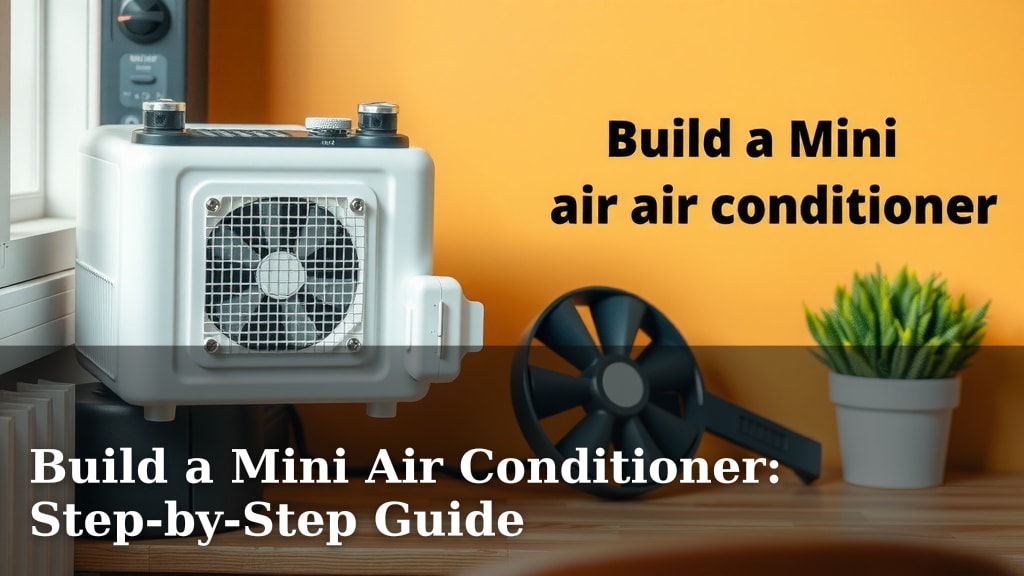
Build a Mini Air Conditioner: Step-by-Step Guide
Yes, you absolutely can build your own mini air conditioner using common household items! It’s a fun DIY project that can provide a surprising amount of cool air for a small space. You’ll be amazed at how simple it is to create a personal cooling oasis with just a few parts and some basic tools. This project is a great way to beat the heat without a big expense.
Many people look for DIY solutions when the summer heat becomes unbearable. Building a mini AC is a practical approach to personal cooling, especially for desks or small rooms. It’s a project that appeals to both the handy and the budget-conscious. We found this method to be quite effective for a localized cooling breeze.
- Gather your supplies: a cooler, a fan, and some PVC pipes.
- Cut holes in the cooler for the fan and pipes.
- Add ice or frozen water bottles to the cooler.
- Turn on the fan, and feel the cool air!
Ready to beat the heat with your own custom cooler? Let’s walk through exactly how you can build this mini air conditioner step by step.
Crafting Your Personal Cooler Air Conditioner
Building your own mini air conditioner is a project that brings big relief. You can create a blast of cool air for your personal space. This DIY cooler AC is surprisingly effective for its size. Many find it a **fun and rewarding project** for hot days. It’s a smart way to stay comfortable without relying on expensive window units or central air.
Gathering Your Cooling Components
Before you start building, you’ll need a few key items. Think of these as your cooling toolkit. Having everything ready makes the building process much smoother. You’ll find most of these items around your home or at a local hardware store. The goal is simplicity and effectiveness.
The Cooler: Your Insulated Core
You’ll need an **insulated cooler**. A standard Styrofoam cooler works well. You can also use a plastic cooler. The larger the cooler, the more ice it can hold. This means longer cooling times. Consider the size of the space you want to cool. A medium-sized cooler is usually perfect for a desk or a small area.
The Fan: Your Air Mover
Next, you need a small fan. A battery-powered fan is ideal. This gives you portability. A USB-powered fan can also work if you have a power bank. The fan needs to be small enough to fit securely into your cooler. Look for one with a decent airflow. It’s the engine of your cooling system.
The Pipes: Directing the Breeze
You’ll need some PVC pipes. Standard 2-inch or 3-inch diameter pipes are common. You’ll need about 2-3 feet of pipe in total. These pipes will direct the cool air out of the cooler. Three pipes work well for a nice dispersed breeze. You can adjust the number based on your fan size and desired airflow.
Tools for the Job
You will also need a few tools. A utility knife or a box cutter is essential for cutting the Styrofoam or plastic. A marker will help you draw your cut lines. You might also need a drill with a hole saw attachment if you’re using a plastic cooler. Safety glasses are a good idea when cutting.
Preparing the Cooler for Airflow
This is where your mini air conditioner starts to take shape. We need to make some openings. These allow air to enter and exit the cooler. Accuracy here helps your AC work efficiently. Take your time during this step. Precision makes a difference in the final outcome.
Cutting the Fan Opening
Place your fan on the lid of the cooler. Trace around the fan’s housing. You want a snug fit. This prevents air from escaping around the edges. You want the fan to push air *into* the cooler. This is key for the cooling process. Carefully cut along your traced line. Remove the cutout piece.
Creating the Vent Holes
Now, let’s make holes for your PVC pipes. These will be on the side of the cooler, towards the top. Mark three spots for your pipes. Space them out evenly. The holes should be slightly smaller than the diameter of your pipes. This ensures a tight fit. Use your utility knife or drill to make these holes. You want the pipes to stick out slightly from the cooler.
Securing the Pipes
Once the holes are cut, push the PVC pipes into them. They should fit snugly. If they feel a bit loose, you can use some tape to seal any gaps. The goal is to direct all the air coming from the fan out through these pipes. A good seal means more efficient cooling. We don’t want precious cool air escaping.
Powering Up Your Personal Cooler AC
With the cooler prepped, it’s time for the cooling element: ice! This is what will chill the air. Think of the ice as the heart of your cooling system. The fan will then blow air over the ice. This process cools the air before it’s pushed out through the pipes. It’s a simple, yet effective, method for generating cool air.
Choosing Your Cooling Medium
You have a couple of options for chilling the air. You can use bags of ice. Water bottles that you’ve frozen solid are another great choice. Frozen water bottles have a few advantages. They don’t create a lot of meltwater. This means less mess. They are also reusable, which is eco-friendly. You can freeze several bottles ahead of time.
Filling the Cooler
Fill the bottom of your cooler with ice or frozen water bottles. Leave some space at the top. You don’t want the ice to block the fan’s airflow. Fill it about two-thirds full. The more ice you have, the longer your cooler AC will run. Imagine a frosty oasis forming inside your cooler!
Assembling the Unit
Now, place the fan on the lid. Make sure it’s positioned over its cutout. You want the fan to blow air *down* into the cooler. Secure the fan if needed. Some fans have a base that can be taped down. Insert the PVC pipes into their holes on the side. Ensure they are pointing in the direction you want the cool air to flow.
The Moment of Truth: Activation
Turn on your fan. You should immediately feel cool air coming out of the PVC pipes. It’s a satisfying moment when your DIY project works! Aim the pipes towards you for maximum cooling effect. The air blowing out will be noticeably cooler than the ambient room temperature. It’s a **refreshing personal breeze**. This is your very own custom cooling station.
Tips for Optimal Mini Cooler AC Performance
To get the most out of your creation, a few tricks can help. Think of these as ways to fine-tune your personal air conditioner. Even a simple build can be made more effective with a little extra attention. We found these suggestions really boost the cooling power.
Pre-Chilling Your Cooler
For an extra kick of cold air, you can pre-chill your cooler. Place some ice packs or frozen water bottles inside for an hour before you plan to use it. This cools down the cooler itself. It helps the ice inside last longer and makes the initial airflow even colder. It’s a small step with a big impact.
Using Saltwater Ice
Did you know adding salt to water can lower its freezing point? This means saltwater ice can stay frozen longer at slightly higher temperatures. While not a huge difference, it can extend your cooling time. Mix about a quarter cup of salt per gallon of water before freezing your water bottles. Many DIYers report this helps.
Fan Speed Considerations
A higher fan speed will move more air. This means more air circulating over the ice. However, it can also mean the air spends less time in contact with the ice. You might find a medium setting offers the best balance. Experiment to see what works best for your specific fan and cooler setup. Sometimes, slower and steadier is cooler.
Maintenance and Refills
Your mini AC will work as long as there is ice. Keep an eye on your ice supply. When it melts, you’ll need to drain the water and refill with fresh ice or frozen bottles. Keeping spare frozen bottles ready is a smart move. This ensures you can quickly refresh your cooler and get back to feeling cool.
Your Cooling Checklist
Ready to start building? Here’s a quick recap of what you’ll need:
- Insulated cooler (Styrofoam or plastic)
- Small battery-powered or USB fan
- 2-3 pieces of PVC pipe (2-3 inch diameter)
- Utility knife or box cutter
- Marker and possibly a drill
- Ice or frozen water bottles
- Tape (optional, for sealing)
Conclusion
You’ve now seen how surprisingly simple it is to build your own mini air conditioner. This DIY cooler project offers a fantastic way to create a personal cooling zone without breaking the bank. Remember, gathering your cooler, fan, and PVC pipes is the first step to beating the heat. With just a few cuts and some ice, you’ll have a refreshing breeze ready in no time. Your next step is to gather your materials and give this fun project a try!
Frequently Asked Questions
How long will the ice in my mini air conditioner last?
The duration your ice lasts depends on a few factors, including the amount of ice used, the ambient room temperature, and how frequently you run the fan. We’ve found that using frozen water bottles often extends the cooling time compared to loose ice because they melt more slowly.
Can I use a larger fan for more powerful cooling?
While a larger fan might seem like it would create more airflow, it’s essential to ensure it fits securely into your cooler’s lid. A fan that’s too large can be difficult to seal properly, leading to air leaks. We recommend a smaller, appropriately sized fan for optimal efficiency.
What’s the best way to seal the fan and pipes?
A snug fit is your best bet for sealing. For the fan, trace its outline carefully and cut precisely. For the pipes, push them firmly into their holes; they should be a tight fit. If there are any small gaps, using duct tape or strong packing tape can create a reliable seal to prevent cool air from escaping.
Can I add salt to the water for my frozen bottles?
Yes, adding a small amount of salt to the water before freezing it can help the ice last a bit longer. Salt lowers the freezing point of water, meaning your saltwater ice will melt at a slightly higher temperature. This can give you a little extra cooling time before needing a refill.
Is this mini air conditioner suitable for cooling an entire room?
This mini air conditioner is designed for personal cooling. It’s most effective when aimed directly at you or a small, confined space like your desk area. It won’t replace a full-sized air conditioning unit for cooling an entire room, but it’s perfect for localized comfort.
![7 Best Cheap Small Air Conditioner [2026]](https://bathroomexplorer.com/wp-content/uploads/2026/06/7-best-cheap-small-air-conditioner-2026-featured-768x432.jpg)