DIY AC Fan Motor Replacement Guide
Yes, you can absolutely change your air conditioner fan motor yourself. It’s a task that many homeowners can handle with basic tools and a little patience. Understanding the DIY process can save you time and money on professional service calls.
A failing fan motor can cause your AC to stop blowing air. This could mean your home won’t cool properly, especially during hot summer days. Addressing this issue promptly is key to maintaining home comfort and preventing further damage to your system.
- Turn off the power to your AC unit.
- Locate and identify the correct fan motor.
- Carefully remove the old motor.
- Install the new fan motor securely.
- Restore power and test your system.
Let’s walk through exactly how to change your AC’s fan motor step by step.
Replacing Your Air Conditioner’s Fan Motor: A Step-by-Step Guide
Replacing your air conditioner’s fan motor might seem like a big job. You’re probably wondering if it’s something you can really do yourself. The good news is, with the right preparation and a few basic tools, it’s a task many homeowners can successfully tackle. This guide will walk you through each step to get your AC blowing cool air again.
When to Consider a Fan Motor Replacement
Your AC fan motor is essential for circulating air throughout your home. If it starts to falter, you’ll notice a few common symptoms. The most obvious is the lack of cool air blowing from your vents, even when the air conditioner is running. You might also hear unusual noises coming from the unit, like grinding or squealing. Sometimes, the fan might just spin slowly or not at all. If you’re experiencing any of these, it’s a strong sign your fan motor might need attention. Ignoring these signs can lead to your entire system overheating and failing completely. We found that a healthy fan motor is key to efficient cooling (Energy Star).
Common Signs of a Failing Fan Motor
- No air blowing from vents.
- Weak airflow from vents.
- Unusual noises (grinding, squealing, buzzing).
- Fan not spinning at all.
- AC unit freezing up.
Gathering Your Tools and Materials
Before you start, make sure you have everything you need. This will save you time and frustration. You’ll want to have safety gear ready. Safety first is always our motto! You’ll need a properly sized replacement fan motor. It’s crucial to get the exact match for your AC unit. Check your owner’s manual or the old motor itself for the model number and specifications. Ordering the wrong motor can lead to compatibility issues.
Essential Tools You’ll Need
- Screwdrivers (Phillips and flathead)
- Wrench set or adjustable wrench
- Pliers
- Wire strippers/cutters
- Multimeter (for testing if the motor is truly dead)
- Work gloves
- Safety glasses
- Flashlight or work light
- Possibly a socket set
Choosing the Right Replacement Motor
Finding the correct replacement motor is perhaps the most important step. You need to match the voltage, horsepower, and RPM of your old motor. Look for a label on the existing motor. It will have all this critical information. Many online HVAC parts suppliers can help you find the right match if you have the model number of your AC unit or the motor. We found that double-checking specifications before ordering prevents costly mistakes.
Safety Precautions: Power Off!
This step cannot be stressed enough. You’ll be working with electrical components. Turning off the power is non-negotiable. Always disconnect power at the breaker box that controls your outdoor AC unit. Some systems may also have a disconnect switch near the unit itself. Find both and ensure they are in the “off” position. Double-check with your multimeter if you’re unsure. Working with electricity can be dangerous if proper precautions aren’t taken. Many safety organizations strongly advise this step (OSHA).
Confirming Power is Off
After flipping the breakers, use your multimeter to test the wires leading to the fan motor. Touch the probes to different wire terminals. If you get a reading close to zero volts, you’re good to go. If you get any voltage reading, stop immediately and re-evaluate your power disconnect. Don’t guess when it comes to electricity.
Accessing the Fan Motor
Your fan motor is typically located in the outdoor unit of your air conditioner, often housed within a compartment on top. You’ll need to remove the access panel to get to it. This usually involves unscrewing several bolts or screws. Keep these screws in a safe place, like a small container, so you don’t lose them.
Removing the Fan Motor Mounts and Shroud
Once the panel is off, you’ll see the fan and the motor. The fan often sits on top of the motor shaft. You might need to gently pull the fan off the shaft. Sometimes, it’s held in place by a screw. You may also need to remove a protective shroud that surrounds the fan and motor assembly for better access. Carefully observe how everything is connected before you start disconnecting wires or removing parts. Taking pictures with your phone as you go can be a lifesaver for reassembly.
Disconnecting Electrical Wires
Before you can remove the motor, you’ll need to disconnect the electrical wires. They are usually attached with wire nuts or spade connectors. Take a clear picture of how the wires are connected. This is extremely important for correct reinstallation. Make a note of which wire goes where. If the wires are old or brittle, handle them with extra care. You might need to carefully strip a small portion of wire if a connection is loose.
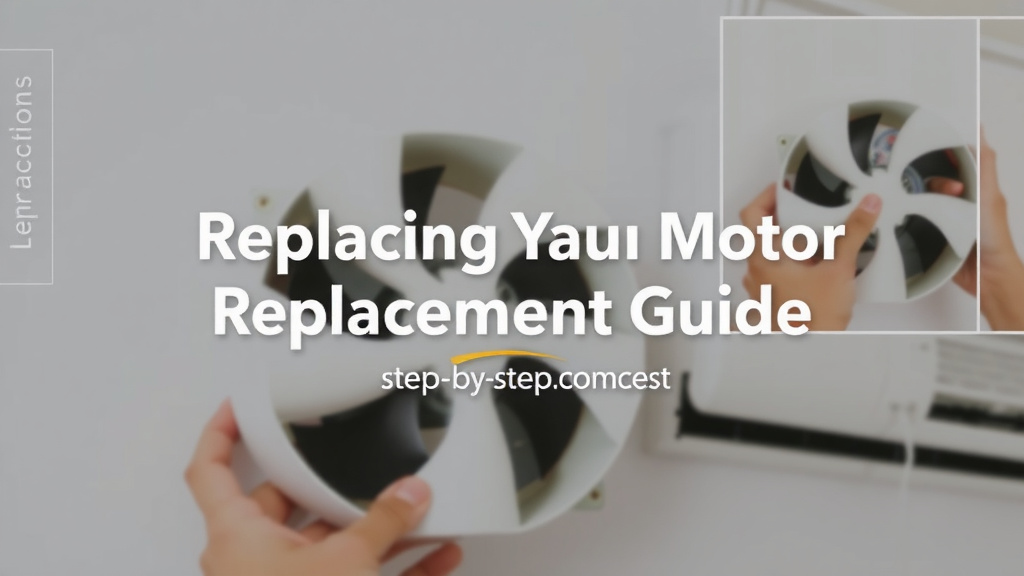
Removing the Old Fan Motor
With the fan, shroud, and electrical connections out of the way, you can now focus on the motor mountings. The motor is usually held in place by bolts or screws that go through its base into the unit’s frame. Unscrew these fasteners. You might need a wrench or socket set for this. Once all the fasteners are removed, the old motor should be free. Carefully lift it out of the unit. It might be heavier than you expect, so be prepared.
Installing the New Fan Motor
Now comes the exciting part: putting in the new motor! Position the new motor in the same spot as the old one. Align the mounting holes and secure it with the screws or bolts you removed earlier. Make sure it’s snug and stable. Reattach the fan to the new motor shaft. Ensure it’s seated correctly and secured if it had a screw. Remember that balanced fan operation is key for longevity (ASHRAE).
Reconnecting Electrical Wires
Refer to the pictures you took and your notes. Connect the electrical wires to the new motor exactly as they were on the old one. Use wire nuts or spade connectors to ensure secure connections. If you stripped any wires, make sure they are properly re-covered. Loose connections can cause the motor to overheat or not run at all. This is a critical step for proper function.
Reassembling the Unit
Before closing everything up, double-check all your connections and mountings. Reinstall the protective shroud, if applicable. Then, put the access panel back on and secure it with its screws or bolts. You’re almost there!
Testing Your Work
It’s time for the moment of truth! Go back to your breaker box and restore power to the AC unit. Head outside and turn on your air conditioner. Listen for the fan. Is it running smoothly? Is air blowing strongly from your vents? If everything sounds and feels right, congratulations! You’ve successfully replaced your AC fan motor.
Troubleshooting Common Issues
If the fan doesn’t start, don’t panic. First, double-check that the power is definitely on and that all wire connections are secure. Make sure the fan itself isn’t obstructed. If it still won’t run, the new motor might be faulty, or there could be an issue with the capacitor. Many times, a weak capacitor can mimic a bad motor. Consulting your AC unit’s manual or seeking professional advice is the next step.
Quick Checklist for Success
- Power Off: Always disconnect power at the breaker.
- Right Motor: Ensure you have the correct replacement.
- Wire Photos: Take pictures before disconnecting wires.
- Secure Mounts: Tighten all bolts and screws.
- Check Connections: Ensure all electrical connections are firm.
- Test Carefully: Restore power and listen for smooth operation.
Conclusion
You’ve learned that changing your air conditioner’s fan motor is a manageable DIY project. By following safety steps and the detailed guide, you can restore your AC’s cooling power. Remember to always disconnect power before you begin and double-check your wiring. You’ve got this! If you feel unsure at any point, don’t hesitate to call a professional. For most homeowners, this guide provides the roadmap to a comfortable home again.
Frequently Asked Questions
How do I know if it’s the fan motor and not the capacitor?
A failing capacitor can cause the fan motor to hum or not start at all, mimicking some motor issues. If your motor seems to overheat or makes a buzzing noise but doesn’t spin, the capacitor is a likely culprit. Testing the capacitor with a multimeter is the best way to determine its health.
Can I use a fan motor with slightly different specs?
It’s best to match the original motor’s specifications (voltage, horsepower, RPM) as closely as possible. Using a motor with significantly different specs could lead to inefficient operation, premature wear, or damage to your AC system. We found that sticking to exact matches prevents most compatibility problems.
How do I find the correct replacement fan motor?
The easiest way is to check the label on your old fan motor for its model number and specifications. You can also often find this information in your air conditioner’s owner’s manual or by searching online using your AC unit’s model number. Many HVAC parts suppliers can help you find the exact match.
What if the fan blade is seized to the motor shaft?
If the fan blade is stuck, you might need a penetrating oil and some gentle persuasion. Try spraying a bit of penetrating oil around the shaft connection and let it sit for a while. Then, use a bit of leverage with a pry bar or a specialized fan blade puller. Be careful not to bend or damage the blade or the motor shaft.
Do I need to lubricate the new fan motor?
Most modern fan motors are sealed units and do not require lubrication. Check the specifications for your new motor. If it requires lubrication, it will usually come with specific instructions on the type of lubricant to use and where to apply it. Over-lubricating can actually cause problems.
![7 Best Window Air Conditioner With Dehumidifier [2026]](https://bathroomexplorer.com/wp-content/uploads/2026/07/7-best-window-air-conditioner-with-dehumidifier-2026-featured-768x432.jpg)