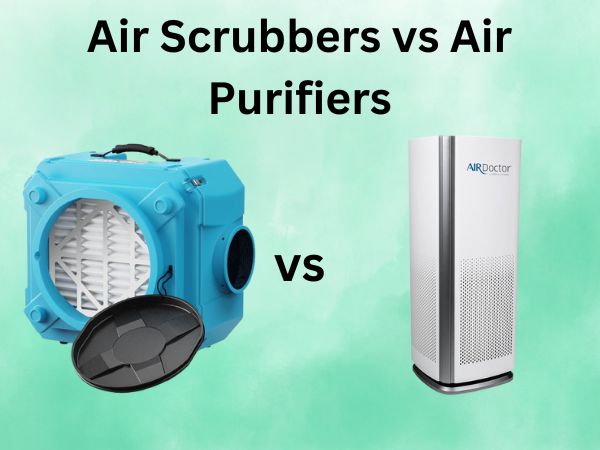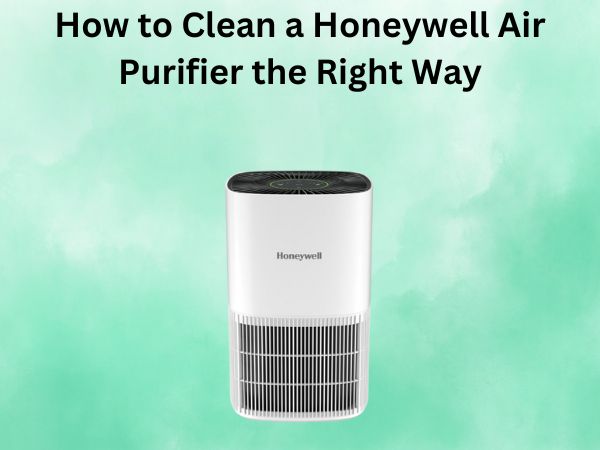
How to Clean a Honeywell Air Purifier the Right Way
If you’re the proud owner of a Honeywell air purifier, you know how invaluable these machines can be for maintaining clean, fresh air in your home. But like any appliance, your Honeywell air purifier requires regular maintenance to continue operating at peak performance. Today, I’m going to share my expert tips on how to clean a Honeywell air purifier the right way, so you can breathe easy and enjoy the benefits of clean, filtered air for years to come.
Table of Contents
Why Regular Cleaning is Essential
Think of your Honeywell air purifier as the unsung hero of your home. Day in and day out, it’s silently working to remove dust, dander, pollen, and other airborne pollutants, ensuring that the air you and your family breathe is as clean and healthy as possible. But all that hard work takes a toll, and over time, the filters and internal components of your air purifier can become clogged with grime and debris.
When your air purifier’s filters are dirty, it has to work much harder to pull in and circulate air, which can lead to decreased efficiency, higher energy bills, and potentially even damage to the motor. Regular cleaning and filter replacement are essential to keeping your Honeywell air purifier running smoothly and effectively.
The Honeywell Air Purifier Cleaning Checklist
Alright, let’s dive into the step-by-step process for cleaning your Honeywell air purifier. I recommend following this routine every 2-3 months, or as needed based on the usage and air quality in your home.
Step 1: Unplug and Disassemble
Before you get started, make sure to unplug your Honeywell air purifier from the power source. This is an important safety precaution to prevent any electrical mishaps. Next, refer to your user manual to locate and remove the filter housing, pre-filter, and main filter. Set these components aside in a safe place.
Step 2: Vacuum the Exterior
Using the hose attachment on your vacuum cleaner, gently run it over the exterior of the air purifier to remove any surface dust or debris. Pay close attention to the air intake and outlet vents, as these are magnets for dust and pet hair.
Step 3: Clean the Filter Housing
Now it’s time to tackle the filter housing. Grab a soft-bristled brush or microfiber cloth and wipe down the interior and exterior of the housing, removing any accumulated dirt or grime. You can also use a mild, non-abrasive cleaning solution if necessary, but be sure to thoroughly dry the components before reassembling.
Step 4: Refresh the Pre-Filter
The pre-filter is responsible for capturing larger airborne particles, so it’s important to keep it clean. Gently vacuum or brush off any visible debris, then rinse the pre-filter under cool, running water. Allow it to fully air dry before reinstalling.
Step 5: Deep Clean the Main Filter
The main filter is the real workhorse of your Honeywell air purifier, so it requires a bit more attention. Refer to your user manual for specific cleaning instructions, as different filter types may have varying care requirements. In general, you’ll want to gently vacuum or brush off the surface of the filter, then use a mild cleaning solution and a soft cloth to wipe away any stubborn dirt or grime. Rinse thoroughly and allow the filter to completely air dry before putting it back in place.
Step 6: Reassemble and Test
Once all the components are clean and dry, carefully reassemble your Honeywell air purifier, making sure everything is securely in place. Plug it back in and turn it on, letting it run for a few minutes to ensure proper operation. If you notice any unusual noises or decreased airflow, double-check your work and consult the user manual if necessary.
Conclusion
Keeping your Honeywell air purifier clean and well-maintained is essential for ensuring optimal performance and longevity. By following this step-by-step cleaning routine every few months, you can rest assured that your home’s air quality will remain top-notch, and your Honeywell appliance will continue to work hard to keep your family safe and healthy.
Frequently Asked Questions
How often should I clean my Honeywell air purifier?
As a general rule, I recommend cleaning your Honeywell air purifier every 2-3 months, or as needed based on usage and air quality in your home. If you have pets or live in a particularly dusty environment, you may need to clean it more frequently.
Can I use water to clean the main filter?
Yes, you can use water to clean the main filter on your Honeywell air purifier, but be sure to consult your user manual for specific instructions. Many filters can be rinsed under cool, running water, but you’ll want to allow them to completely air dry before reinstalling.
What happens if I don’t clean my Honeywell air purifier regularly?
If you neglect to clean your Honeywell air purifier, the filters and internal components will become increasingly clogged with dust, debris, and other contaminants. This can lead to decreased efficiency, higher energy bills, and potentially even damage to the motor over time.
Can I use a vacuum cleaner to clean the filters?
Yes, using the hose attachment on your vacuum cleaner is an effective way to remove surface-level dust and debris from your Honeywell air purifier’s filters. Just be gentle and avoid pressing too hard, as you don’t want to damage the delicate filter material.
How do I know when it’s time to replace the filters?
Most Honeywell air purifiers have indicator lights or filter replacement reminders to let you know when it’s time to swap out the filters. Additionally, if you notice decreased airflow, unusual noises, or a decline in air purification performance, those are signs that it’s time for new filters.