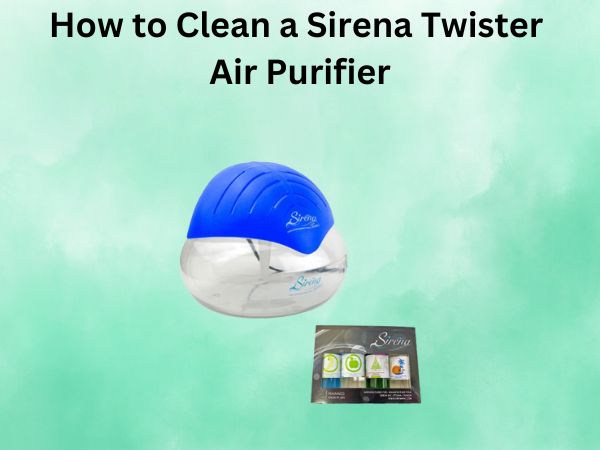
How to Clean a Sirena Twister Air Purifier
If you’re the proud owner of a Sirena Twister air purifier, congratulations! These nifty little machines are designed to keep the air in your home fresh, clean, and free of allergens and pollutants. But like any appliance, your Sirena Twister needs a bit of TLC to keep it running at its best. In this comprehensive guide, I’ll walk you through the step-by-step process of cleaning your Sirena Twister, so you can breathe easy (pun intended!) and enjoy the benefits of clean, purified air for years to come.
Table of Contents
Why Regular Cleaning is Essential
Let’s start with the basics: why is it so important to clean your Sirena Twister on a regular basis? Well, as your air purifier works its magic, it’s constantly trapping all sorts of airborne particles – from dust and pollen to pet dander and smoke. Over time, these contaminants can build up in the filters and other components, reducing the overall efficiency of the unit. A dirty Sirena Twister won’t be able to pull in as much air or filter it as effectively, which means you won’t be getting the full benefit of its air-cleaning capabilities.
Regular cleaning helps to maintain the optimal performance of your Sirena Twister, ensuring that it continues to purify the air in your home effectively. It also extends the lifespan of your air purifier, as a well-maintained machine will last much longer than one that’s been neglected. So, let’s dive in and explore the step-by-step process for cleaning your Sirena Twister air purifier.
Gather Your Supplies
Before you get started, make sure you have all the necessary supplies on hand. You’ll need:
- A soft, dry cloth or microfiber cloth
- A vacuum cleaner with a hose attachment
- A mild, non-abrasive cleaning solution (optional)
- A small, soft-bristled brush (optional)
With these simple tools, you’ll be well on your way to a sparkling clean Sirena Twister.
Step 1: Unplug and Power Down
The first and most important step is to unplug your Sirena Twister from the power source and allow it to cool down completely. Safety first, folks! Once the unit is unplugged and cooled, you can proceed to the next step.
Step 2: Remove the Filters
Carefully remove the pre-filter and HEPA filter from your Sirena Twister. These filters are the heart of the air purifier, and they need to be cleaned regularly to maintain their effectiveness. Set the filters aside, ensuring that you don’t lose or misplace them.
Step 3: Vacuum the Filters
Using the hose attachment on your vacuum cleaner, gently vacuum the surface of the pre-filter and HEPA filter to remove any visible dust and debris. Be sure to vacuum both sides of the filters to ensure thorough cleaning.
Step 4: Clean the Filter Housings
Now it’s time to tackle the filter housings themselves. Using a soft, dry cloth, wipe down the interior and exterior surfaces of the filter compartments. If you notice any stubborn dirt or grime, you can lightly dampen the cloth with a mild, non-abrasive cleaning solution and gently scrub the affected areas.
Step 5: Reinstall the Filters
Once the filter housings are clean, carefully reinsert the pre-filter and HEPA filter back into the Sirena Twister. Make sure they’re properly aligned and seated securely in their respective compartments.
Step 6: Clean the Exterior
Finally, use your soft, dry cloth to wipe down the exterior of the Sirena Twister. Pay special attention to the air intake and exhaust vents, ensuring they’re free of any dust or debris. If you notice any stubborn marks or smudges, you can lightly dampen the cloth with a mild cleaning solution and gently wipe them away.
Conclusion
And there you have it! By following these simple steps, you can keep your Sirena Twister air purifier in tip-top shape, ensuring that it continues to provide you and your family with clean, fresh air for years to come. Remember, regular maintenance is key, so be sure to clean your Sirena Twister every few months (or more frequently, if you live in a particularly dusty or polluted area). With a little bit of elbow grease, you’ll be breathing easy in no time!
FAQs
How often should I clean my Sirena Twister air purifier?
It’s generally recommended to clean your Sirena Twister every 3-6 months, depending on the frequency of use and the air quality in your home. If you live in a particularly dusty or polluted environment, you may need to clean it more often to maintain optimal performance.
Can I use water to clean the filters?
No, it’s not recommended to use water to clean the Sirena Twister filters. The HEPA filter in particular is not designed to be washed with water, as it can damage the delicate fibers and reduce its effectiveness. Stick to vacuuming and gentle wiping with a dry cloth to clean the filters.
How do I know when it’s time to replace the filters?
The lifespan of your Sirena Twister filters will depend on factors like the air quality in your home and how often you use the air purifier. As a general rule, the pre-filter should be replaced every 6-12 months, and the HEPA filter should be replaced every 12-24 months. Keep an eye on the filter indicators on your Sirena Twister and replace them as recommended.
Can I use any cleaning solution on my Sirena Twister?
It’s best to stick to mild, non-abrasive cleaning solutions when cleaning your Sirena Twister. Avoid using harsh chemicals, bleach, or ammonia-based cleaners, as they can damage the delicate components of the air purifier. A gentle, water-based solution or even a damp microfiber cloth should be sufficient for wiping down the exterior and filter housings.
What should I do if my Sirena Twister starts making strange noises?
If you notice any unusual noises coming from your Sirena Twister, it’s a good idea to unplug the unit and inspect it for any visible issues. Check the filters to ensure they’re properly installed, and look for any signs of damage or obstruction. If you can’t identify the source of the problem, it’s best to contact the Sirena customer support team for further assistance.


