How to Clean Mold from Your Air Conditioner
The easiest way to clean mold from your air conditioner is by using a simple cleaning solution of equal parts water and white vinegar. You’ll need to remove the air filter and spray the solution onto the visible mold spots. Let it sit for about 30 minutes, then gently scrub the area. This process helps kill mold spores and prevent them from returning. Remember, always unplug your AC unit before starting any cleaning to avoid electrical shock.
Mold in your AC unit can affect your home’s air quality. It often thrives in damp, dark environments, which your air conditioner can easily become. Ignoring it can lead to more serious mold growth and potential health issues. Many experts say that regular cleaning is key to maintaining a healthy home environment and ensuring your AC runs efficiently. We found that a little effort goes a long way in preventing a big problem.
- Unplug your AC unit.
- Use a water and vinegar solution.
- Spray, let sit, and gently scrub.
- Clean or replace the filter.
- Ensure good ventilation.
Let’s walk through exactly how to get your air conditioner mold-free, step by step. We’ll cover what you need and how to do it safely.
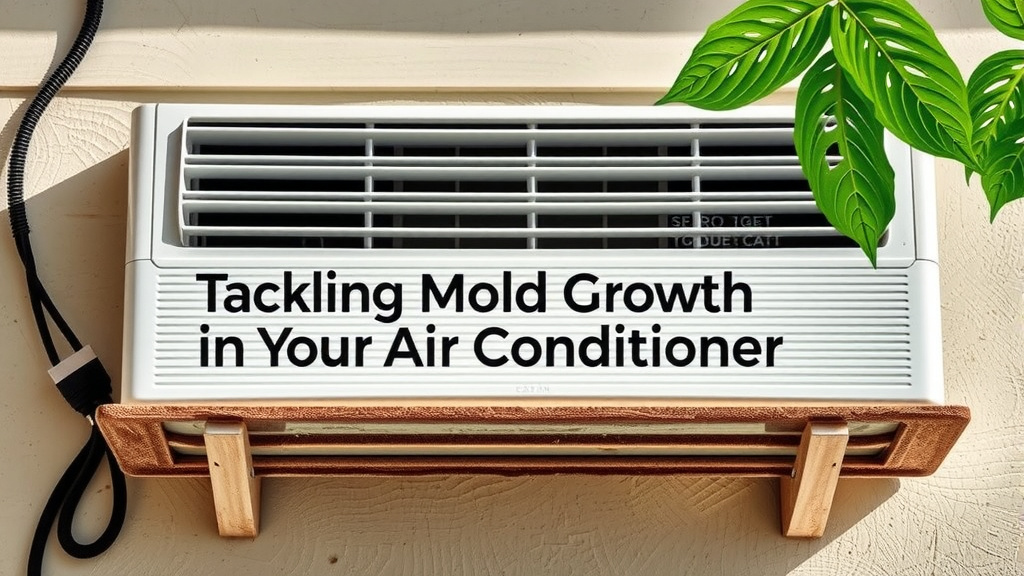
Tackling Mold Growth in Your Air Conditioner
Dealing with mold in your air conditioner can feel daunting, but it’s a common issue. Mold loves moist environments, and your AC unit can certainly provide that. If you’ve spotted fuzzy patches or noticed a musty smell, you’re likely dealing with mold. Fortunately, you can clean most mold yourself with a few household items and some simple steps. This guide will walk you through the process safely and effectively.
Why Mold Loves Your Air Conditioner
Air conditioners can become a breeding ground for mold for a few key reasons. Condensation is a big one. As your AC cools the air, it removes moisture. This moisture collects inside the unit, often in the drain pan or on the evaporator coils. If this water doesn’t drain away properly, it creates the perfect damp environment for mold spores to settle and grow.
Darkness is another factor. Most of the AC’s internal components are hidden from sunlight, which can kill mold. Plus, stagnant air can contribute to mold growth when the unit isn’t running frequently. Many experts agree that poor airflow and lingering moisture are primary culprits (Cleveland Clinic). Understanding this helps you see why regular maintenance is so important for preventing mold.
Safety First: Preparing to Clean Your AC
Before you grab your cleaning supplies, safety is your top priority. Mold spores can be harmful if inhaled, so wearing protective gear is a smart move. This includes a good quality mask, gloves, and eye protection. You want to create a barrier between yourself and the mold.
The absolute most critical step is to disconnect the power. Mold cleaning is not the time for electrical surprises. Locate the circuit breaker that controls your air conditioner and flip it off. If you’re unsure which breaker it is, it’s better to turn off the main power to your home temporarily. You can also unplug the unit directly if it has a cord and plug.
Gathering Your Cleaning Supplies
You probably have most of what you need already. For a basic mold cleaning, you’ll want:
- A spray bottle
- Distilled white vinegar
- Water
- A soft brush or cloth
- A clean, dry cloth
- Possibly a mild dish soap
- Protective gear (mask, gloves, eye protection)
Many sources suggest that a vinegar and water solution is effective. Vinegar is acidic and can kill many types of mold spores. It’s a natural cleaner that’s usually safe for most AC components. If you have very stubborn mold, you might consider a specialized AC coil cleaner, but always check your unit’s manual first.
Step-by-Step Guide to Cleaning Mold from Your AC
Now for the hands-on part. Let’s get that unit clean. Remember, patience is key. Don’t rush the process, and always work in a well-ventilated area.
Step 1: Remove and Clean the Air Filter
Your air filter is often the first line of defense against dust and debris. It can also trap mold spores. Carefully remove the filter from your AC unit. Most filters slide out easily from a slot on the unit’s front or side.
Inspect the filter for mold. If it’s heavily molded or clogged, it’s best to replace it. You can buy new filters at most hardware or home improvement stores. If the filter looks salvageable, you can clean it. Rinse it under cool water. You can also gently scrub it with a soft brush and a mild soap solution. Once clean, let it air dry completely before putting it back. A clean filter helps improve airflow and reduces the chances of mold regrowth.
Step 2: Access the Evaporator Coils and Drain Pan
This is where mold often hides. You’ll likely need to remove a panel or cover to get to the evaporator coils. Consult your AC unit’s manual if you’re unsure how to do this. The evaporator coils are the cold metal fins that cool the air.
Beneath the coils, you’ll find the drain pan. This pan collects condensation. Mold loves to grow in this pan because it’s constantly damp. You might need to gently move some parts to get a clear view and access to the pan.
Step 3: Apply Your Cleaning Solution
Fill your spray bottle with a 50/50 mixture of white vinegar and water. For moderate mold, this is often enough. If you’re dealing with a stronger smell or more visible mold, you might use undiluted vinegar, but always test in an inconspicuous spot first.
Spray the vinegar solution directly onto the visible mold spots on the evaporator coils and in the drain pan. Make sure to get good coverage. Let the solution sit for about 30 minutes. This allows the vinegar time to work its magic and kill the mold spores. While it’s soaking, you can open windows to ventilate the room.
Step 4: Gently Scrub Away the Mold
After the solution has sat, it’s time to scrub. Use a soft brush or a clean cloth to gently wipe away the mold. Be careful not to damage the delicate fins of the evaporator coils. For hard-to-reach areas, a long-handled brush or a flexible cleaning tool might be helpful.
Pay special attention to the drain pan. Remove any standing water or debris. You can use paper towels or a sponge for this. Rinse the pan if possible, or wipe it thoroughly. Make sure all surfaces are clean and free of mold residue.
Step 5: Rinse and Dry Thoroughly
After scrubbing, you need to rinse the components. You can use a clean spray bottle filled with plain water for this. Lightly mist the coils and pan to wash away any remaining vinegar or loosened mold. Some people prefer to use a damp cloth for rinsing.
Drying is just as important as cleaning. Use a clean, dry cloth to wipe down the coils and pan as much as possible. Ensure there’s no lingering moisture. If you have a wet-vac, it can be very useful for sucking up excess water from the drain pan. Leaving moisture behind invites mold to return.
Step 6: Reassemble and Ventilate
Once everything is clean and dry, reassemble any panels you removed. Place the clean, dry air filter back into its slot. Double-check that everything is secure.
Before turning the power back on, ensure the area is well-ventilated. Open up your windows and let fresh air circulate for a while. This helps dissipate any lingering odors and ensures a healthier environment.
When to Call a Professional
While most minor mold issues can be handled with a DIY approach, there are times when you should call in the experts. If the mold covers a large area (more than a square foot), or if you suspect mold has spread into your home’s ductwork, it’s time for professional help.
Also, if you have respiratory issues or allergies, cleaning a moldy AC unit can be risky. Professionals have the right equipment and safety gear to handle extensive mold problems. Many HVAC companies offer mold remediation services. They can also inspect your entire system to ensure no mold is hidden elsewhere (CDC). Don’t hesitate to seek professional assistance if you’re unsure or uncomfortable with the cleaning process.
Preventing Future Mold Growth
The best offense is a good defense when it comes to mold. Keeping your AC clean and running efficiently is key.
- Regularly change your air filters. This is perhaps the most important step. Aim for every 1-3 months, depending on your filter type and home environment.
- Ensure proper drainage. Check your AC’s drain line periodically to make sure it’s not clogged. A clogged line means water sits in the drain pan.
- Use a dehumidifier. If you live in a humid climate, a dehumidifier can help reduce the overall moisture in your home, making it less hospitable to mold.
- Run your fan on low. Even when not cooling, running your fan can help circulate air and reduce moisture buildup within the unit.
- Schedule professional maintenance. Have your HVAC system inspected and cleaned by a professional at least once a year. They can spot potential problems before they become mold issues.
Following these preventative steps can save you a lot of trouble and keep your air clean and healthy.
Conclusion
You’ve learned that tackling mold in your air conditioner is totally manageable with simple household items like vinegar and water. Remember, safety first by unplugging your unit and wearing protective gear. Cleaning the filter, coils, and drain pan regularly can prevent future mold growth and keep your home’s air quality healthy. Don’t hesitate to call a professional if the mold is extensive or you have health concerns.
Now that you know the steps, take action to clean your AC unit this week. A little effort now keeps your home comfortable and healthy all season long!
Frequently Asked Questions
How often should I clean mold from my air conditioner?
You should aim to clean your air conditioner’s mold at least once a year, ideally before the cooling season begins. If you notice a musty smell or signs of mold growth sooner, it’s best to address it immediately. Regular filter changes, every 1-3 months, are key to preventing mold buildup between deeper cleanings.
Can I use bleach to clean mold from my AC?
While bleach can kill mold, it’s generally not recommended for cleaning air conditioners. Bleach can be harsh on AC components and its fumes can be harmful. White vinegar is a safer and often just as effective alternative for most household AC units. Always check your AC’s manual for manufacturer recommendations on cleaning solutions.
What if the mold is inside the ductwork?
If you suspect mold has spread into your home’s ductwork, this is beyond a simple DIY cleaning job. Ductwork mold can be extensive and difficult to reach. In this situation, it’s highly recommended to contact a professional HVAC company specializing in mold remediation. They have the proper equipment to safely clean your ducts.
My AC still smells musty after cleaning, what should I do?
A lingering musty smell after cleaning could mean some mold was missed, or that moisture is still present. Double-check that all components, especially the drain pan and coils, are completely dry. Ensure your AC unit’s drain line is not clogged, as this can cause water to back up. If the smell persists, consider a professional inspection.
Is it safe to run the AC if there’s a small amount of mold?
It’s generally best to address even small amounts of mold before running your AC regularly. Mold spores can be easily spread through the air when the unit is on, potentially affecting your home’s air quality and your health. Cleaning it out yourself using the steps provided is usually sufficient for minor cases.

![7 Best Extension Cord For Window Air Conditioner [2026]](https://bathroomexplorer.com/wp-content/uploads/2026/06/7-best-extension-cord-for-window-air-conditioner-2026-featured-768x432.jpg)