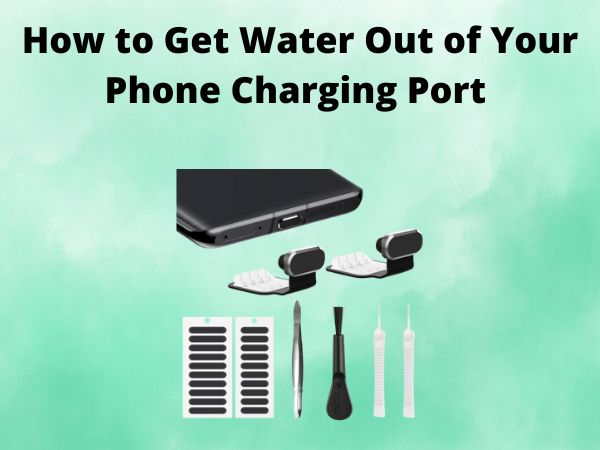
How to Get Water Out of Your Phone Charging Port (Android/iPhone)
Picture this: You’re out in the rain, or maybe you’ve accidentally dropped your phone in a puddle. Before you know it, you’ve got water seeping into the charging port of your beloved smartphone. Panic sets in – you need to act fast to save your device from potential water damage. But don’t worry, my friends, I’m here to share my expertise on how to get that pesky water out of your phone’s charging port, whether you’ve got an Android or an iPhone.
Table of Contents
Why Water in the Charging Port is a Big Deal
When water gets into your phone’s charging port, it can cause all sorts of problems. The moisture can short-circuit the delicate electronic components, leading to charging issues, connectivity problems, or even a complete system failure. And let’s not forget the risk of corrosion – that nasty buildup of rust and mineral deposits that can slowly eat away at the metal contacts inside your port.
So, the sooner you can get that water out, the better. Letting it linger can spell disaster for your device, and we all know how much it hurts to have to replace a damaged phone. But fear not, I’ve got some tried-and-true methods to help you get your charging port back in tip-top shape.
Step-by-Step Guide: Drying Out Your Phone’s Charging Port
Step 1: Assess the Situation
First things first, take a close look at your phone’s charging port. How much water are we dealing with here? A few stray droplets, or a full-on puddle? Knowing the extent of the water intrusion will help you determine the best course of action.
Step 2: Power Down and Disconnect
As tempting as it might be to try and charge your phone right away, resist the urge! Powering on a water-logged device can lead to short circuits and potentially irreparable damage. Instead, power off your phone and disconnect any cables or chargers that might be plugged in.
Step 3: Absorb the Water
Now, it’s time to get that water out of there. Grab a clean, dry cotton swab or a small piece of paper towel and gently dab at the charging port, being careful not to push the water further inside. You can also try using a can of compressed air to blow out any remaining moisture.
Step 4: Let It Dry Thoroughly
Once you’ve got the majority of the water out, it’s crucial to let your phone’s charging port air-dry completely. Place your device in a well-ventilated, dry area and let it sit for at least 24 hours, or until you’re confident that all moisture has evaporated.
Step 5: Test and Repeat
After the drying period, it’s time to test your phone’s charging capabilities. Plug in the charger and see if it’s working as it should. If you still notice any issues, repeat the drying process until the port is completely dry and functioning properly.
Alternative Methods for Stubborn Water
Sometimes, the water in your phone’s charging port can be a bit more stubborn and difficult to remove. In those cases, you might need to try some alternative techniques:
Using Silica Gel Packets
- Grab a few silica gel packets (the kind you find in new shoe boxes or electronics packaging) and place them around your phone, or even inside the charging port if possible.
- The silica gel will absorb any remaining moisture, helping to dry out the port more effectively.
The Rice Method
- Another popular trick is to bury your phone in a bowl of uncooked rice. The rice will draw out the water over time, similar to how the silica gel packets work.
- Just make sure to leave your phone in the rice for at least 24 hours, or even up to a few days if the water damage is more severe.
Seeking Professional Help
If you’ve tried all the DIY methods and your phone’s charging port is still not functioning properly, it may be time to seek professional help. A skilled technician can use specialized tools and techniques to thoroughly dry out and clean the port, minimizing the risk of long-term damage.
Conclusion
Water in your phone’s charging port can be a real headache, but with the right approach, you can get that pesky moisture out and have your device back in working order in no time. Remember to act quickly, be gentle, and let your phone dry out completely before attempting to charge it again. And if all else fails, don’t hesitate to reach out to a professional for assistance. Your phone’s health and your peace of mind are worth it!
FAQs
Can I charge my phone while it’s wet?
No, it’s never a good idea to charge a wet phone. Doing so can lead to short circuits and permanent damage to the device. Always make sure your phone is completely dry before plugging in the charger.
How long does it take for a phone to dry out?
The drying time can vary depending on the extent of the water exposure, but it’s generally recommended to let your phone sit for at least 24 hours in a well-ventilated, dry area. For more severe cases, you may need to leave it for 2-3 days to ensure all moisture has evaporated.
Can rice really help dry out a wet phone?
Yes, the rice method can be an effective way to absorb moisture from a water-damaged phone. The rice will draw the water out of the device over time, helping to dry it out. Just be sure to leave your phone buried in the rice for at least 24 hours, or even longer if the water exposure was significant.
What should I do if my phone won’t charge after getting wet?
If your phone still won’t charge after following the drying steps, it’s best to seek professional help. A skilled technician can inspect the charging port and other components for any damage and provide the necessary repairs to get your device back up and running.
Can I use a hairdryer to dry out my phone’s charging port?
It’s generally not recommended to use a hairdryer or other direct heat source to dry out a wet phone. The high temperatures could potentially cause further damage to the delicate electronic components. Stick to gentler drying methods, like the air-drying or silica gel techniques, to ensure the best possible outcome for your device.


