
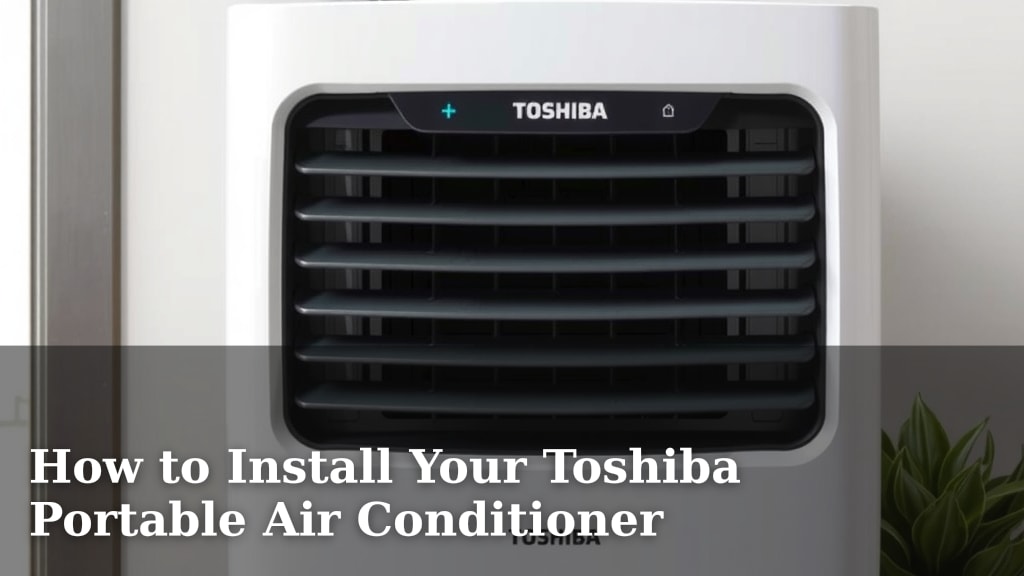
How to Install Your Toshiba Portable Air Conditioner
Installing your Toshiba portable air conditioner is a straightforward process you can do yourself. You’ll primarily need to connect the exhaust hose to a window using the included kit. This setup ensures hot air is vented outside, allowing your unit to cool your space effectively. It’s a simple DIY job for most folks.
Getting your portable AC set up correctly is key to enjoying cool air. Many users find that proper window sealing makes a big difference in efficiency. We’ve seen that a good seal helps prevent warm air from returning inside. This simple step can keep your room feeling much cooler.
- Gather your Toshiba AC and window kit.
- Find a suitable window for venting.
- Connect the exhaust hose to the unit.
- Secure the window bracket and hose.
- Plug in and turn on your AC.
Ready to get this done? We’ll walk you through each step of installing your Toshiba portable air conditioner so you can start chilling out in no time.
Setting Up Your Toshiba Portable Air Conditioner
You’ve got your new Toshiba portable AC. That’s exciting! Now let’s get it installed so you can feel that cool breeze. Installing a portable air conditioner is actually quite simple. Most of the work involves setting up the window venting kit. This is the part that gets the hot air out. We’ll guide you through it step-by-step. You’ll be enjoying a cooler room in no time.
What’s in the Box? A Quick Inventory
Before you start, let’s make sure you have everything. Unpack your Toshiba portable air conditioner and its accessories. You should find the main unit, the exhaust hose, and a window venting kit. The window kit usually includes a panel with a hole for the hose and sometimes a seal. Also, check for the remote control and the user manual. Having everything ready makes the setup smoother. It’s like gathering your ingredients before cooking.
The Essential Components
- Toshiba Portable Air Conditioner Unit
- Exhaust Hose (this is flexible tubing)
- Window Venting Kit (adjustable panel and maybe a seal)
- Power Cord
- Remote Control
- User Manual
Choosing the Right Spot for Your AC
Where you place your portable AC matters for its performance. You’ll want to position it near a window. This is because the exhaust hose needs to reach outside. Also, make sure there’s enough space around the unit. The sides and back of the AC need airflow to work efficiently. Check your manual for specific clearance recommendations. Typically, a few inches on each side is enough. You also need an electrical outlet nearby. Avoiding extension cords is generally best for safety.
Proximity to a Window is Key
The exhaust hose is your direct link to the outdoors. It’s how the hot, humid air gets removed from your room. So, pick a window that’s easy to open and can accommodate the venting kit. Sliding windows are often the easiest. Double-hung windows can work too, but might require a bit more effort to seal. Think about where you want the cool air most. Placing it closer to where you spend your time is a good strategy.
Power Outlet Access
Your Toshiba portable AC will need electricity. Ensure there’s a grounded outlet within reach of the power cord. Most units have cords that are around 5-6 feet long. We found that avoiding extension cords or power strips is safer. This is because portable ACs draw a good amount of power. Using an extension cord that isn’t rated for such a load could be a fire hazard. Always check the power requirements in your manual.
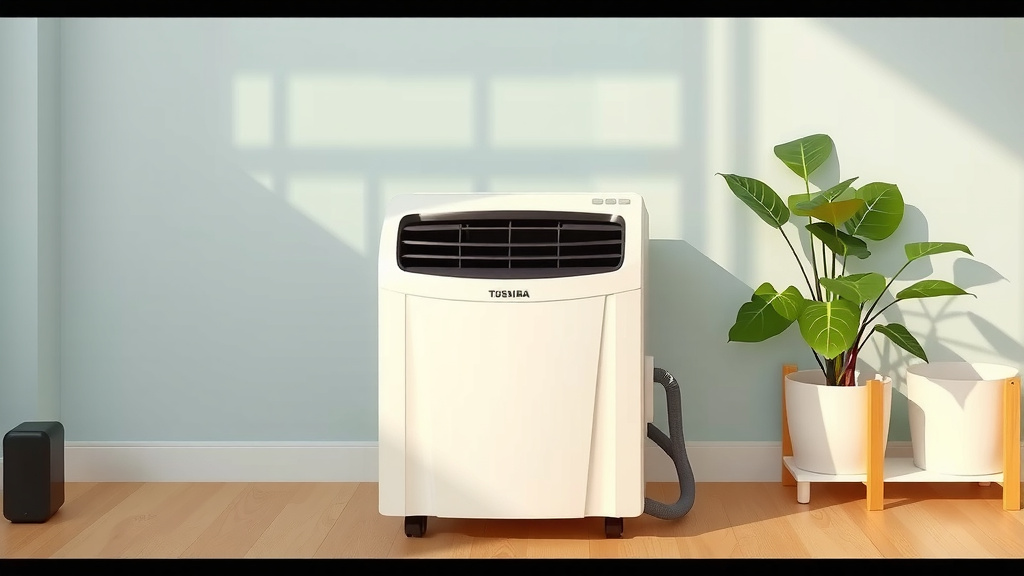
Connecting the Exhaust Hose to the Unit
This is a critical step. The exhaust hose connects the AC to the outside. Most Toshiba models have a connector that easily attaches to the back of the unit. You’ll likely twist or click it into place. It’s designed to be a secure fit. Don’t force it. If it feels stuck, double-check the orientation. The manual will show you exactly how it attaches. A good connection here prevents hot air from leaking back into your room.
Attaching the Window Venting Kit Components
Your window kit usually has a few parts. You’ll have an adjustable panel and a hose adapter that fits into it. First, you need to adjust the panel to fit your window opening. Most panels slide or telescope to match different window widths or heights. Once adjusted, you’ll secure it in the window frame. Then, attach the hose adapter to the panel. This is where your exhaust hose will connect.
Preparing the Window for the Panel
Open your chosen window. For sliding windows, just slide it open enough to insert the panel. For double-hung windows, you might need to open it from the bottom. Place the adjustable panel into the opening. You want it to fit snugly. Some kits come with foam or plastic strips. These can help seal any gaps around the panel. A good seal is really important for efficiency. It stops warm air from creeping back in.
Securing the Exhaust Hose to the Panel
Now, take the other end of the exhaust hose. This end has a connector that will attach to the panel adapter. Simply align the connector with the adapter on the window panel. Most models use a twist-and-lock mechanism. You’ll turn the hose connector until it clicks or locks into place. Make sure it’s secure. A loose connection means your cool air might escape, and hot air might enter.
Final Checks and Getting Started
You’re almost there! Now that the hose is connected and the window is vented, do a quick review. Is the hose kinked? Kinks can restrict airflow, making your AC less effective. Is the window panel sealed well? You don’t want any drafts. Are there any obvious gaps around the panel or hose connection? We found that using extra tape or seal for tiny gaps really helps.
Sealing for Maximum Efficiency
This is where you can really boost your AC’s performance. Look closely at the edges of the window panel. Are there any small spaces where air could get through? You can use the provided sealing strips or even strong tape, like duct tape or painter’s tape, to close these gaps. The goal is to create a tight seal. Think of it like sealing a drafty door. Preventing outside air from coming in and inside air from going out makes a big difference.
Powering On Your Toshiba AC
With everything connected and sealed, it’s time to plug it in. Find a working electrical outlet. Plug the power cord firmly into the outlet. You can now turn on your Toshiba portable air conditioner. Use the control panel on the unit or the remote control. Select your desired mode (cool, fan, etc.) and temperature. You should start to feel cool air coming from the unit within a few minutes. Congratulations, you’ve successfully installed your portable AC!
A Quick Installation Checklist
- Confirm all parts are present.
- Choose a location near a window and outlet.
- Attach the exhaust hose to the AC unit.
- Adjust and secure the window panel.
- Connect the hose to the window panel.
- Seal any gaps around the window panel.
Conclusion
You’ve successfully navigated the installation of your Toshiba portable air conditioner! By properly connecting the exhaust hose and carefully sealing your window kit, you’ve ensured your unit can efficiently cool your space. Remember, a good seal is your best friend for optimal performance and energy savings. Now that your AC is set up, sit back, relax, and enjoy the comfort of a cooler room. Your next step is simply to turn it on and set your preferred temperature!
Frequently Asked Questions
How long should the exhaust hose be?
Toshiba portable air conditioners typically come with an exhaust hose around 5 to 6 feet long. Check your model’s specifications in the manual. This length is usually sufficient for most window installations, but it’s always good to measure your space beforehand to ensure it will reach.
Can I run my portable AC without the window kit?
No, you absolutely cannot run your portable air conditioner without connecting the exhaust hose to vent hot air outside. The unit will not cool your room and could potentially overheat or get damaged if you try to operate it without proper venting.
What if my window doesn’t fit the adjustable panel well?
If the adjustable panel doesn’t create a snug fit in your window, don’t worry. You can use extra sealing materials like foam weather stripping or strong tape (like duct tape or painter’s tape) to fill any remaining gaps. A tight seal is key for preventing warm air from coming back in and cool air from escaping.
Do I need to clean the filter before installation?
While some units might have a pre-installed filter, it’s a good practice to locate and check your AC’s air filter. Consult your user manual for its exact location. Gently clean or rinse it according to the instructions before your first use to ensure optimal airflow and cooling efficiency.
What kind of window is best for a portable AC?
Sliding windows are generally the easiest to work with for installing the window venting kit. Double-hung windows can also work, though they might require a bit more effort to seal properly. The main goal is to find a window that can open enough to accommodate the panel and be sealed securely around it.
![7 Best Slimline Air Conditioner [2026]](https://bathroomexplorer.com/wp-content/uploads/2026/06/7-best-slimline-air-conditioner-2026-featured-768x432.jpg)

![7 Best Price Lg Air Conditioner [2026]](https://bathroomexplorer.com/wp-content/uploads/2026/06/7-best-price-lg-air-conditioner-2026-featured-768x432.jpg)