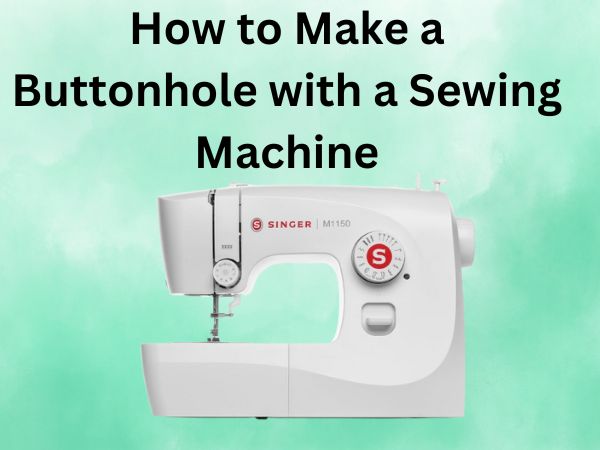
How to Make a Buttonhole with a Sewing Machine [Step-by-Step Guide]
Have you ever admired a perfectly sewn buttonhole and wondered, “How on earth did they do that?” Well, you’re not alone! Making a buttonhole with a sewing machine can seem daunting, but like a favorite old sweater, it’s more comfortable once you get the hang of it. Let’s dive into the world of sewing and explore this rewarding skill!
Table of Contents
Understanding Your Sewing Machine
First things first—get acquainted with your sewing machine. It’s like getting to know your car before a road trip or your oven before a perfect soufflé. Understanding its quirks and features is essential.
Identify Your Machine Type
Is your machine manual, electronic, or computerized? This will dictate how you interact with your machine’s functions.
Locate the Buttonhole Feature
Most modern machines have a dedicated buttonhole setting. Consult your manual for specific instructions as this can vary widely between models.
Gathering Your Supplies
Before starting, ensure you have all necessary materials on hand. It’s like cooking—having everything prepped makes the process smoother and more enjoyable.
- Sewing machine
- Buttonhole presser foot
- Fabric
- Matching thread
- Buttons
- Seam ripper
- Ruler or measuring tape
- Chalk or fabric marker
Preparing Your Fabric
Preparation is key to a successful project. Think of it as laying the right foundation for a house—essential for stability.
Stabilize the Fabric
If your fabric is thin or prone to fraying, use interfacing to stabilize the buttonhole area. This prevents distortion and adds durability.
Mark the Placement
Using a ruler and chalk, mark where each buttonhole will be sewn. Precision here ensures a straight and professional look.
Setting Up the Sewing Machine
With your fabric ready, it’s time to prepare your machine, like tuning an instrument before a concert.
Attach the Buttonhole Foot
Most machine models include a buttonhole foot. Attach this according to your manual’s instructions.
Select the Right Stitch
Set your machine to the buttonhole stitch setting. This usually consists of four steps: two straight stitches for top and bottom, and two zigzag stitches along the sides.
The Sewing Process
Now comes the exciting part—bringing your project to life!
Sew the First Bar Tack
Line up the fabric under the needle where the buttonhole will start, then proceed with the first bar tack. This anchors the buttonhole.
Sew the First Side
Allow the machine to sew the first side of the buttonhole. As easy as pie, right?
Complete the Buttonhole
Continue with the remaining bar tack and side stitch to complete the rectangular shape. Repeat for each buttonhole.
Finishing Touches
Like adding sprinkles to a cake—small details make a big difference!
Open the Buttonholes
Use a seam ripper to carefully open each buttonhole, taking care not to rip stitches.
Reinforce if Needed
Double-check the stitching for any loose ends and reinforce if necessary.
Common Troubleshooting Tips
Even seasoned pros face hiccups. Here are some common issues and solutions:
- Fabric Jamming: Check tension settings and clear stray threads.
- Uneven Stitching: Ensure fabric is stable and foot is attached correctly.
- Skipped Stitches: Consider changing the needle or thread.
Conclusion
Making a buttonhole with your sewing machine may seem intimidating at first, but with practice, it’s as easy as knitting an old favorite sweater. The key is practice and patience. Remember, every expert was once a beginner!
FAQs
1. How do I troubleshoot a sewing machine that skips stitches?
Skipped stitches can often be resolved by checking needle and thread compatibility, adjusting the tension settings, and ensuring the needle is not damaged.
2. Can I sew buttonholes on stretchy fabric?
Yes, you can. Use stabilizer or interfacing on the fabric’s underside to prevent distortion during sewing.
3. What should I do if my buttonholes look uneven?
First, check if the fabric is aligned properly and the foot is not loose. Review the stitch settings to make sure they are consistent.
4. What’s the best way to mark fabric without leaving a permanent mark?
Use a water-soluble fabric marker or tailor’s chalk, which can be easily washed or brushed away.
5. Is practicing on scrap fabric necessary?
Absolutely! Using scrap fabric allows you to refine your technique without risking your main project.