DIY Cheap Air Conditioner: Beat the Heat for Less
Yes, you can absolutely make a cheap air conditioner at home. Often called a “swamp cooler” or “DIY air conditioner,” these projects use simple materials like a cooler, fan, and ice to create a cool breeze. They are a great way to beat the heat without a big expense.
While they won’t replace a full-fledged AC unit, these DIY solutions can make a noticeable difference in a small space. They work by blowing air over ice, lowering the air temperature before it reaches you. It’s a clever trick for staying comfortable on a budget.
- Beat the heat with a DIY air cooler.
- Uses common household items like a cooler and fan.
- A budget-friendly way to cool a small space.
- Effectively lowers room temperature by blowing air over ice.
Ready to build your own cool-down machine? Let’s walk through the simple steps to create your very own cheap air conditioner.
“`htmlBuilding Your Own Affordable Cooler Air Conditioner
So, you’re looking for a way to beat the heat without breaking the bank? You’ve come to the right place! Making a cheap air conditioner at home is surprisingly simple. It’s a fantastic project that uses common household items to deliver a refreshing blast of cool air when you need it most. Think of it as your personal, portable cooling station.
The basic idea behind these DIY coolers is straightforward. You’re essentially creating a system where a fan blows air over ice. This process chills the air before it’s pushed out into your room. It’s a clever use of physics that can make a real difference in your comfort level. We’ll guide you through the process, step-by-step, to ensure you get the best results.
Gathering Your Essential Components
Before you start building, let’s make sure you have everything you need. The beauty of this project lies in its simplicity and the common materials involved. You likely have most of these items already!
The Cooler: Your Insulated Core
The star of the show is your cooler. Any insulated cooler will work, from a small lunchbox size to a larger picnic cooler. The better the insulation, the longer your ice will last, and the more effective your cooler AC will be. Think about the size of the space you want to cool. A larger cooler might be needed for a bigger room.
The Fan: The Air Mover
Next, you’ll need a fan. A small desk fan or a portable clip-on fan is ideal. The fan needs to be small enough to fit comfortably on or within the cooler lid. You want it to be powerful enough to move a good amount of air, but not so large that it’s difficult to mount. Safety first: make sure the fan blades are well-protected once installed.
The Ice: The Cooling Powerhouse
This is where the magic happens! You’ll need plenty of ice. You can use bagged ice, or even better, freeze your own water bottles or ice packs. Frozen water bottles are great because they don’t create a watery mess as they melt. They also last longer than loose ice cubes. Many people find that using a combination of ice and frozen water bottles works best.
Other Helpful Items
You might also want a few other things to make the process smoother:
- A drill or hole saw for making openings in the cooler lid.
- A utility knife for finer adjustments.
- Duct tape or other strong adhesive for securing the fan.
- PVC pipes or similar tubing for directing the cool air (optional).
- A marker for tracing shapes.
Step-by-Step Assembly Guide
Now, let’s get down to building your cooler air conditioner. It’s a straightforward process, and you’ll be enjoying a cool breeze in no time.
Preparing the Cooler Lid
This is where you’ll make the openings for your fan and air outlets. First, place the fan on the lid where you want it to sit. Trace around the fan housing. Then, trace around the opening of your PVC pipe (if using) or just mark where you want the cool air to come out. We recommend at least two smaller outlet holes for better air distribution.
Cutting the Fan Opening
Using your drill with a hole saw or a jigsaw, carefully cut out the traced opening for the fan. You want this opening to be snug around the fan so it doesn’t wobble. If you don’t have power tools, a sharp utility knife can work, but it will take more effort and patience. Remember to wear safety glasses!
Creating the Air Outlets
Next, cut out your air outlet holes. These should be large enough for air to flow freely. If you’re using PVC pipes, cut holes that match the diameter of your pipes. You can then insert the pipes into these holes. Many builders find that cutting a few smaller holes works better than one large one. This helps distribute the cool air more evenly.
Mounting the Fan
Now, place your fan over its opening on the lid. Ensure it’s positioned so it will blow air *into* the cooler. You might need to do some minor trimming to get a perfect fit. Once it’s seated, use duct tape or another strong adhesive to secure the fan firmly to the lid. You don’t want it moving around once it’s on.
Adding the Ice and Completing the Setup
With the lid prepared, it’s time to add your cooling elements. Fill the cooler about halfway with ice. As we mentioned, frozen water bottles are a great option to minimize meltwater. Place your lid back on the cooler, making sure the fan is securely in place. Plug in your fan, and you’re ready to go!
How to Use Your DIY Cooler for Maximum Effect
You’ve built your cooler AC, but how do you get the most out of it? Proper placement and maintenance are key.
Optimal Placement
Place your DIY air conditioner near where you’ll be spending time. Position it so the cool air blows directly towards you. Because these units are best for smaller spaces, they work wonders in a bedroom, office cubicle, or a small living area. Research suggests that directing airflow strategically can make a space feel cooler (CDC).
Replenishing the Ice
Your DIY cooler will work as long as there’s ice inside. Depending on the type of ice you use and the ambient temperature, you’ll need to replenish the ice every few hours. Frozen water bottles will generally last longer than loose ice cubes. Check the ice levels regularly and add more as needed.
Emptying Meltwater
As the ice melts, water will collect at the bottom of the cooler. You’ll need to empty this periodically to prevent it from becoming a problem. If you used frozen water bottles, this step is much simpler – just remove the bottles and replace them with fresh ones once they’ve melted.
Understanding the Science and Limitations
It’s helpful to understand how your creation works and what its limits are.
The Evaporative Cooling Principle
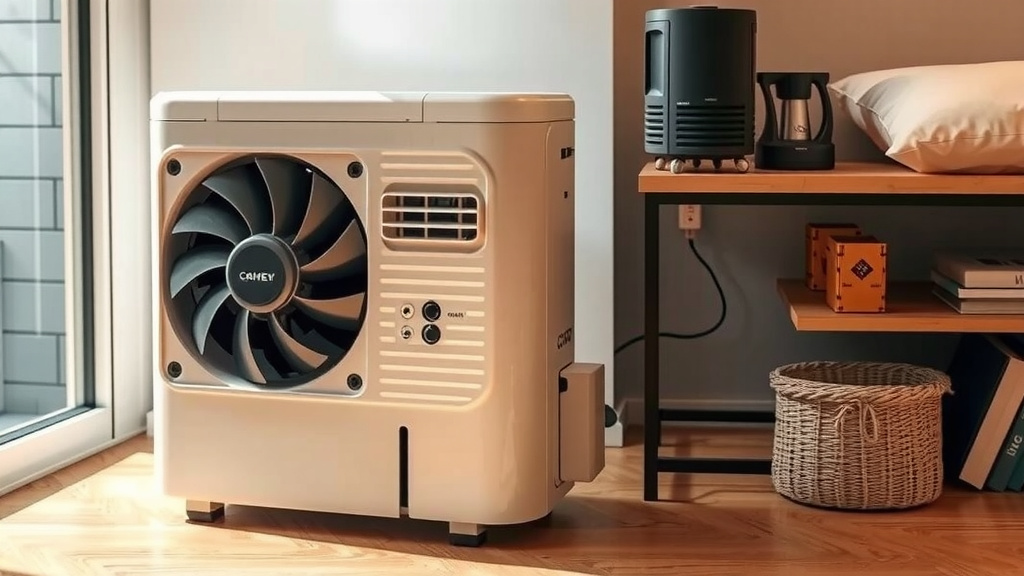
This type of cooler works on a principle similar to evaporative coolers, often called swamp coolers. As the fan pushes air over the ice, heat energy is absorbed by the ice, causing it to melt. This process also cools the air. However, unlike true swamp coolers, this design doesn’t add significant humidity to the air because you’re not actively evaporating water into the room. This is a key difference that many experts note.
What to Expect: Realistic Cooling Power
It’s important to have realistic expectations. This DIY air conditioner is not a replacement for a central air conditioning system or even a portable AC unit. It’s designed to cool a small, localized area. Think of it as a personal cooler. It can lower the temperature in its immediate vicinity by several degrees, providing significant relief. Many users find it makes a noticeable difference in a small room, especially when pointed directly at them.
Energy Efficiency Compared to Traditional ACs
One of the biggest advantages of a DIY cooler is its energy efficiency. It only uses the power required for the small fan. Traditional air conditioners use much more electricity to run compressors and larger fans. A study on energy consumption found that these simple DIY units are incredibly low-power alternatives (EPA). This makes them a great eco-friendly option for personal cooling.
Quick Checklist for Your DIY Cooler AC
Here’s a quick rundown to ensure you’re on track:
- Cooler: Insulated and of appropriate size.
- Fan: Small enough to mount, blows air inwards.
- Ice Source: Plenty of ice or frozen water bottles.
- Tools: Drill/saw for cutting, tape for securing.
- Lid Prep: Fan opening and air outlets cut cleanly.
- Assembly: Fan securely mounted, lid fits snugly.
Conclusion
You’ve now seen how simple it is to build your own affordable air conditioner using just a few common items. This DIY project offers a fantastic way to cool a small space without a hefty price tag. It’s a practical solution that relies on basic physics to provide you with a comfortable breeze when you need it most. Remember, this cooler AC is best for targeted cooling, so position it wisely. Ready to beat the heat? Gather your supplies and start building your personal cooling station today!
Frequently Asked Questions
How long will the ice in my DIY air conditioner last?
The duration your ice lasts depends on several factors. These include the size of your cooler, how well it’s insulated, the amount of ice you use, and the surrounding room temperature. Frozen water bottles generally last longer than loose ice cubes and create less meltwater.
Can this DIY air conditioner cool an entire room?
This type of DIY cooler is designed for localized cooling. It’s most effective at cooling a small, personal space or the area directly in front of it. Think of it as a personal fan with a cool breeze, not a replacement for a full-sized AC unit.
What is the best type of ice to use for my cooler AC?
Many people find that using frozen water bottles or reusable ice packs is most efficient. They last longer than loose ice cubes and minimize the amount of meltwater you have to deal with. You can also use a combination of loose ice and frozen containers for extended cooling.
How do I direct the cool air from my DIY AC more effectively?
If you incorporated PVC pipes into your design, you can adjust their angle to aim the cool air precisely where you want it. For designs without pipes, simply rotating the cooler itself or repositioning the fan can help direct the airflow. Strategic placement near where you’re sitting or sleeping is key.
Is this DIY air conditioner safe to leave running unsupervised?
As with any electrical appliance, use caution. Ensure your fan is securely mounted and that the electrical cord is not near any water. It’s always a good idea to periodically check on it, especially if you’re using loose ice that will melt and create more water over time.
![7 Best Portable Heat Pump Air Conditioner [2026]](https://bathroomexplorer.com/wp-content/uploads/2026/06/7-best-portable-heat-pump-air-conditioner-2026-featured-768x432.jpg)