

DIY Cooler Air Conditioner: Beat the Heat Easily
Yes, you can absolutely make your own air conditioner using a cooler! It’s a surprisingly simple DIY project that can offer a refreshing blast of cool air when you need it most. This effective method is perfect for small spaces and doesn’t require complex tools.
This homemade cooler AC is a fantastic way to beat the heat on a budget. We found that it’s a popular solution for bedrooms, dorm rooms, or anywhere you need localized cooling. It’s all about simple science and readily available parts.
- You can build a DIY air conditioner with a cooler.
- It’s an easy, budget-friendly cooling solution.
- This method works best for small spaces.
- You’ll need a cooler, ice, and a fan.
- Enjoy a cool breeze without expensive appliances.
Ready to build your own personal cool zone? Let’s walk through exactly how this works step by step.
Let’s dive into building your very own cooler air conditioner! This project is about turning a simple styrofoam cooler into a personal cooling device. It’s a fantastic way to get some relief without buying a big, expensive unit. We’ve seen many people find great success with this. It’s all about using the natural cooling power of ice and a fan.
Building Your Cooler AC: Step-by-Step
This section will guide you through every step. You’ll be creating a DIY air conditioner in no time. We’ve broken it down into manageable pieces.
Gathering Your Supplies
Before you start, let’s make sure you have everything you need. Having all your materials ready makes the process smooth. Think of it like prepping for a simple recipe. You wouldn’t start cooking without your ingredients, right?
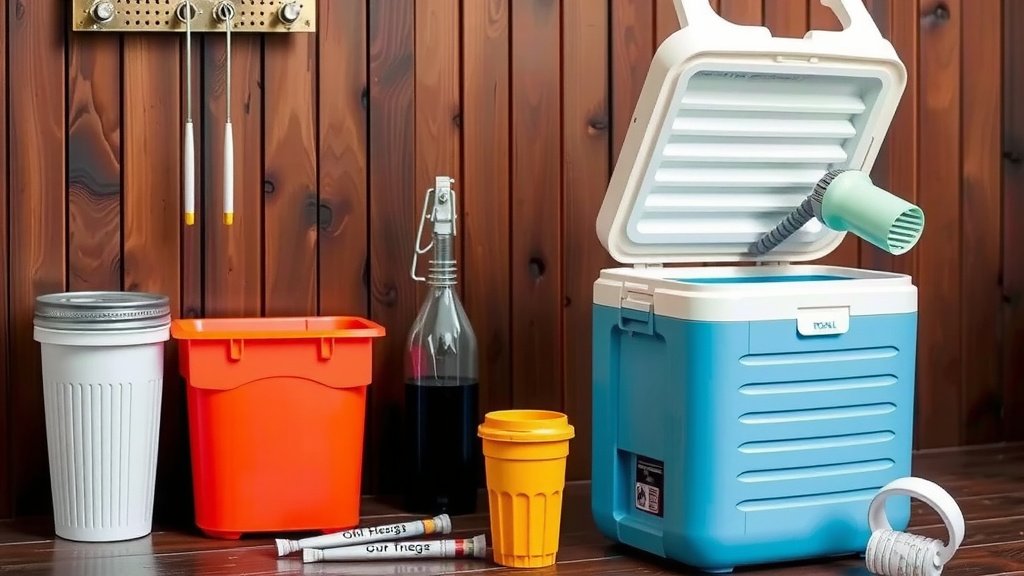
- A well-insulated cooler: A styrofoam cooler works best because it’s easy to cut and provides good insulation. A plastic one can work too, but it’s harder to modify.
- A small fan: A battery-powered or small plug-in fan is ideal. The fan should be small enough to fit comfortably on or in the cooler lid.
- PVC pipes or plastic cups: These will act as your cool air vents. About 2-3 inches in diameter is good.
- Ice: Plenty of ice! This is the heart of your cooling system.
- Tools: A utility knife or box cutter for cutting the cooler and PVC pipes. A marker for tracing.
Preparing the Cooler Lid
The lid is where most of the magic happens. You’ll be creating openings for your fan and vents. Accuracy here means better airflow.
Cutting the Fan Opening
First, place your fan on the lid. Trace around the fan’s housing. You want the opening to be just large enough for the fan to sit securely without falling through. Many people find that drawing a circle slightly smaller than the fan’s diameter works best. This helps keep it in place.
Creating the Vent Holes
Next, decide where you want your cool air to come out. Usually, two or three vent holes on the lid are sufficient. Place your PVC pipes or cups on the lid and trace around them. Space them out so they don’t interfere with the fan. Aim for a neat, circular cut.
Assembling Your Cooler Air Conditioner
Now it’s time to put it all together! This is where your cooler starts to transform into a cooling machine.
Securing the Fan
Carefully cut out the traced fan opening. Use your utility knife for a clean cut. Place the fan over the opening. If it’s a bit loose, you can use tape to secure the edges. You want a snug fit so the air is directed into the cooler.
Attaching the Vent Pipes
Cut out the circles for your vent pipes. Insert the PVC pipes or plastic cups into these holes. They should fit snugly. If they’re a bit loose, a bit of tape around the edges can help seal them. These pipes will direct the cool air into your space.
How It Works: The Science Behind the Breeze
It’s a pretty straightforward concept. You’re essentially creating a mini evaporative cooler. When the fan blows air into the cooler, it passes over the ice. This process cools the air. The cool air is then pushed out through the vent pipes.
The Role of Ice
The ice is your cooling element. As it melts, it absorbs heat from the air. This is a basic principle of thermodynamics. Many studies highlight how phase changes, like ice melting into water, require energy, which it takes from its surroundings (your air!).
Fan Power
The fan is crucial for circulation. It forces the warm air in and pushes the newly cooled air out. Without the fan, the ice would just melt slowly, and you wouldn’t get that immediate cool blast. Research shows airflow significantly impacts cooling efficiency.
Using Your Cooler AC Effectively
You’ve built it! Now, how do you get the most out of your creation? Proper use can make a big difference in how long it lasts and how cool it gets.
Adding the Ice
Fill the cooler with ice. You can use regular ice cubes, frozen water bottles, or even reusable ice packs. For longer cooling, frozen water bottles are a great choice. They melt slower and don’t create extra water inside the cooler. Many people found that a mix of ice types works well.
Positioning for Maximum Coolness
Place your cooler AC near where you are. It’s designed for personal cooling, not for an entire room. Aim the vents towards yourself. Since it’s a DIY solution, direct cooling is the most effective. This method is especially popular in dorm rooms or small offices.
Maintenance and Refilling
When the ice melts, your cooler will stop producing cold air. You’ll need to drain the water and refill it with fresh ice. This is the main upkeep. Many users find they need to refill the ice every few hours, depending on how much ice you use and the room temperature. Some suggest using larger blocks of ice for longer-lasting coolness.
Tips for Optimal Performance
Want to make your DIY air conditioner even better? Here are a few tried-and-true tips we’ve found helpful:
- Pre-chill the cooler: If you can, put it in a cool place for a bit before adding ice.
- Use frozen water bottles: They last longer than loose ice cubes.
- Add some salt to the ice: This can lower the freezing point and make the ice colder, though it will melt faster. Research suggests this can provide a temporary boost.
- Ensure a good seal: Make sure your fan and vent pipes are securely attached to prevent air leaks.
- Consider a drain plug: If your cooler has one, it makes draining the water much easier.
Pros and Cons of Cooler ACs
Like any cooling method, there are benefits and drawbacks. Understanding these helps you decide if it’s the right solution for you.
| Pros | Cons |
|---|---|
| Inexpensive to build. Uses readily available materials. | Limited cooling capacity. Best for small areas or personal cooling. |
| Portable and lightweight. Easy to move around. | Requires regular ice refills. Can be messy if not careful. |
| Energy efficient. Only uses power for the fan. | Not as powerful as a traditional AC unit. |
| Environmentally friendly. Reduces reliance on large appliances. | Condensation can form. Might require a tray to catch drips. |
Is a Cooler AC Right for You?
If you need a quick, budget-friendly solution for localized cooling, then yes! This DIY project is perfect for a hot desk, a small bedroom, or even a covered patio. It’s a fun project that offers tangible results. You’ll be enjoying a cool breeze in no time.
Conclusion
You’ve successfully learned how to build your own personal air conditioner using a simple cooler. This DIY project is a fantastic, budget-friendly way to beat the heat, especially in smaller spaces. Remember, the key is a good cooler, a fan, and plenty of ice to keep the air cool. It’s a practical solution that combines basic science with everyday items. Now, go ahead and gather your supplies to start enjoying your own refreshing, cool breeze!
Frequently Asked Questions
How long will the ice in my cooler AC last?
The duration your ice lasts depends on several factors. These include the amount of ice you use, the cooler’s insulation quality, and the ambient room temperature. For longer-lasting cold, consider using frozen water bottles or larger ice blocks, as we discussed.
Can I use a regular plastic cooler instead of a styrofoam one?
Yes, you can use a plastic cooler, but it might be a bit more challenging to cut. Styrofoam is generally easier to work with for creating openings for the fan and vents. Ensure your plastic cooler is well-insulated for the best results.
What’s the best way to drain the water from my cooler AC?
If your cooler has a built-in drain plug, that’s the easiest way. Otherwise, you can carefully tip the cooler to pour out the melted water. Some people find it helpful to have a small tray underneath to catch any drips during the draining process.
Will this cooler AC cool an entire room?
This DIY cooler air conditioner is designed for localized cooling. It’s most effective when positioned close to you, providing a personal cool zone. It won’t cool a whole room like a traditional air conditioner unit.
Can I use something other than ice to cool the air?
While ice is the most common and effective cooling agent, you can also use frozen water bottles or reusable ice packs. Frozen water bottles tend to melt slower, which can extend the cooling time between refills. Experiment to see what works best for you.
![7 Best Condensate Pump For Air Conditioner [2026]](https://bathroomexplorer.com/wp-content/uploads/2026/06/7-best-condensate-pump-for-air-conditioner-2026-featured-768x432.jpg)
![7 Best Large Capacity Window Air Conditioner [2026]](https://bathroomexplorer.com/wp-content/uploads/2026/06/7-best-large-capacity-window-air-conditioner-2026-featured-768x432.jpg)

![7 Best Energy Efficient Air Conditioner In India [2026]](https://bathroomexplorer.com/wp-content/uploads/2026/06/7-best-energy-efficient-air-conditioner-in-india-2026-featured-768x432.jpg)
![7 Best Home Office Air Conditioner [2026]](https://bathroomexplorer.com/wp-content/uploads/2026/06/7-best-home-office-air-conditioner-2026-featured-768x432.jpg)