How to Change Water Filter on Whirlpool Fridge: Full Guide
Are you tired of dealing with a slow-flowing or unpleasant-tasting water dispenser in your Whirlpool fridge? If so, it’s probably time to change the water filter. Over time, the filter can become clogged with impurities, reducing the quality and flow of the water.
Luckily, replacing the water filter in a Whirlpool fridge is a straightforward process that you can easily do yourself. In this comprehensive guide, I’ll walk you through the step-by-step process to change your Whirlpool fridge’s water filter quickly and effectively.
Why Changing the Water Filter is Important
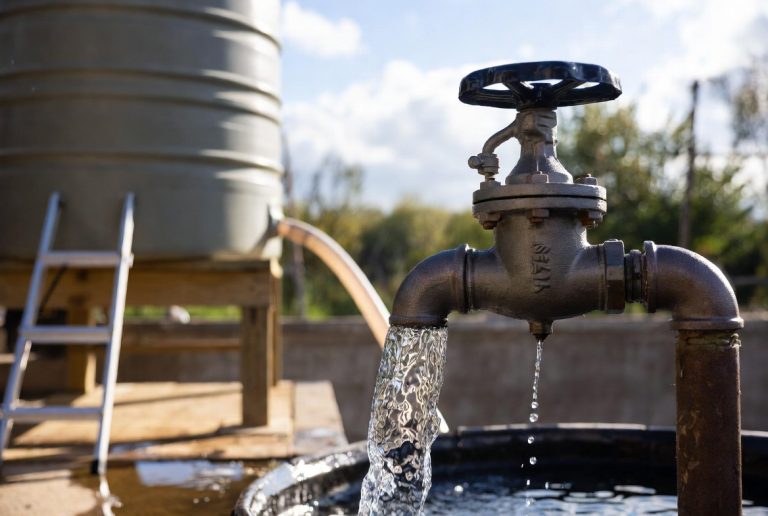
The water filter in your Whirlpool fridge plays a crucial role in ensuring that the water and ice you consume are clean, fresh, and safe. The filter works to remove a variety of contaminants, including:
- Chlorine
- Sediment
- Bacteria
- Lead
- Pesticides
- Volatile organic compounds (VOCs)
Over time, as the filter traps these impurities, it can become clogged and less effective. This can lead to a decline in water quality, slower water flow from the dispenser, and even potential health risks from consuming unfiltered water.
To keep your water tasting great and your fridge running smoothly, it’s recommended to change the water filter every 6 months or when the filter indicator light on your Whirlpool fridge turns on. Staying on top of this regular maintenance will ensure that you and your family always have access to clean, fresh-tasting water.
Identifying Your Whirlpool Fridge’s Water Filter
Before you can replace the water filter, you need to identify its location and model. Whirlpool uses a variety of water filter designs and placements, so it’s important to know exactly which one you have.
The most common water filter locations in Whirlpool fridges are:
- Inside the fresh food compartment, often behind a small access panel
- Behind the base grille at the bottom of the fridge
- Inside the door, either at the top or bottom
To find your specific filter model, check the owner’s manual for your Whirlpool fridge or look for a model number printed on the filter housing or adjacent to the filter location. This will help you order the correct replacement filter.
Preparing to Change the Water Filter
Now that you’ve located your Whirlpool fridge’s water filter, it’s time to get ready to replace it. Here’s what you’ll need:
- Replacement water filter (make sure it’s the correct model for your fridge)
- Towel or cloth (to catch any water drips)
- Optional: Filter wrench (if your filter is difficult to twist off by hand)
Before you begin, it’s a good idea to note the date you’re changing the filter. This will help you keep track of when it’s time to replace it again in the future.
Step-by-Step Guide to Changing the Water Filter
Now, let’s dive into the step-by-step process of replacing your Whirlpool fridge’s water filter:
1. Locate the Water Filter
First, identify the location of the water filter in your Whirlpool fridge. As mentioned earlier, it may be behind a panel in the fresh food compartment, behind the base grille, or inside the door.
2. Turn Off the Water Supply
Before you remove the old filter, you’ll need to turn off the water supply to the fridge. This is usually done by turning a small shutoff valve located behind the fridge or underneath it. If you can’t find a shutoff valve, you may need to turn off the main water supply to your home.
3. Remove the Old Filter
Once the water is shut off, it’s time to remove the old filter. Depending on your Whirlpool model, this may involve twisting the filter counterclockwise, pushing and turning it, or simply pulling it straight out.
If the filter is stuck, you can use a filter wrench to help loosen it. Be careful not to over-tighten the new filter when you install it, as this can damage the housing.
4. Flush the System
Before installing the new filter, it’s a good idea to flush the water line to remove any debris that may have accumulated. To do this, turn the water supply back on and let the water run for 2-3 minutes into a bucket or the sink.
5. Install the New Filter
Once the system is flushed, it’s time to insert the new water filter. Align the filter with the housing and gently push it in, then twist it clockwise (or follow the specific instructions for your model) until it’s secure.
Make sure not to over-tighten the filter, as this can cause leaks. If your Whirlpool fridge has a filter indicator light, reset it according to the manufacturer’s instructions.
6. Turn the Water Supply Back On
Finally, turn the water supply back on and check for any leaks around the new filter. If everything looks good, you’re all set! Run the water dispenser for a few minutes to ensure the filter is working properly and to get rid of any air bubbles in the line.
Conclusion
Changing the water filter in your Whirlpool fridge is a simple task that can have a big impact on the quality of your drinking water. By following this step-by-step guide, you can easily replace the filter and enjoy fresh, clean water from your fridge’s dispenser.
Remember to change your filter every 6 months or when the filter indicator light turns on to keep your water tasting great and your fridge running smoothly. If you run into any issues or have additional questions, be sure to consult your Whirlpool fridge’s owner’s manual or reach out to the manufacturer for assistance.
FAQs
How do I know when to change my Whirlpool fridge’s water filter?
Most Whirlpool fridges have a filter indicator light that will turn on when it’s time to change the filter, typically every 6 months. You can also check the owner’s manual for your specific model to see the recommended replacement schedule.
What happens if I don’t change the water filter in my Whirlpool fridge?
If you don’t change the water filter regularly, it can become clogged with impurities, leading to a decline in water quality, slower water flow, and potentially even health risks from consuming unfiltered water.
Can I use a different brand of water filter in my Whirlpool fridge?
It’s generally not recommended to use a different brand of water filter in your Whirlpool fridge, as the filter housing and connections are designed specifically for Whirlpool’s own replacement filters. Using an incompatible filter could cause leaks or other issues.
How do I reset the filter indicator light on my Whirlpool fridge?
The process for resetting the filter indicator light varies by model, but it usually involves pressing and holding a specific button or combination of buttons on the fridge’s control panel. Refer to your owner’s manual for the exact steps to reset the light after changing the filter.
Can I still use my Whirlpool fridge if the water filter is expired?
Yes, you can still use your Whirlpool fridge without a working water filter, but it’s not recommended. The filter plays an important role in removing impurities and ensuring the quality of the water and ice, so it’s best to replace it when the indicator light turns on or every 6 months.