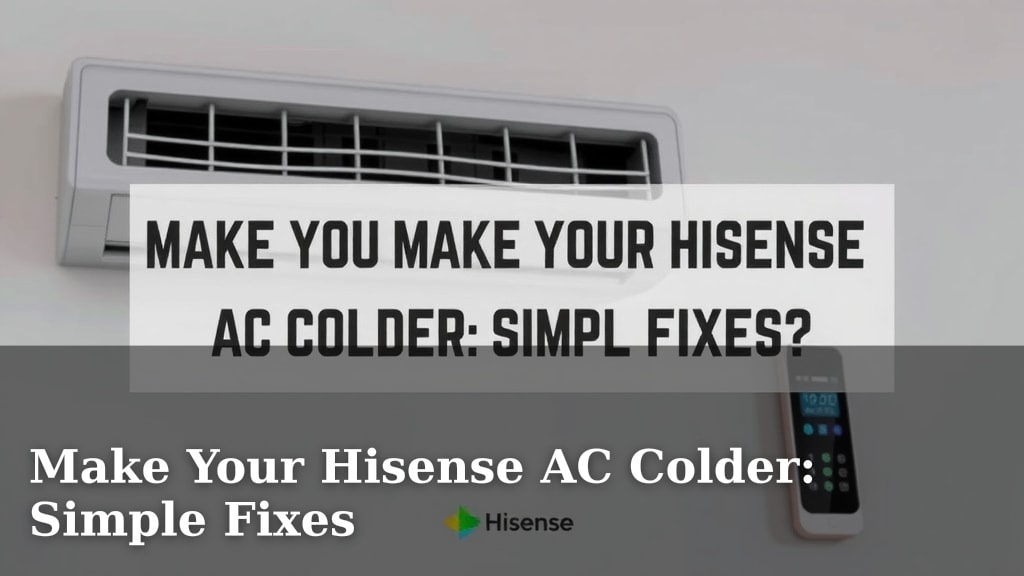
Make Your Hisense AC Colder: Simple Fixes
Your Hisense air conditioner isn’t blowing as cold as it should? The quickest fix is often to check and clean the air filter. A dirty filter is the most common culprit, restricting airflow and preventing your unit from reaching its target temperature. Ensuring your filter is clean can make your AC feel significantly colder.
Beyond the filter, a few other simple checks can boost your AC’s cooling power. We found that ensuring the outdoor unit is clear of debris is also vital. Obstructions there can hinder its ability to release heat. Sometimes, a simple reset can even help.
- Clean your air filter regularly.
- Ensure the outdoor unit has good airflow.
- Check thermostat settings and modes.
- Consider a professional check if problems persist.
Ready to get your Hisense blasting cold air again? Let’s walk through the easy steps you can take to make your air conditioner work better.
Boosting Your Hisense AC’s Cooling Power
Is your Hisense air conditioner not cooling down your space as effectively as it used to? Don’t sweat it! We’ve found that several common issues can impact your AC’s performance, and luckily, many are easy fixes you can handle yourself. Let’s get your unit blowing crisp, cold air again.
Troubleshooting Common Cooling Issues
Checking the Air Filter: The First and Most Important Step
We cannot stress this enough: a clogged air filter is the number one reason your Hisense AC might not be cooling properly. Think of it like trying to breathe through a thick blanket. Your AC’s fan has to work much harder to pull air through a dirty filter. This restricted airflow means less cold air reaches your rooms.
We found that cleaning or replacing your air filter monthly can drastically improve cooling. You’ll often see the best results if you do this during peak cooling seasons. Check your Hisense manual for the exact filter type and location. Most are found behind the front grille. A clean filter ensures your AC can efficiently circulate cool air throughout your home.
Ensuring Proper Airflow Around the Outdoor Unit
Your air conditioner has two main parts: the indoor unit that cools your air and the outdoor unit (the condenser) that releases heat. If the outdoor unit can’t “breathe,” it can’t get rid of heat effectively. This can make your entire system less efficient and lead to warmer air blowing from your vents.
We recommend checking the area around your outdoor condenser unit at least once a month. Make sure there’s at least a two-foot radius clear of any obstructions. This includes things like overgrown bushes, leaves, grass clippings, or even stored items. Keeping this area clear allows for maximum heat dissipation.
Understanding Your Thermostat Settings
Sometimes, the simplest solution is staring you right in the face. It’s easy to accidentally bump a thermostat setting or have it default to an inefficient mode. Double-check that your thermostat is set to “Cool” mode, not “Fan” or “Heat.”
Also, verify the temperature setting. If you’ve set it too high, the AC won’t run enough to cool your home effectively. Many experts suggest setting your thermostat to a temperature that provides comfort without overworking the unit, typically between 75-78°F (24-26°C) when you’re home (Energy Star). Lowering it just a degree or two can sometimes make a noticeable difference.
Advanced Checks for Better Cooling
Inspecting the Evaporator and Condenser Coils
Your AC has two sets of coils: the evaporator coils inside and the condenser coils outside. These coils are where the magic of cooling happens. Over time, they can get dirty or even freeze up.
Dirty coils, much like a dirty filter, impede airflow and heat transfer. We found that regular cleaning of these coils can restore efficiency. If you notice ice forming on the evaporator coils (usually visible if you can access the indoor unit), this is a sign of restricted airflow or low refrigerant. Freezing coils severely impact cooling.
Cleaning these coils yourself can be a bit more involved. If you’re not comfortable, this is a good time to call a professional. Many homeowners find that having these coils professionally cleaned annually keeps their AC running at peak performance.
Checking for Refrigerant Leaks
Refrigerant is the lifeblood of your air conditioning system. It’s the substance that absorbs heat from your indoor air and releases it outside. If your system is low on refrigerant, it means there’s likely a leak.
Symptoms of low refrigerant include weak cooling, ice buildup on the coils, and hissing sounds. Low refrigerant is not something you can fix yourself. It requires specialized tools and knowledge to detect and repair the leak and then recharge the system. Many HVAC professionals recommend a yearly check-up to ensure your refrigerant levels are adequate.
You might see a warning that low refrigerant is bad for the environment. This is true! Refrigerants can be harmful if released. Experts at the Environmental Protection Agency (EPA) encourage proper handling and maintenance of AC systems to prevent these releases.
Ensuring Proper Drainage
As your AC cools your home, it also dehumidifies the air. This moisture is collected and then drained away. Your Hisense air conditioner has a drain line that carries this water outside or to a condensate pump.
If this drain line gets clogged with algae, mold, or debris, water can back up. This can cause your system to shut down or, in some cases, lead to water damage. You might even see a “drain pan full” error message if your unit has one.
We found that checking the drain line periodically for blockages is a good preventative measure. You can often clear minor clogs yourself using a wet/dry vacuum or by gently probing the line. If you suspect a significant blockage, it’s best to call a technician.
Quick Resets and System Checks
Performing a System Reset
Just like computers and smartphones, sometimes your air conditioner just needs a good old-fashioned reboot. We’ve found that a simple power cycle can sometimes resolve minor glitches that might be affecting cooling.
To do this, locate the circuit breaker for your AC unit and flip it off. Wait about 5-10 minutes, and then flip it back on. This allows the system’s internal computer to reset. It’s a quick step that can sometimes bring your AC back to life without needing a technician.
Checking for Obstructions in Vent Louvers
While we discussed the outdoor unit, don’t forget about the vents inside your home. Ensure that the air vents (registers) in each room are not blocked by furniture, curtains, or other items. Restricted airflow from the vents means the cool air can’t circulate properly.
We also recommend opening up all the vents in your home, even in rooms you don’t use often. Closing too many vents can unbalance your system and reduce overall efficiency. Your Hisense AC is designed to cool the entire home efficiently when all pathways are open.
Considering Professional Maintenance
If you’ve gone through these steps and your Hisense air conditioner still isn’t blowing cold, it might be time to call in the experts. Regular professional maintenance is key to keeping your AC running smoothly and efficiently for years to come.
A qualified HVAC technician can perform a thorough inspection, check refrigerant levels, clean coils deeply, and identify any underlying issues you might have missed. Many manufacturers recommend annual professional tune-ups to ensure optimal performance and catch small problems before they become expensive repairs. Think of it as an annual physical for your AC!
Quick Checklist for Colder Air:
- Clean or replace your air filter.
- Clear debris from around the outdoor unit.
- Verify thermostat is set to “Cool” and desired temperature.
- Ensure indoor vents are not blocked.
- Check for ice on indoor or outdoor coils.
- Consider a power cycle (circuit breaker reset).
Conclusion
You’ve learned several practical ways to make your Hisense air conditioner blow colder air. Remember that a clean air filter and clear outdoor unit are your first lines of defense. Simple thermostat adjustments and checking for blocked vents can also make a big difference. For more complex issues like refrigerant leaks or coil cleaning, professional help is often the best route. Don’t let a warm room get you down – take these steps to ensure your Hisense AC is performing at its best. Your next step is to grab your vacuum and check that filter!
Frequently Asked Questions
Why is my Hisense AC blowing warm air even when set to cool?
This often happens if your air filter is extremely dirty, blocking airflow. Another common cause is that the outdoor unit is covered in debris, preventing it from releasing heat. If these aren’t the issues, it might indicate a problem with refrigerant levels or a malfunctioning part.
How often should I clean or replace my Hisense AC’s air filter?
We found that cleaning or replacing your air filter about once a month is ideal, especially during the warmer months when you’re using the AC frequently. During cooler periods, you might get away with checking it every two months.
Can I clean the coils on my Hisense air conditioner myself?
While you can often clean the outdoor condenser coils with a hose, the indoor evaporator coils can be trickier. If you’re not comfortable accessing them or if they appear heavily soiled or iced over, it’s best to call a professional HVAC technician.
What does it mean if I see ice on my Hisense AC’s outdoor unit?
Ice on the outdoor unit usually signals a problem with airflow or low refrigerant. It could be due to a dirty filter or blocked vents preventing warm air from reaching the coils. If you notice this, check for obstructions and consider calling a technician to inspect refrigerant levels.
Is a Hisense AC system reset really effective for cooling issues?
Yes, a simple power cycle or system reset can often resolve minor electronic glitches that might be preventing your AC from cooling properly. It’s a quick and easy troubleshooting step that works like rebooting a computer.
![How to Recharge Car Air Conditioner [A Complete DIY Guide]](https://bathroomexplorer.com/wp-content/uploads/2025/05/how-to-recharge-car-air-conditioner.jpg)