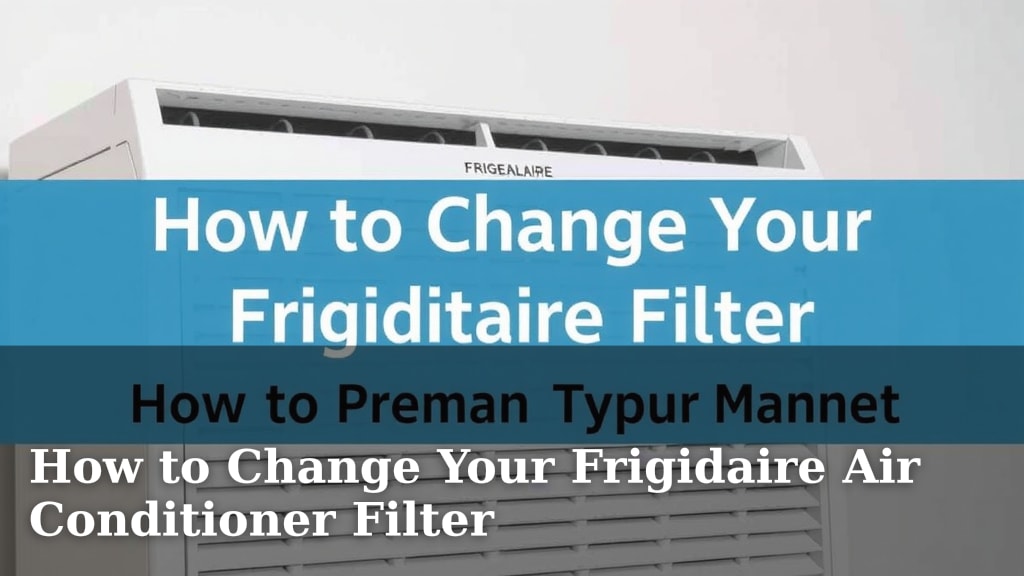
How to Change Your Frigidaire Air Conditioner Filter
Changing the filter on your Frigidaire air conditioner is a straightforward process that helps keep your air clean and your unit running efficiently. You can typically do this in under 15 minutes with just a few simple tools. Keeping your filter clean is one of the easiest ways to improve your home’s air quality and save energy.
A dirty filter makes your AC work harder. This can lead to higher electricity bills and strain your system. Many experts agree that regular filter changes are key to a longer-lasting air conditioner. It’s a small task with big benefits for your home comfort and your wallet.
- Locate your Frigidaire AC unit.
- Find the filter access panel.
- Slide out the old filter.
- Insert the new filter correctly.
- Close the panel securely.
Let’s walk through exactly how to change that Frigidaire air conditioner filter step by step, ensuring you get it right the first time.
Your Frigidaire AC Filter Replacement Guide
Swapping out the filter on your Frigidaire air conditioner is a simple maintenance task. Doing this regularly keeps your air cleaner and your unit working at its best. You can usually complete this job in less than 15 minutes. It’s a small effort with a big payoff for your home’s air quality.
Why Regular Filter Changes Matter
A clogged filter is like a stuffy nose for your air conditioner. It makes the whole system strain to pull air through. This means your AC uses more electricity, leading to higher energy bills. Many HVAC professionals agree that changing your filter on time is one of the most effective ways to prevent AC problems (Energy Star).
Not changing the filter can also lead to dust and debris getting into your AC’s internal components. This can cause costly damage over time. Think of it as preventive care for your expensive home appliance. Regular changes help ensure your Frigidaire runs smoothly for years to come.
What You’ll Need for the Job
Before you start, gather a few things. You’ll need your new Frigidaire air conditioner filter. Make sure it’s the correct size for your unit. You’ll also want a clean cloth or paper towel. This is for wiping down the filter housing if it looks dusty.
In most cases, you won’t need any special tools. The filter compartment is usually designed for easy access. Some older models might have a few screws, but this is rare for most modern Frigidaire units.
Locating Your Frigidaire Air Conditioner Filter
The first step is to find where your filter lives. Frigidaire air conditioners can have filters in a few common spots. Knowing where to look will save you time and frustration.
Common Filter Locations
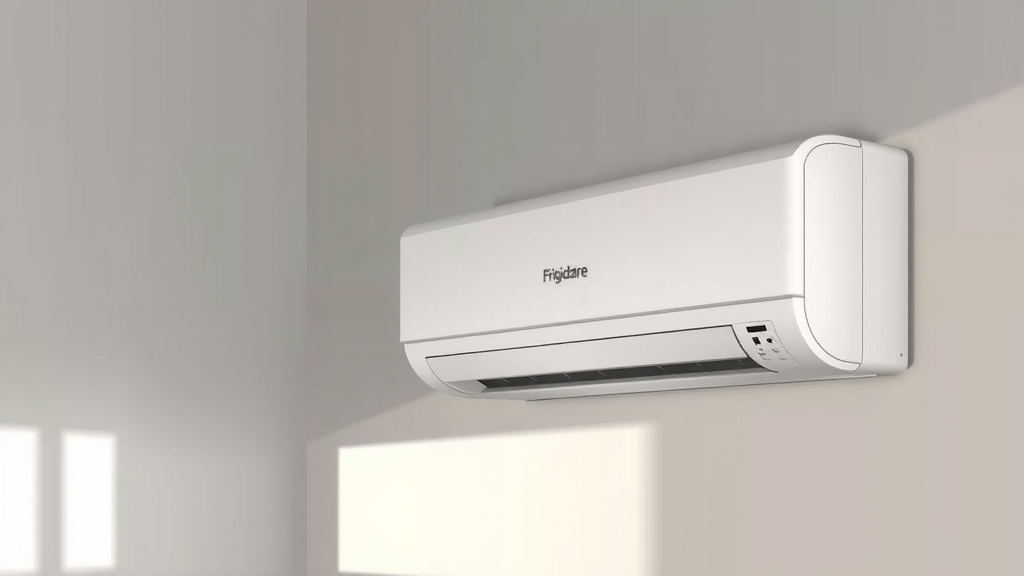
For window air conditioners, the filter is usually behind the front grille. You might need to gently pull the grille away from the unit. Sometimes, there’s a small latch or clip to release it. This gives you access to slide the filter out.
If you have a portable air conditioner, the filter is typically on the back or the side of the unit. Look for a panel or a removable cover. This cover often slides up or unclips easily. It’s usually quite obvious once you spot it.
For central air systems with a separate air handler (often in a closet, basement, or attic), the filter is usually located in the return air duct. This is often a large grille in a wall or ceiling. The filter slides into a slot next to the air handler itself. Check the main return air duct closest to your furnace or air handler.
Identifying the Filter Access Panel
Once you know the general area, look for the specific access panel. On window units, it’s often part of the front frame. For portables, it’s a section that looks designed to be opened. For central systems, it’s a slot that looks like it can accept a flat panel.
Don’t force anything. If a part seems stuck, double-check that you’ve released any clips or latches. The goal is to make it easy to swap the filter. You should be able to open the compartment without much effort.
The Step-by-Step Filter Change Process
Now that you’ve found the filter, let’s get it replaced. This is the core of the process and it’s really not complicated.
Step 1: Power Off Your Air Conditioner
Safety first! Before you do anything else, turn off your air conditioner. You can do this at the unit’s power button or by flipping the circuit breaker for the AC. This prevents any accidental startups while you’re working. It’s a quick step but a very important one.
Step 2: Remove the Old Filter
Open the access panel you located earlier. You should now see the old, likely dusty, air filter. Most filters slide out easily. Grasp the edge of the filter and pull it straight out. If it’s very dirty, it might feel a bit resistant. Just give it a gentle but firm pull.
As you pull it out, take note of the airflow direction arrow printed on the filter’s frame. This is super important for installing the new one correctly. Try not to touch the dusty filter with your bare hands if possible. We want clean air, not dusty hands!
Step 3: Clean the Filter Housing (Optional but Recommended)
With the old filter out, you might notice some dust inside the housing. This is a good time to do a quick clean-up. Use your clean cloth or paper towel to wipe away any loose dust or debris. A clean housing means cleaner air circulation. This quick wipe-down takes just a moment.
Step 4: Insert the New Filter
Unpack your new filter. Remember that airflow arrow you noted? Make sure the arrow on the new filter points in the same direction as the old one. For most AC units, this means the arrow should point towards the air conditioner’s blower motor or in the direction the air is flowing into the unit.
Slide the new filter into the housing. It should fit snugly but slide in smoothly. Don’t force it if it feels tight. Check that it’s seated correctly all the way in. A properly seated filter ensures it works as intended.
Understanding Airflow Direction
The airflow arrow is there for a reason. Filters are designed to trap particles effectively when air passes through them in the correct direction. Installing it backward might not filter the air as well. Many manufacturers place the arrow to show which way the air is being pulled *into* the unit. Always check your unit’s manual if you’re unsure.
Step 5: Secure the Access Panel
Once the new filter is in place, close the access panel. Make sure it latches or screws back securely. You don’t want any gaps where air can bypass the filter. Double-check that it’s firmly closed. This ensures your AC unit is sealed up properly.
Step 6: Power Your AC Back On
Turn your air conditioner back on. You can do this using the unit’s controls or by re-engaging the circuit breaker. You should notice your unit running smoothly. If you hear any strange noises or if the airflow seems off, power it down again. Then, re-check that the filter is seated correctly and the panel is secure.
How Often Should You Change Your Frigidaire Filter?
The frequency of filter changes depends on a few factors. However, there are general guidelines to follow. Sticking to a schedule keeps your system running optimally.
General Recommendations and Factors
Most manufacturers recommend changing standard disposable filters every 1 to 3 months. This is a good starting point for most homes. However, several things can influence this schedule.
- Pets: If you have pets, especially shedding ones, you might need to change your filter more often, perhaps every month. Pet dander is a major contributor to filter clogs.
- Allergies: Individuals with allergies or respiratory issues often benefit from more frequent changes. This helps reduce airborne irritants. Many allergy experts suggest monthly changes in high-allergy seasons (American Lung Association).
- Home Environment: Homes in dusty areas or those undergoing renovations might require filters to be changed more frequently. If you notice visible dust buildup quickly, change it sooner.
- Usage: If you run your AC constantly, especially during hot summer months, the filter will get dirty faster. Heavy use means more air is passing through, collecting more debris.
Checking Your Filter’s Condition
The best way to know when to change your filter is to simply look at it. Make it a habit to check it monthly. If it looks visibly dirty, clogged with dust, or gray, it’s time for a change. This visual inspection is your most reliable guide.
Filter Size and Type Matters
Different filters have different lifespans. Thicker, higher-rated MERV filters may last longer than thinner, basic ones. Always use the correct size and type of filter recommended for your specific Frigidaire model. The user manual is your best resource for this information.
Keeping a Filter Change Checklist
To make this maintenance easy, consider keeping a simple checklist. This helps you stay on track and avoid forgetting this important task. Here’s a quick guide:
- Check filter monthly.
- Note any visible dirt or dust buildup.
- If dirty, prepare to change it.
- Ensure new filter is correct size.
- Remember airflow arrow direction.
- Keep a record of when you changed it last.
Troubleshooting Common Filter Issues
Most of the time, changing a Frigidaire AC filter is straightforward. However, sometimes you might run into minor hiccups. Here are a few common ones and how to fix them.
Filter Won’t Slide Out or In
If the old filter is stuck, it might be because it’s completely clogged and has expanded slightly. Try wiggling it gently. If the new filter is hard to insert, double-check that it’s the correct size and not warped. Make sure the filter housing isn’t damaged.
Unit Not Cooling Properly After Change
This could be a sign that the new filter isn’t installed correctly. Ensure the airflow arrow is pointing in the right direction. Also, confirm the filter is fully seated and the access panel is secure. If the issue persists, it might be a different problem with the AC unit itself.
Where to Buy Replacement Filters
You can find replacement filters at most home improvement stores, department stores, and online retailers. Always have a spare on hand so you’re ready when it’s time for a change. Keeping a couple of extra filters stocked is always a good idea.
Conclusion
You’ve now got a clear roadmap for changing your Frigidaire air conditioner filter. Remember, this simple maintenance task directly impacts your home’s air quality and your AC’s efficiency. By regularly swapping out that dirty filter, you’re saving money on energy bills and helping your unit last longer. Don’t let it become a chore; make it a habit. Your next step is simple: check your filter today and schedule your next replacement!
Frequently Asked Questions
What if I can’t find the filter on my Frigidaire AC?
Check the most common spots first: the front grille for window units, the back or side for portables, or near the air handler for central systems. If you’re still stuck, consult your Frigidaire owner’s manual. It will have the exact location for your specific model.
Can I wash and reuse my Frigidaire AC filter?
Most standard Frigidaire filters are disposable and are not designed to be washed. Reusing them can damage the filter material and reduce its effectiveness. Always use a new, clean filter that matches your unit’s specifications.
My new filter doesn’t fit perfectly, what should I do?
Ensure you’ve purchased the exact correct size filter for your Frigidaire model. Sometimes filters can get slightly warped in packaging. Double-check the dimensions and try gently pushing it in again. If it’s significantly off, you may have the wrong filter.
How do I know if I bought the right replacement filter?
The best way is to check your Frigidaire owner’s manual for the recommended filter size and type (like MERV rating). You can also usually find this information on the old filter itself or on a label near the filter housing on your unit.
What happens if I install the filter with the arrow facing the wrong way?
Installing the filter backward means the air won’t flow through it as intended, significantly reducing its ability to capture dust and allergens. This can also make your AC work harder. Always ensure the airflow arrow points in the correct direction as indicated by your unit.
![7 Best Window Seal For Portable Air Conditioner [2026]](https://bathroomexplorer.com/wp-content/uploads/2026/07/7-best-window-seal-for-portable-air-conditioner-2026-featured-768x432.jpg)
![7 Best Energy Efficient Split System Air Conditioner [2026]](https://bathroomexplorer.com/wp-content/uploads/2026/06/7-best-energy-efficient-split-system-air-conditioner-2026-featured-768x432.jpg)