
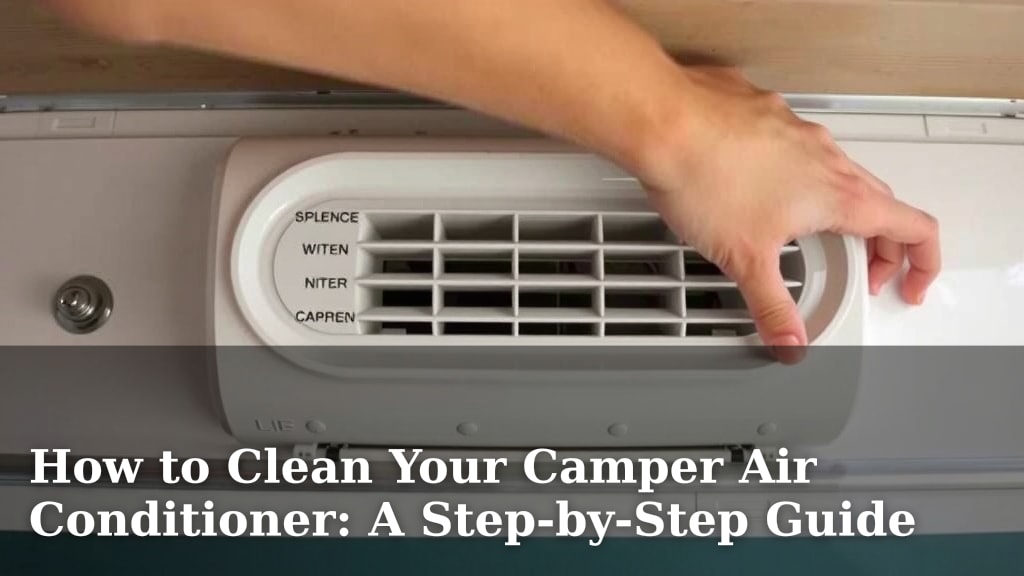
How to Clean Your Camper Air Conditioner: A Step-by-Step Guide
The easiest way to clean your camper air conditioner is by cleaning the filter and the exterior coils regularly. This simple maintenance keeps your RV cool and prevents issues. Neglecting this can lead to poor performance and costly repairs.
Keeping your RV’s air conditioner in top shape is super important for comfort on your trips. We found that a clean AC unit not only cools better but also helps your system last longer. It’s a win-win for your travels and your wallet.
- Clean your AC filter regularly.
- Don’t forget to clean the exterior coils.
- Check for any obstructions.
- Listen for strange noises.
Let’s walk through exactly how to get your camper air conditioner sparkling clean and running like new, step by step.
Keeping Your Camper’s Air Conditioner in Tip-Top Shape
Cleaning your camper’s air conditioner doesn’t have to be a chore. Regular maintenance is key to keeping your RV cool and comfy. It also helps prevent costly repairs down the road. We found that a little effort goes a long way.
Why Regular AC Cleaning Matters for Your RV
Your RV air conditioner works hard. It pulls in air, cools it, and pushes it back out. Over time, dust, dirt, and debris build up. This buildup can clog filters and coat coils.
When your AC is dirty, it struggles to cool effectively. You might notice your RV takes longer to cool down. Or, it might not reach your desired temperature at all. This means your AC unit is working overtime, using more energy.
Research shows that dirty AC units are less efficient. This can lead to higher electricity bills. More importantly, a struggling AC unit can overheat. This could result in **serious damage** to the compressor or fan motor. These are expensive parts to replace.
The Core Components to Focus On
There are two main areas you’ll want to focus on when cleaning your camper’s AC. These are the air filter and the exterior coils. Getting these clean is like giving your AC a fresh breath of air.
Cleaning the Air Filter: Your First Line of Defense
The air filter is the unsung hero of your AC system. It traps dust, pollen, and other airborne particles. Without a clean filter, all that gunk gets pulled into your AC’s sensitive components.
We found that most RV air conditioner filters are reusable. This is great news for your budget and the environment. They usually just slide out from the inside of your RV. Check your owner’s manual if you’re unsure of the exact location.
Here’s how to clean it:
- Gently remove the filter.
- Take it outside and vacuum off loose debris.
- If it’s really dirty, you can wash it with mild soap and water.
- Rinse it thoroughly and let it air dry completely. Never put a wet filter back in.
Many experts recommend cleaning your filter every 1 to 3 months. This frequency can vary depending on how often you use your RV and the conditions you travel in. If you’re camping in a dusty area, you’ll want to check it more often.
Don’t Forget the Exterior Coils: The Cooling Workhorses
The exterior coils are where the magic of cooling happens. They release heat from your RV. Just like the filter, these coils can get clogged with dirt, leaves, and bugs.
When the exterior coils are covered, heat can’t escape properly. This makes your AC work much harder to cool your RV. It’s like trying to sweat through a thick wool sweater on a hot day.
Cleaning these coils requires a bit more care. You’ll need to access the outside unit of your AC. Again, your RV’s manual will show you where this is. Many RV AC units have a cover that can be removed.
Step-by-Step Guide to Cleaning Your RV AC Coils
Before you start, always **disconnect the power** to your AC unit. This is for your safety. It’s crucial to avoid any electrical hazards.
Tools you might need:
- Soft brush or vacuum with a brush attachment
- Coil cleaner spray (specifically for AC units)
- Garden hose with a spray nozzle
- Screwdriver (if you need to remove a cover)
Step 1: Access the Exterior Unit
Locate the outdoor part of your air conditioner. This is usually on the roof of your RV. You might need to remove a shroud or cover. Be gentle as you do this.
Step 2: Remove Loose Debris
Use a soft brush or a vacuum with a brush attachment. Carefully remove any leaves, twigs, or visible dirt. Work gently to avoid bending the delicate fins of the coils. Many sources suggest this initial step helps the actual cleaning spray work better.
Step 3: Apply Coil Cleaner (Optional but Recommended)
If your coils are quite dirty, a specialized AC coil cleaner can help. You can find these at RV supply stores or online. Follow the product instructions carefully. Usually, you spray it on and let it sit for a few minutes.
Step 4: Rinse the Coils
Use your garden hose to rinse the coils. Spray from the inside out if possible. This pushes dirt and cleaner away from the unit. Use a gentle spray; a high-pressure stream can damage the fins. You want to **rinse away all the cleaner** and loosened debris.
Step 5: Reassemble and Restore Power
Once the coils are clean and rinsed, reattach any covers you removed. Make sure everything is secure. Now you can reconnect the power to your AC unit.
Checking for Obstructions and Strange Noises
While you’re up there cleaning, take a moment to look around the AC unit. Are there any branches, leaves, or debris piled up on or around it? Clearing these away can improve airflow.
Also, turn on your AC and listen carefully. Does it sound normal? Any grinding, rattling, or loud humming could indicate a problem. This could be anything from a loose fan blade to a more serious mechanical issue.
We found that addressing small issues early can save you a lot of headaches. If you hear unusual noises, it’s a good idea to consult your RV owner’s manual or a qualified RV technician.
A Quick Checklist for Your AC Maintenance
Here’s a handy checklist to keep your RV AC running smoothly:
- Inspect and clean the interior air filter monthly.
- Check exterior coils for debris during your AC use.
- Wash the reusable air filter quarterly or as needed.
- Gently clean exterior coils annually or if performance dips.
- Clear away any obstructions around the outdoor AC unit.
- Listen for any unusual noises when the AC is running.
Conclusion
You’ve now learned the straightforward steps to keep your camper’s air conditioner running smoothly. Regularly cleaning your air filter and exterior coils is the most effective way to ensure your RV stays cool and comfortable. This simple maintenance not only improves cooling performance but also prevents costly repairs down the road. Remember to also check for any obstructions and listen for unusual noises during your AC use. Your next step is to schedule a quick cleaning session before your next trip to enjoy a perfectly chilled RV environment.
Frequently Asked Questions
How often should I clean my RV’s AC filter?
We found that cleaning your RV’s air filter every 1 to 3 months is a good starting point. If you camp in dusty environments frequently, you’ll want to inspect and clean it more often. A visibly dirty filter means it’s time for a wash.
Can I use a pressure washer on my RV AC coils?
It’s best to avoid using a high-pressure washer. Research shows that the strong spray can easily bend or damage the delicate fins of your AC coils. A gentle spray from a garden hose is much safer and effective.
What kind of cleaner should I use on the AC coils?
You can purchase specialized AC coil cleaner from RV supply stores or online retailers. Always follow the product’s instructions carefully. If your coils aren’t heavily soiled, a good rinse with water might be sufficient.
My RV AC isn’t cooling as well, what’s the first thing I should check?
The very first thing you should always check is your air filter. A clogged filter is the most common reason for poor cooling performance in any AC system. If the filter is clean, then inspect the exterior coils for dirt and debris.
Is it okay to leave the AC cover on while cleaning the coils?
No, you will need to remove the exterior cover or shroud to properly access and clean the coils. Most RV AC units have a cover that can be gently removed. Refer to your owner’s manual if you’re unsure how to do this safely.

![7 Best Coil Cleaner For Air Conditioner [2026]](https://bathroomexplorer.com/wp-content/uploads/2026/06/7-best-coil-cleaner-for-air-conditioner-2026-featured-768x432.jpg)
![7 Best Mid Range Air Conditioner [2026]](https://bathroomexplorer.com/wp-content/uploads/2026/06/7-best-mid-range-air-conditioner-2026-featured-768x432.jpg)

![7 Best Small Home Air Conditioner [2026]](https://bathroomexplorer.com/wp-content/uploads/2026/06/7-best-small-home-air-conditioner-2026-featured-768x432.jpg)