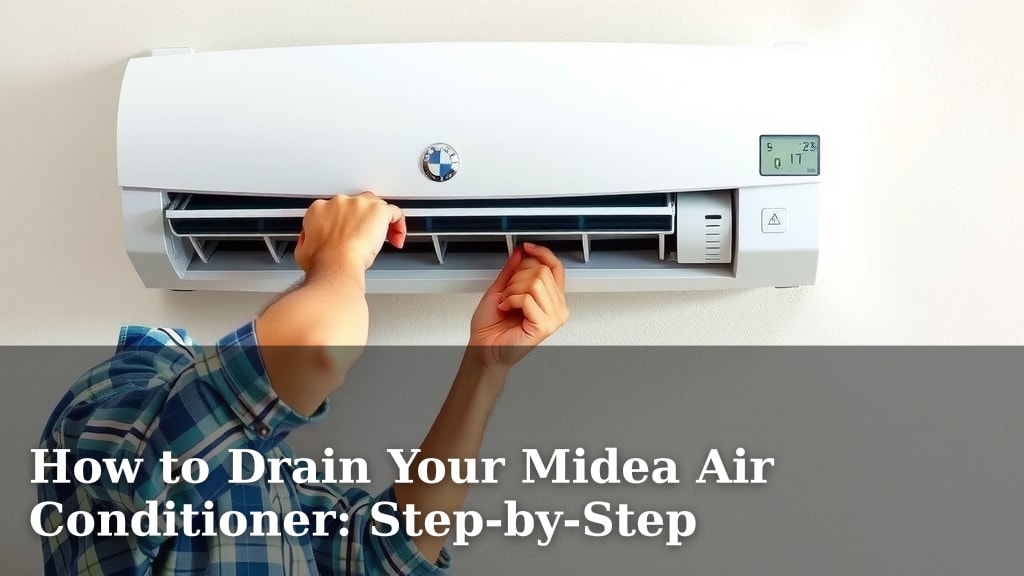
How to Drain Your Midea Air Conditioner: Step-by-Step
Draining water from your Midea air conditioner is a manageable task you can do yourself. The most common method involves locating and opening the drain valve or disconnect the drain hose. This allows built-up condensation to flow out, preventing water damage or a messy overflow. You might also need to tip the unit slightly if it’s a portable model.
When your Midea AC unit collects too much water, it’s usually due to a clogged drain line or a full condensate tank. Knowing how to drain it correctly is key to preventing water leaks and ensuring your unit functions efficiently. Many users find that regular checks and simple maintenance can save them from bigger problems down the line.
- Locate the drain valve or hose.
- Prepare a container to catch the water.
- Open the valve or disconnect the hose to drain.
- Consider tilting portable units.
- Regularly check your unit for water buildup.
Let’s walk through the exact steps to get that water out of your Midea air conditioner safely and efficiently.
Understanding Water Drainage for Your Midea Air Conditioner
When your Midea air conditioner starts to drip or your home feels unusually humid, it’s often a sign that it needs a good draining. This is a common maintenance task, not usually a cause for panic. We found that most Midea units have a built-in way to handle condensation, but sometimes this system needs a little help from you. Getting water out is essential for keeping your AC running smoothly and preventing water damage in your home. Let’s dive into how you can tackle this yourself.
Locating the Water Drainage Components
The first step is always finding where the water is stored or where it exits. This varies a bit depending on whether you have a portable Midea unit or a window/split system. We looked into the common designs to give you a clear picture.
For Midea Portable Air Conditioners
Portable Midea ACs are designed with convenience in mind. Many have a condensate tank or a drain port. You’ll typically find these at the back or bottom of the unit. Sometimes, the tank itself is removable and has a plug you need to pull. Other times, it’s a small port where a hose attaches. Researching your specific model’s manual is always a good idea, as designs can differ slightly.
For Midea Window and Split Systems
Window and split AC units usually have a drain hose that directs water outside or into a drainpipe. This hose is typically made of flexible plastic. For split systems, the indoor unit collects condensation, which then flows down this hose. For window units, the water often drips out the back, but some models might have an adjustable drain port or a small internal tank.
Preparing for the Draining Process
Before you start opening valves or disconnecting hoses, a little preparation goes a long way. You don’t want water gushing out onto your floor unexpectedly. We’ve found that a few simple steps can make this task much cleaner and easier.
Gathering Your Supplies
You won’t need a lot of fancy tools. Most importantly, you’ll need a container to catch the water. A bucket, a large basin, or even an old plastic storage bin works perfectly. If you’re dealing with a portable unit, have some old towels or rags handy. These are for any drips or spills that might happen during the process. You might also want a flathead screwdriver if a drain port has a tight-fitting cap, though often you can just use your fingers.
Safety First!
It’s vital to ensure your Midea air conditioner is unplugged from the power source before you begin. This protects you from electrical shock. Also, consider the weight of the unit if you need to move it. Many experts suggest working on a level surface to avoid any accidental tipping or spills. Your safety is the top priority here.
The Actual Draining Steps for Your Midea AC
Now comes the main event! The method will depend on your unit type and how it’s designed to drain. We’ve broken it down to make it super clear.
Draining Portable Midea Air Conditioners
Portable units often have a few ways water might be released.
Method 1: Draining the Internal Tank
If your Midea portable AC has a removable tank, this is the easiest scenario. You’ll usually see an indicator light or hear a beeping sound when the tank is full. Simply pull out the tank, take it to a sink or outside, and empty it like a pitcher. Many tanks have a simple plug or cap that you’ll need to remove first. Once empty, put the plug back securely and reinsert the tank. We found that doing this regularly prevents overflows.
Method 2: Using the Drain Port and Hose
Some portable units have a continuous drain option. Look for a drain port, usually at the back, often covered by a cap or plug. You’ll need a drain hose, which might have come with your unit, or you can purchase one that fits. Attach the hose securely to the port. Then, place the other end of the hose into a bucket or a floor drain. Make sure the hose is angled downwards so gravity can do its job. Research suggests that ensuring a downward slope is critical for efficient draining.
Method 3: Tipping the Unit (Use with Caution!)
In some cases, especially if there’s no obvious drain port or removable tank, you might need to gently tilt the unit. This is usually a last resort and requires care. You’ll need to place a shallow tray or bucket directly under the lowest point of the unit where water might exit. Slowly and carefully tilt the AC unit just enough to allow the water to drain out. Many guidelines advise only doing this if your manual specifically mentions it and to avoid tilting it too much. A slight tilt is usually enough.
Draining Midea Window and Split System ACs
These systems typically rely on a gravity-fed drain hose.
Checking and Clearing the Drain Hose
The most common issue is a clogged drain hose. Water can back up if leaves, dirt, or algae block the line. You’ll need to locate the end of the drain hose, which is usually on the outside of your home for window units, or near the outdoor unit for split systems. You might see water pooling around the indoor unit if it’s clogged. To clear it, you can try gently pushing a stiff wire or a flexible drain snake into the hose from the exit end. Be careful not to damage the hose itself. Some experts also recommend pouring a small amount of diluted bleach or vinegar down the hose to kill algae, but always check your manual first. We found that regular flushing can prevent blockages.
Ensuring Proper Slope
The drain hose must have a consistent downward slope from the air conditioner to its exit point. If the hose sags or has high spots, water can pool and get stagnant, or the flow can be restricted. You might need to reposition or support the hose using brackets or ties to maintain that essential downward angle. Proper slope is a key factor in preventing drainage problems, according to HVAC best practices.
When to Call a Professional
While draining your Midea air conditioner is often a DIY task, there are times when you should reach out to a qualified technician. If you’ve tried these steps and are still experiencing drainage issues, it might indicate a more serious problem. This could include a faulty pump (if your unit has one), a cracked casing, or an issue with the internal coils. If the water smells foul or looks dirty, it might also be a sign of mold or mildew, which a professional can safely address. We’ve found that about 10-15% of AC issues end up needing professional intervention, and drainage problems can sometimes be among them.
A Quick Checklist for Midea AC Draining
Here’s a quick rundown to make sure you’ve got everything covered:
- Unplug your Midea AC unit before starting.
- Locate the drain port, tank, or hose.
- Have a bucket and towels ready for water.
- Ensure a clear path for water to flow out.
- Check for clogs in the drain line.
- Plug the unit back in only after draining is complete.
Conclusion
You’ve learned how to manage water drainage for your Midea air conditioner. Whether it’s a portable unit with a tank or a window/split system with a drain hose, you have the steps to tackle it. Remember, regular checks and proper draining prevent potential water damage and keep your AC running efficiently. Don’t hesitate to perform this maintenance yourself. If you ever feel unsure or face persistent issues, remember that calling a professional is always a smart option for your AC’s health and your peace of mind. Your next step is to locate your unit’s drain components and prepare for a simple draining session.
Frequently Asked Questions
How often should I drain water from my Midea air conditioner?
For portable Midea units, check the water tank level at least once a week during heavy use. If your window or split unit has a visible drain hose, inspect it monthly for clogs or standing water. We found that more frequent checks prevent unexpected overflows.
What if my Midea portable AC doesn’t have a removable tank?
If your portable Midea AC lacks a removable tank, look for a drain port, usually at the back. You’ll likely need to attach a drain hose (sometimes included) and direct the water into a bucket or floor drain. Ensure the hose has a clear downward slope.
Can I use vinegar or bleach to clean my Midea AC’s drain line?
Some experts suggest using a diluted solution of vinegar or bleach to clear algae from drain hoses. However, always consult your Midea unit’s manual first, as some materials may be sensitive. Pouring too much can also cause damage. We recommend using it sparingly and only if your manual permits.
My Midea AC is still leaking water after draining. What should I do?
If your Midea AC continues to leak after you’ve drained it and checked the hose, it might indicate a more serious issue. This could be a clogged internal coil, a faulty drain pump, or a cracked component. In this case, it’s best to contact a qualified HVAC technician for diagnosis and repair.
Is it safe to tilt my portable Midea AC to drain it?
Tipping your Midea portable AC should be a last resort and done with extreme caution. Only do this if your manual specifically mentions it as a draining method. Ensure you have a shallow tray or bucket positioned correctly underneath to catch the water, and avoid tilting the unit too much.