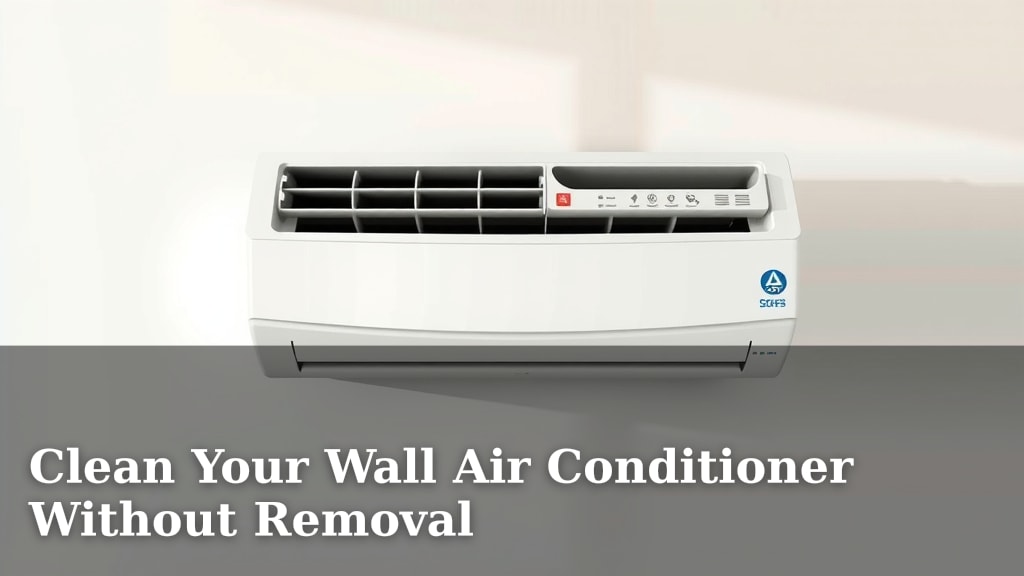
Clean Your Wall Air Conditioner Without Removal
You can absolutely clean your wall air conditioner without removing it. The easiest way to do this involves cleaning the filter, wiping down the exterior, and carefully cleaning the vents. This process helps improve air quality and keeps your AC running efficiently. It’s a task many homeowners tackle themselves.
Keeping your window air conditioner clean is vital for its performance and your home’s air. A dirty unit can lead to reduced cooling power and higher energy bills. Many experts agree that regular cleaning is the key to extending your AC’s lifespan. We’ll show you how to get it done right.
- Turn off power before starting.
- Clean the removable filter first.
- Wipe down the exterior and controls.
- Carefully clean the internal coils and fins.
- Ensure it’s dry before turning it back on.
Ready to make your air conditioner look and feel like new? Let’s walk through exactly how to clean it step by step, keeping it right where it is.
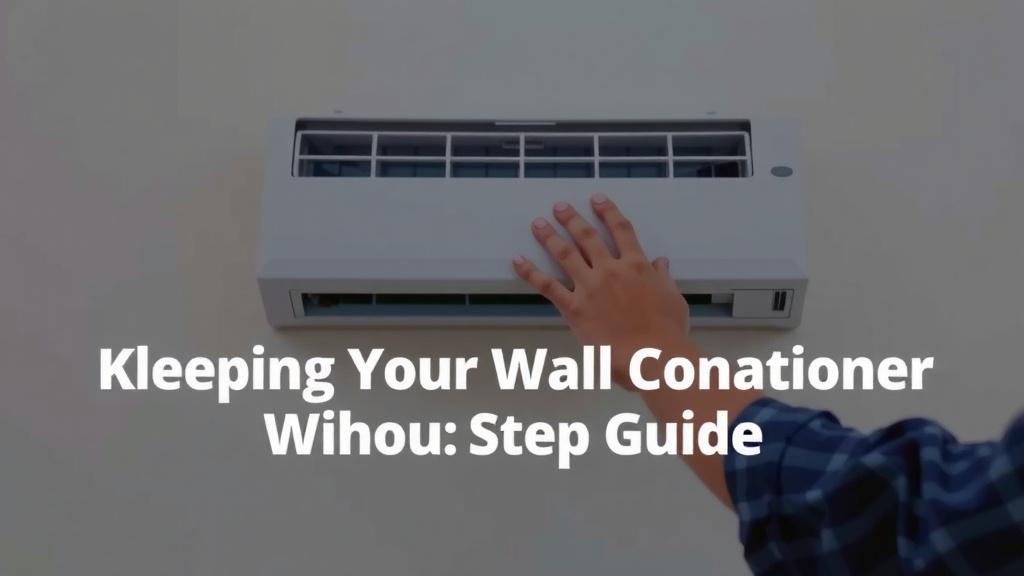
Keeping Your Through-the-Wall AC Clean: A Step-by-Step Guide
You’ve got a wall air conditioner that’s seen better days. Dust bunnies might be having a party in the vents, and the airflow just isn’t what it used to be. Good news! You don’t need to be a seasoned DIYer or call for pricey service to get it clean. We’ll guide you through cleaning your wall air conditioner without ever removing it from its spot. This process can boost efficiency and improve your home’s air quality significantly.
Safety First: Powering Down Your AC
Before you even think about touching a cleaning cloth, the most important step is to cut the power. You don’t want any unexpected surprises while you’re working. Locate the circuit breaker that controls your wall air conditioner. It’s often labeled something like “AC,” “Air Conditioner,” or “Wall AC.” Flip that breaker to the “off” position. If you’re unsure which breaker it is, it’s safer to turn off the main breaker for your entire home. A quick test by trying to turn on the AC can confirm the power is off. Your safety is our top priority here!
Tackling the Filter: Your First Line of Defense
The air filter is the unsung hero of your AC unit. It catches all sorts of unwanted particles like dust, pet dander, and pollen. A clogged filter makes your AC work much harder and can seriously impact your air quality. Most wall ACs have an easily accessible filter.
Locating and Removing the Filter
Look for a panel or grille on the front of your air conditioner. This is usually where the filter is hidden. Gently pull down or slide open this panel. You should see a mesh filter inside. Many filters slide straight out. Sometimes, they have small clips or tabs you’ll need to gently press. Research and found that cleaning your filter monthly is a good habit to get into, especially during peak usage seasons (Mayo Clinic).
Cleaning the Filter
Once you have the filter out, take it to a sink or an outdoor area. For most basic filters, a good vacuuming might do the trick if it’s just lightly dusty. If it’s really grimy, you can wash it with warm water and a mild dish soap. Gently scrub away the dirt. Rinse it thoroughly with clean water. Make sure to let it air dry completely before putting it back. Putting a damp filter back can encourage mold growth, and nobody wants that in their air!
Reinstalling the Clean Filter
Once the filter is bone dry, carefully slide it back into its slot. Ensure it’s seated properly. Close the front panel or grille. It should click or snap back into place. You’ve just completed one of the most impactful cleaning steps for your AC!
Cleaning the Exterior and Vents: Making It Look Sharp
Now that the interior filter is dealt with, let’s make the outside of your AC look as good as new. A clean exterior not only looks better but also prevents dust from being easily drawn back into the unit.
Wiping Down the Casing
Grab a soft cloth dampened with water. For tougher grime, a small amount of mild, all-purpose cleaner can be used. Gently wipe down the entire outer casing of the air conditioner. Pay attention to the control panel and buttons. Avoid spraying cleaner directly onto the unit; spray it onto your cloth first. This prevents moisture from getting inside where it shouldn’t be.
Cleaning the Louvers and Vents
The vents and louvers (those adjustable slats) can collect a lot of dust. Use a vacuum cleaner with a brush attachment to gently go over these areas. For stubborn dust, a damp cloth or even a slightly damp cotton swab can work wonders. You can also use a soft-bristled brush, like an old toothbrush, to get into the small crevices. Again, make sure any moisture used evaporates quickly. Cleaning these vents helps improve air circulation.
Addressing the Coils and Fins: The Heart of Cooling
The evaporator coils and fins are where the magic of cooling happens. They can get dusty and dirty over time, which hinders their ability to cool your air effectively. Cleaning these requires a bit more care, but it’s definitely doable without removing the unit.
Accessing the Coils (If Possible)
For many wall AC units, the coils are located behind the front grille and filter. After removing the filter, you might see the metal fins of the evaporator coil. If your unit allows for better access without dismantling, take advantage of it. If not, you’ll work with the access you have.
Cleaning the Evaporator Fins
The fins are delicate, so you need to be gentle. You can use a soft brush or a vacuum cleaner with a soft brush attachment to carefully remove loose dust and debris from the fins. Work from top to bottom. For a deeper clean, you can purchase special “no-rinse” evaporator coil cleaner spray. Follow the product instructions carefully. Typically, you spray it on, and the condensation from the AC will help rinse it away as it runs. Many experts recommend cleaning these coils at least once a year.
Cleaning the Condenser Coils (External Access)
The condenser coils are usually on the outside of your home. If you can safely reach them from the inside without special tools or dangerous maneuvers, you might be able to give them a light dusting. However, for a thorough cleaning of the external coils, it’s often best to have a professional. We’re focusing on what you can do from the inside here!
Final Checks and Startup
Before you plug everything back in or flip that breaker, do a quick once-over. Ensure everything looks dry and is in its proper place. Give the unit a moment to breathe.
Drying Period
Allow at least an hour for any residual moisture to evaporate. If you used any cleaning solutions, ensure they’ve had ample time to dry. This is a critical step to prevent electrical issues.
Restoring Power and Testing
Once you’re confident everything is dry, it’s time to turn the power back on. Go back to your circuit breaker and flip it to the “on” position. Turn on your air conditioner and set it to a cool setting. Listen for any unusual noises. Check if the air coming out feels noticeably cooler and if the airflow seems stronger. You did it!
Quick Maintenance Checklist
- Turn off power at the breaker.
- Remove and clean or replace the air filter.
- Wipe down the exterior casing.
- Clean dust from vents and louvers.
- Gently brush or vacuum evaporator fins.
- Allow unit to dry completely.
Conclusion
You’ve successfully learned how to clean your wall air conditioner without removing it! By focusing on the filter, exterior, and accessible internal parts like the coils and fins, you’ve taken important steps to improve your home’s air quality and your AC’s efficiency. Remember, regular cleaning is key to keeping your unit running smoothly and preventing costly repairs down the line. Make this process a part of your routine, and you’ll enjoy cooler, cleaner air all season long. Now, go ahead and enjoy that freshly cleaned air!
Frequently Asked Questions
How often should I clean my wall air conditioner filter?
It’s recommended to clean your wall air conditioner’s filter at least once a month, especially during periods of heavy use. If you have pets or live in a dusty environment, you might need to clean it more frequently. A clean filter is vital for both air quality and the unit’s performance.
Can I use a vacuum cleaner to clean the AC coils?
Yes, you can use a vacuum cleaner with a soft brush attachment to gently remove loose dust from the AC coils and fins. Be very careful, as the fins are delicate and can bend easily. Always work gently from top to bottom to avoid damaging the components.
What if my AC filter is dirty but looks like it can’t be removed?
Most wall AC units are designed with accessible filters. Look closely for a front grille that might slide down or lift up. Sometimes, small tabs or clips hold it in place. If you’re still unsure, consult your air conditioner’s manual for specific instructions on filter removal.
Is it safe to use water to clean the exterior of my AC unit?
It’s safe to use a damp cloth to wipe down the exterior casing and controls. However, never spray water or cleaning solutions directly onto the unit. Always spray cleaner onto your cloth first and ensure any moisture used evaporates completely before powering the unit back on.
What should I do if I notice mold during cleaning?
If you discover mold on the filter or inside the unit, it’s important to clean it thoroughly. For washable filters, use a mixture of water and mild soap, or a diluted vinegar solution. For areas you can’t easily reach, a specialized AC mold cleaner might be necessary. Ensure the area is completely dry before reassembly and operation.
![7 Best Seer Central Air Conditioner [2026]](https://bathroomexplorer.com/wp-content/uploads/2026/06/7-best-seer-central-air-conditioner-2026-featured-768x432.jpg)