
Hardwire Your Window AC: A Step-by-Step Guide
Yes, you can absolutely hardwire a window air conditioner yourself. It’s a straightforward process that can make your unit run more reliably. Properly hardwiring ensures a stable power connection. This avoids issues like your AC tripping breakers. It’s a great way to upgrade your appliance.
When you hardwire, you’re essentially giving your window AC its own dedicated circuit. This means it won’t have to share power with other appliances. Many homeowners find this improves performance and reduces energy waste. You’re giving your cooling system the dedicated power it needs to run smoothly.
- Understand your AC’s power needs.
- Gather the correct tools and materials.
- Turn off power at the breaker box.
- Connect wires securely using wire nuts.
- Test the connection safely.
Let’s walk through exactly how to hardwire your window air conditioner step by step, ensuring a safe and effective setup for your cooling needs.
Making Your Window AC’s Power Connection Secure
You’re ready to make your window air conditioner run more reliably. Hardwiring it gives your AC its own dedicated power line. This setup prevents those annoying breaker trips. It’s a smart move for better cooling. You’ll also likely see improved performance.
Understanding Your Air Conditioner’s Power Needs
Before you grab any tools, let’s figure out what your AC actually needs. Every air conditioner is a little different. You need to know its voltage and amperage requirements. This information is usually found on a sticker on the side or back of the unit. You might also check your owner’s manual.
Knowing these numbers is key. It helps you select the right circuit breaker and wiring. Installing a setup that’s too small can be a fire hazard. On the other hand, overdoing it can be unnecessarily costly. We want to get it just right for your specific unit.
Locating the Power Information
Look for a nameplate on your window AC. This is a metal or plastic label. It’s usually on the side, back, or inside the filter area. The label will list the unit’s voltage (like 115V or 230V) and its amperage (like 8A or 15A). If you can’t find it, your manual is your next best bet.
Matching Needs to Circuit Breakers
Once you have the amperage, you need to choose the correct circuit breaker. Many window ACs require a dedicated 15-amp or 20-amp breaker. You should always go with a breaker that is rated slightly higher than your AC’s amperage. For example, if your AC draws 10 amps, a 15-amp breaker is a good choice.
It’s a good practice to install a new, dedicated circuit for your air conditioner. This means it won’t share power with other outlets or appliances. This separation is what prevents those frustrating trips. Most electrical codes require a dedicated circuit for permanently installed appliances.
Gathering Your Tools and Materials
Having everything ready makes the job much smoother. Think of it like packing for a trip; you don’t want to realize you forgot your toothbrush halfway there.
Essential Tools You’ll Need
- Screwdrivers (Phillips and flathead)
- Wire strippers
- Wire cutters
- Pliers
- Voltage tester (non-contact is easiest for safety)
- Electrical tape
- Utility knife
Materials for the Job
- Appropriate gauge electrical wire (check your AC’s manual and local codes)
- New circuit breaker (matching your AC’s needs)
- Wire nuts (sized for your wire gauge)
- An electrical box for the connection point (if needed)
- A new, dedicated outlet or direct wire connection to the AC
The wire gauge is super important. It refers to the thickness of the wire. Thicker wires (lower gauge number) can handle more power. Using wire that’s too thin is a fire risk. Always consult your AC’s manual or a qualified electrician if you’re unsure about wire gauge.
Safety First: Turning Off Power
This is the absolute, non-negotiable first step. You are dealing with electricity, and safety is paramount. Never work on electrical wiring while the power is on.
Locating Your Circuit Breaker Box
Your circuit breaker box is usually located in a basement, garage, utility closet, or hallway. It’s a metal panel with a hinged door. Inside, you’ll see a series of switches. Each switch controls power to a different part of your home.
Disabling Power to the Area
Find the breaker that controls the outlet or wiring you’ll be working on. If you’re running a new circuit, you’ll want to shut off the main breaker for the entire house. This is the safest approach. If you’re unsure which breaker it is, turn off the main breaker. It’s better to have too little power than too much!
Once you’ve flipped the breaker (or the main breaker), it’s time to double-check. Use your voltage tester at the outlet or wiring location. Confirm that there is absolutely no power before you touch anything.
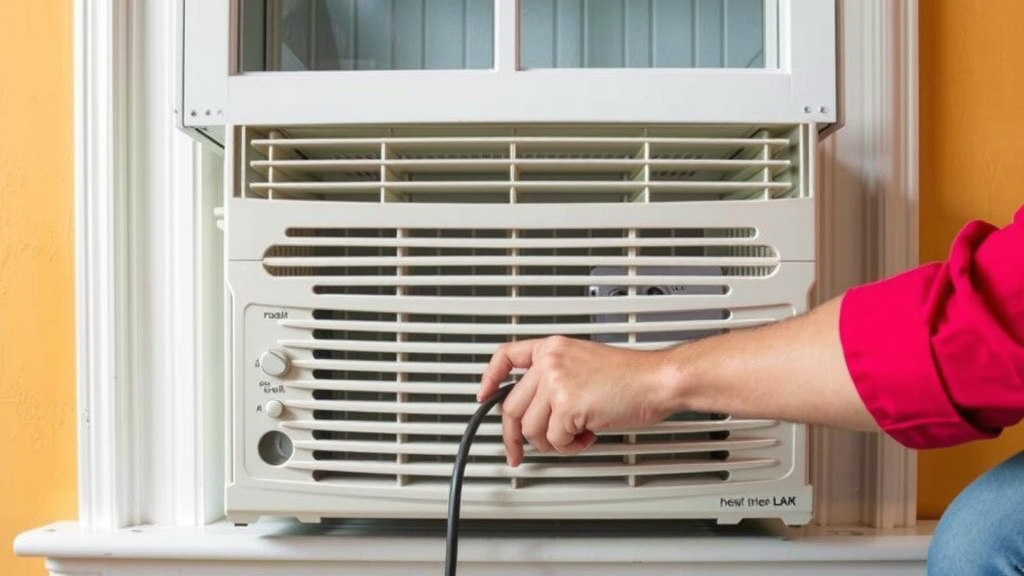
Connecting the Wires: The Core of Hardwiring
This is where you make the magic happen. You’re creating a direct, stable connection from your breaker box to your air conditioner.
Preparing the Wires
If you’re running new wire, you’ll need to feed it from the breaker box to the AC unit’s location. You might need to drill holes through walls or window frames. Ensure the wire is secured properly and protected from damage.
At both ends, you’ll need to expose the copper wire. Use your wire strippers to carefully remove about 3/4 inch of the plastic insulation. Don’t strip too much, and don’t nick the copper wire. You’re aiming for a clean, bare copper end.
Understanding Wire Colors and Connections
Electrical wiring typically uses specific colors for specific purposes. In the US, you’ll usually see:
- Black wire: This is the hot wire, carrying the electrical current.
- White wire: This is the neutral wire, completing the circuit.
- Green or bare copper wire: This is the ground wire, for safety.
Your air conditioner will also have corresponding wires. Check your AC’s manual for its specific wiring diagram. Generally, you’ll connect:
- Black to Black
- White to White
- Green/Bare to Green/Bare
Making Secure Connections with Wire Nuts
This is where wire nuts come in. They are plastic caps that twist onto the stripped ends of wires. They create a safe, secure connection. Place the stripped ends of two wires together. Then, twist a wire nut onto them until it’s snug. Give a gentle tug to make sure it’s secure. Wrap the connection with electrical tape for an extra layer of safety and insulation. Repeat this for each pair of wires.
Testing Your New Hardwired Connection
You’ve done the wiring, but before you let your AC run wild, you need to test it.
Restoring Power Safely
Once all connections are made and secured, it’s time to turn the power back on. Go to your breaker box and flip the breaker you turned off. If you turned off the main breaker, flip that back on.
Now, use your voltage tester again at the AC unit’s connection point. You should have power. This confirms your wiring is correct and the breaker is functioning.
Initial AC Operation Check
With power confirmed, you can now plug in or connect your air conditioner. Turn it on. Listen for any unusual sounds. Check if it’s blowing cold air. Monitor the breaker box for a few hours to ensure it doesn’t trip.
If everything seems to be working perfectly, congratulations! You’ve successfully hardwired your window air conditioner.
Checklist for a Successful Hardwire:- Confirm AC’s voltage and amperage requirements.
- Select the correct gauge wire and a suitable circuit breaker.
- ALWAYS turn off power at the breaker box before starting.
- Use wire nuts to create secure connections for all wires (hot, neutral, ground).
- Test for power at the connection point before plugging in the AC.
- Monitor the breaker for a few hours to ensure stability.
Conclusion
You’ve now got the knowledge to safely hardwire your window air conditioner. This process gives your AC a dedicated power source, preventing common breaker trips and ensuring consistent cooling. Remember to always prioritize safety by turning off the power before you begin. By following these steps carefully, you’ve upgraded your appliance for better reliability and performance. You’re all set for a cooler, more comfortable home!
Frequently Asked Questions
Can I hardwire any window AC, or are some units not compatible?
Most window air conditioners can be hardwired, but it’s essential to check your unit’s specifications. Ensure the AC’s voltage and amperage requirements match the circuit breaker and wiring you plan to install. If your AC has a unique plug or internal wiring, consult its manual or an electrician.
How do I know if I need a new circuit breaker, or if I can use an existing one?
It’s highly recommended to install a new, dedicated circuit breaker for your hardwired window AC. This prevents overloading existing circuits and avoids unexpected power interruptions. Using an existing breaker that already powers multiple appliances increases the risk of tripping.
What happens if I use the wrong wire gauge for my hardwired AC?
Using a wire gauge that’s too small for the amperage your AC draws is a serious safety hazard. It can lead to overheating, melting the wire’s insulation, and potentially cause a fire. Always consult your AC’s manual and local electrical codes for the correct wire gauge.
Do I really need to turn off power to the whole house, or just the specific breaker?
For maximum safety, especially if you’re unsure about your breaker box setup, turning off the main breaker that controls your entire home is the safest practice. This ensures no power is flowing to any part of your house while you’re working. If you are absolutely certain about which breaker controls only the intended circuit, you can turn that one off, but always double-check with a voltage tester.
How can I tell if my hardwired AC is getting enough power after I’m done?
After restoring power, use a voltage tester at the connection point to confirm you have the correct voltage (usually 115V or 230V). Then, turn on your AC and listen for any unusual noises or performance issues. Most importantly, monitor the circuit breaker over the next few hours; if it doesn’t trip, your connection is likely stable and sufficient.
![7 Best Small Split System Air Conditioner [2026]](https://bathroomexplorer.com/wp-content/uploads/2026/06/7-best-small-split-system-air-conditioner-2026-featured-768x432.jpg)
![7 Best Rated 2 Ton Air Conditioner [2026]](https://bathroomexplorer.com/wp-content/uploads/2026/06/7-best-rated-2-ton-air-conditioner-2026-featured-768x432.jpg)
