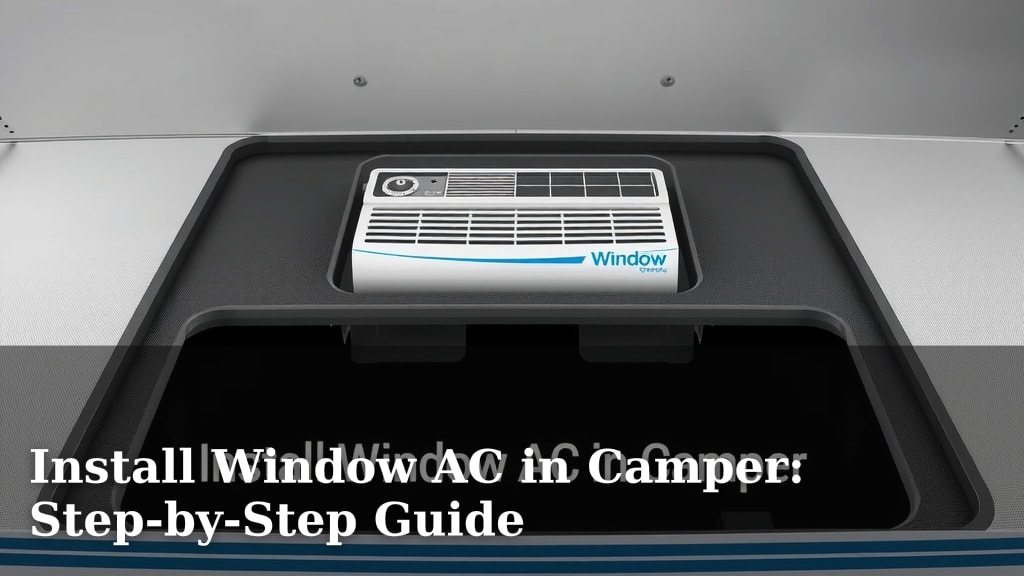
Install Window AC in Camper: Step-by-Step Guide
Yes, you can definitely install a window air conditioner in your camper! It’s a great way to stay cool on hot adventures. You’ll need to make sure your camper has a suitable window opening and the right support structure. Many RV owners find this a very achievable DIY project for added comfort.
Installing a window AC unit in a camper requires careful planning. You must consider the weight of the unit and how it will be secured. Proper sealing is also key to preventing leaks and maintaining efficiency. This is different from a house installation, so preparation is essential for success.
- Measure your window opening carefully.
- Ensure your camper can support the unit’s weight.
- Gather necessary tools and support brackets.
- Seal the unit well to prevent drafts and leaks.
- Test the unit before your next trip.
Ready to beat the heat in your home on wheels? Let’s walk through exactly how to install a window air conditioner in your camper, step by step.
Getting Your Camper Ready for a Window AC Unit
Putting a window air conditioner in your camper is a fantastic way to improve your comfort. It beats sweating it out on those hot summer nights! You’ll want to make sure your camper is set up for it. This means checking if you have the right kind of window and if your camper’s structure can handle the added weight.
Think of it like finding the perfect spot for a new piece of furniture. It needs to fit just right and be supported well. We’ve found that careful preparation is the key to a smooth installation. Let’s break down what you need to know.
Choosing the Right Window for Your AC
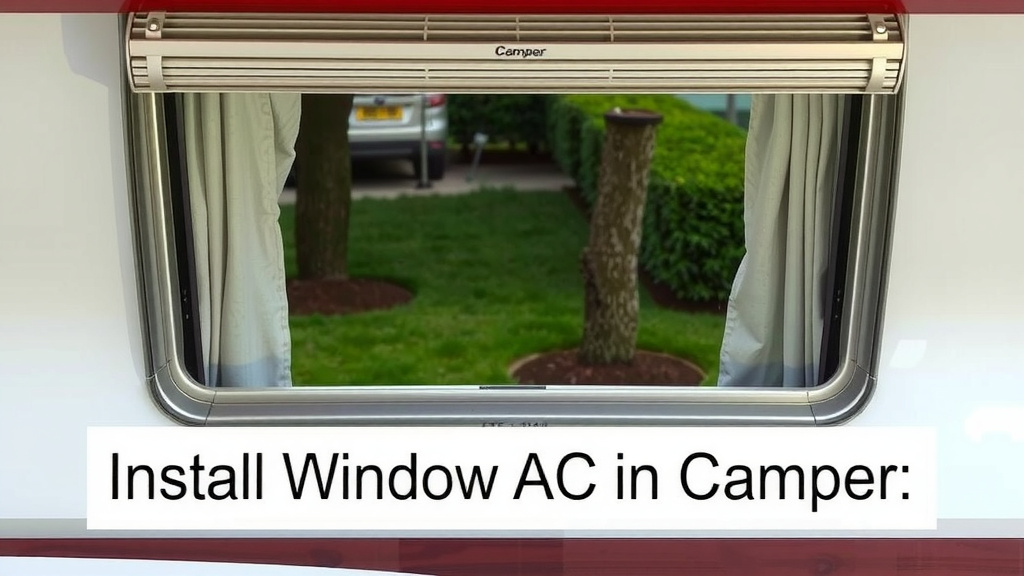
Not all camper windows are created equal. You need a window that opens outward and is strong enough. Most standard RV windows will work, but always check the specifics of your unit.
Window Size Matters
The most important step is measuring your window opening. You need to know the exact width and height. Write these numbers down! The AC unit’s dimensions must fit within this space. Remember, the unit will hang out the window a bit, so account for that. We found that double-checking measurements saved a lot of headaches later.
Window Type and Strength
Your window needs to be sturdy. Older, flimsy windows might not hold up well. You’re looking for a window that can support the AC’s weight on its sill. Some RV windows are designed with removable screens that help create a good frame. You can often remove the screen entirely to make space for the AC. We’ve seen many successful installations using standard crank-out windows.
Weight Considerations for Your Camper
Window AC units aren’t feather-light. They can weigh anywhere from 30 to 60 pounds or more, depending on their cooling capacity. Your camper’s frame and the specific window you choose need to handle this load. It’s a good idea to check your camper’s manual for its weight limits, especially if you’re planning on adding other heavy items.
We found that many RV manufacturers design campers with this in mind. However, it’s always better to be safe than sorry. If you’re unsure, consult a professional. They can assess your camper’s structural integrity. You don’t want your new AC unit to cause damage!
Gathering Your Tools and Supplies
Before you start, make sure you have everything ready. This makes the installation process much smoother. Think of it like packing for a camping trip; you wouldn’t want to forget your essentials!
Essential Tools You’ll Need
You won’t need a whole workshop for this. Most of the tools are pretty common:
- Measuring tape
- Screwdriver set (Phillips and flathead)
- Drill with various drill bits
- Level
- Utility knife or scissors
- Caulking gun
- Safety glasses
- Work gloves
Key Supplies for Installation
Beyond your tools, you’ll need specific items to secure and seal the AC unit:
- The window air conditioner unit itself
- AC support bracket (specifically designed for RVs or window ACs)
- Weatherstripping or foam sealant tape
- Window sealing tape or heavy-duty duct tape
- Zip ties or bungee cords (for extra security)
Understanding AC Support Brackets
This is where things get serious about safety. A good support bracket is non-negotiable. It takes the weight off the window sill and distributes it to the camper’s body. There are different types:
- External Brackets: These mount to the outside of your camper and hold the AC unit up from below. They often look like a small shelf.
- Internal Brackets: These provide support from inside the camper, often bracing against the window frame and the floor or wall.
We found that external brackets are often the most effective for campers. They offer robust support and keep the weight load outside. Always choose a bracket rated for the weight of your AC unit. Many manufacturers suggest specific brackets that pair well with their AC models (RVIA).
Step-by-Step Installation Guide
Now for the actual installation. Take your time and follow these steps carefully. Patience is your best friend here!
Step 1: Prepare the Window
Open the window you’ve chosen. Remove any screens or obstructions. Clean the window frame thoroughly. A clean surface helps the sealants work better. You might need to remove a pane of glass if your window has double panes, but usually, the screen is enough. We found that a good wipe-down with rubbing alcohol makes a big difference.
Step 2: Install the Support Bracket
Follow the manufacturer’s instructions for your chosen support bracket. This usually involves drilling pilot holes and securing the bracket firmly. Ensure it’s level and can bear the weight. This bracket is your AC’s lifeline!
Step 3: Position the Air Conditioner
Carefully lift the AC unit into the window opening. It’s best to have a second person help you here. You want the unit to sit snugly in the opening, with the bottom resting on the support bracket. Make sure the front of the AC unit is slightly angled downward. This allows any condensation to drain outside. A slight tilt can be achieved by adjusting the support bracket.
Step 4: Secure the Unit in Place
Once the AC is positioned, you need to secure it. Most window AC units come with accordion-style side panels. Extend these panels to fill the gaps between the AC and the window frame. Secure them with the screws provided.
Use weatherstripping or foam tape to seal any remaining gaps around the unit and the side panels. This prevents air leaks and keeps bugs out. For extra security, especially when traveling, we recommend using zip ties or bungee cords to strap the unit to the window frame or support bracket. This is an added layer of protection against road vibrations.
Step 5: Seal the Exterior
Use heavy-duty outdoor tape or RV-specific sealing tape to seal the exterior edges of the AC unit where it meets the camper. This is critical for preventing water intrusion and drafts. Make sure it’s a good, strong seal. Many experts suggest using a flexible sealant like silicone or butyl tape for a long-lasting, waterproof finish.
Step 6: Test the Unit
Plug in your AC unit to a power source. Turn it on and let it run for about 15-20 minutes. Check that it’s blowing cold air. Listen for any unusual noises. Make sure there are no water leaks around the seals. A quick test run now can save you a lot of trouble on your first trip!
Final Checks Before You Travel
Before you hit the road, do one last walk-around. Ensure everything is tight and secure. Double-check all the seals. Make sure no cords are dangling where they could get caught or damaged.
Here’s a quick checklist for your final inspection:
- Is the AC unit firmly seated and supported?
- Are all side panels extended and screwed in place?
- Are all exterior and interior gaps sealed effectively?
- Is the unit angled slightly downward for drainage?
- Are there any loose wires or cords?
- Did you test the AC unit to confirm it works?
By following these steps, you’ll have a cool and comfortable camper, ready for any adventure!
Conclusion
You’ve now learned how to successfully install a window air conditioner in your camper. Remember, careful preparation is key to a secure and cool camping experience. By choosing the right window, considering weight, gathering your tools, and following the installation steps precisely, you’re well on your way to beating the heat.
Don’t skip the final checks before you travel! Making sure everything is sealed and supported will give you peace of mind. Now, go enjoy those comfortable camping trips!
Frequently Asked Questions
Will a standard window AC unit fit in my camper?
Most standard window AC units can fit in a camper, but it’s essential to measure your window opening precisely. You’ll also need to ensure the window type is suitable, typically one that opens outward. Always compare the AC unit’s dimensions to your window’s clear opening.
How do I ensure the AC unit is securely supported?
Using a dedicated AC support bracket designed for RVs or window units is crucial. This bracket transfers the weight from the window sill to the camper’s frame. Always follow the bracket manufacturer’s installation instructions and ensure it’s rated for your AC unit’s weight.
What’s the best way to seal a window AC unit in a camper?
Seal all gaps thoroughly using weatherstripping or foam sealant tape on the inside and outside. Heavy-duty outdoor tape or RV-specific sealing tape is recommended for the exterior edges where the unit meets the camper. A good seal prevents air leaks, water intrusion, and keeps pests out.
Do I need to worry about the AC’s weight on my camper?
Yes, weight is a critical factor. Window AC units can be heavy, so verify your camper’s capacity and ensure the chosen window and support structure can handle the load. If you’re unsure, consulting your camper’s manual or a professional is a wise step.
Is it okay for the AC unit to tilt slightly in the window?
Absolutely. A slight downward tilt from front to back is necessary for proper drainage of condensation. This ensures water runs out of the unit and outside your camper, rather than pooling inside or causing leaks. Adjust your support bracket to achieve this angle.

![7 Best Rated Heat Pump Air Conditioner [2026]](https://bathroomexplorer.com/wp-content/uploads/2026/06/7-best-rated-heat-pump-air-conditioner-2026-featured-768x432.jpg)