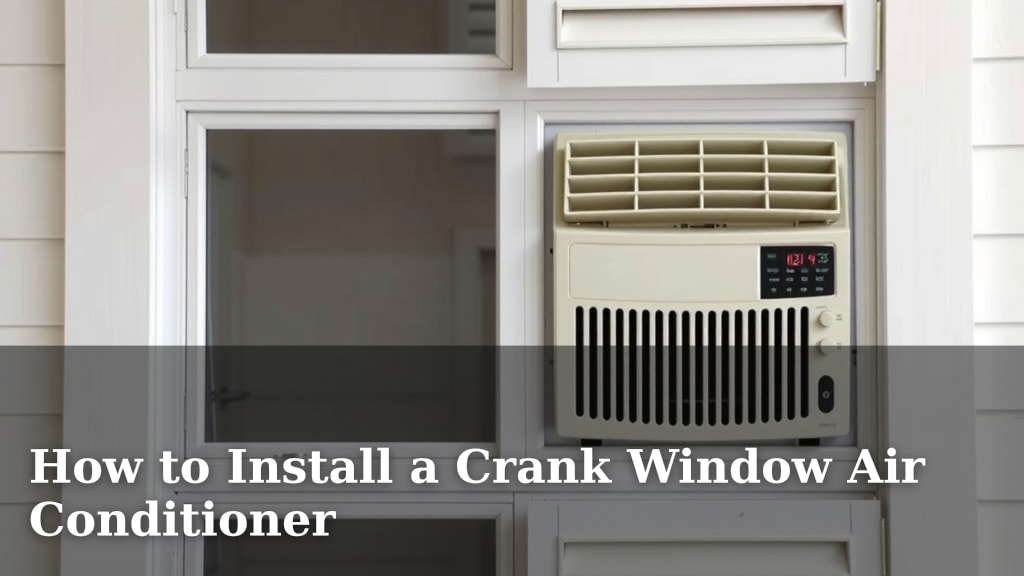
How to Install a Crank Window Air Conditioner
Yes, you can absolutely install an air conditioner in a crank window! It just requires a few extra steps to ensure a secure and stable fit. Many homeowners find this a practical solution for cooling spaces with this type of window, and with the right approach, you can get it done.
Crank windows operate differently than sliding windows. This means your standard AC installation might need some adjustments. We found that using the correct support brackets and sealing materials is key to a successful installation. It’s all about making sure your air conditioner is properly supported and sealed against the elements.
- Crank window AC installation is possible.
- Measure your window opening carefully.
- Use a sturdy support bracket.
- Seal any gaps effectively.
- Ensure proper electrical setup.
Ready to get your crank window AC up and running? Let’s walk through exactly how this works step by step, so you can enjoy a cool room in no time!
Installing an Air Conditioner in Your Crank Window
You’re probably wondering if it’s truly possible to fit an air conditioner into a window that cranks open. The good news is, yes, you absolutely can! It just takes a little extra care and the right approach to ensure your unit is secure and stable. We’ve found that many homeowners successfully cool their spaces this way, and we’re here to guide you through it.
Measuring for Success: Your AC’s New Home
Before you even think about unpacking your new air conditioner, the very first step is to get your measurements right. This is arguably the most critical part of the whole process. You need to know the exact dimensions of your window opening to make sure your AC unit will fit snugly and safely.
What to Measure
You’ll need to measure the height and width of the space where the air conditioner will sit. Make sure you measure from the inside edges of the window frame. Also, consider the depth of the window sill. This will help you understand how much the unit might protrude and if it will be flush with your window frame.
Understanding Your Window Type
Crank windows are a bit different from your standard double-hung or sliding windows. They open outward on hinges, usually controlled by a hand crank. This means the installation won’t be as simple as just sliding a unit in. You’ll likely need to work around the crank mechanism and ensure the window can still be closed somewhat around the AC unit.
Gathering Your Installation Supplies
Having all your materials ready before you start will save you a lot of headaches. Think of it like packing a picnic basket – you don’t want to get to the park and realize you forgot the napkins!
The Air Conditioner Unit
Make sure your AC unit is the right size for your room. Too small, and it won’t cool effectively. Too big, and it might be overkill and waste energy. Most window AC units come with an adjustable side panel for filling gaps, which will be helpful here.
Support Brackets Are Your Best Friend
This is where crank window installations really differ. Because the window opens outward, you need something to take the weight of the AC unit off the window sash itself. A sturdy support bracket is essential. These are designed to hold the AC unit from the outside, preventing it from falling or straining your window frame. We found that many hardware stores carry brackets specifically made for window AC units, and some are adjustable for different window types.
Sealing Materials for a Tight Fit
Once the unit is in place, you’ll have gaps. These gaps let in heat, humidity, and bugs. You’ll want to seal them up tight. Common materials include:
- Weatherstripping: This foam or rubber tape can seal around the AC unit where it meets the window frame.
- Foam insulation boards or Accordion panels: These can be cut to size to fill larger gaps on the sides or even above the unit if needed.
- Duct tape or strong packing tape: For temporary sealing or securing panels.
Tools You’ll Need
A few basic tools will make the job much easier. You’ll likely need a screwdriver, a level (to ensure your AC is slightly tilted for drainage), and possibly a measuring tape. If you’re cutting insulation boards, a utility knife will be handy.
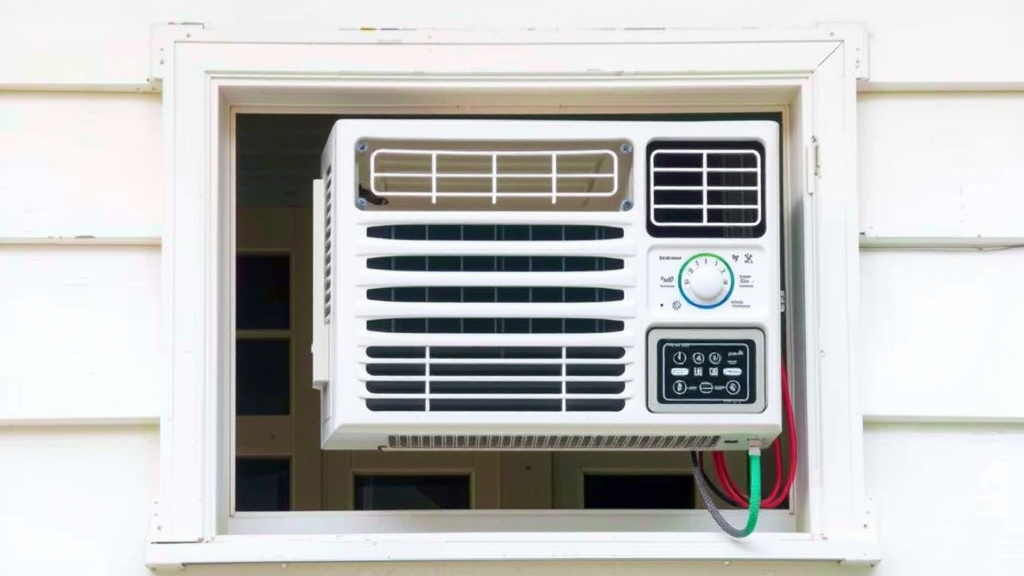
Step-by-Step Installation Guide
Now for the exciting part – getting that air conditioner installed! Remember, patience is key here. Take your time, and don’t rush.
Step 1: Prepare the Window Opening
Open your crank window as far as it will go. If possible, remove any screens that might be in the way. Clean the window sill and the frame where the AC unit will rest. You want a clean surface for a secure fit.
Step 2: Install the Support Bracket
This is crucial for crank windows. Follow the manufacturer’s instructions for your specific support bracket. Generally, you’ll attach it to the exterior wall or window frame, ensuring it can hold the full weight of the AC unit. Position it so it supports the bottom of where the AC will sit. Many experts recommend placing the bracket so it’s level or has a very slight downward slope away from the house for drainage.
Step 3: Carefully Place the Air Conditioner
This is often a two-person job, as AC units can be heavy and awkward. Gently lift the unit and slide it into the window opening from the inside. Rest the bottom of the AC unit on the support bracket you installed. Ensure it is centered and firmly seated in the opening.
Step 4: Secure and Level the Unit
Most AC units have adjustable feet or brackets that help secure them to the window sill. Use your level to check if the unit is slightly tilted forward (towards the outside). This slight pitch (research suggests about 1/4 inch) allows condensation to drain properly away from your home, as recommended by many appliance guides. If your unit has side panels, extend them to meet the window frame. Secure these panels with screws or clips if provided.
Step 5: Seal All the Gaps
This is where your weatherstripping and foam boards come in. You want to eliminate any air leaks.
- Around the sides: Use your adjustable side panels first. Then, apply weatherstripping to fill any small remaining gaps between the panels and the window frame.
- Above and Below: If there are larger gaps above the AC unit, cut pieces of foam insulation board to fit snugly. You can secure these with tape. Below the unit, the support bracket usually helps, but seal any gaps with foam or weatherstripping.
- Around the Crank: You might need to get creative around the crank handle. Sometimes, a small piece of foam can be placed so the window can close partially against it without damaging the AC or the foam.
Step 6: Check Window Closure
Gently try to close the crank window as much as the AC unit allows. You may not be able to close it completely, but you should be able to secure it against the unit or the seals you’ve added. This helps create an even more secure installation and better insulation. Make sure the crank mechanism itself isn’t being forced or damaged.
Step 7: Final Checks and Power Up
Double-check that the unit is stable and doesn’t wiggle. Ensure all seals are in place and there are no obvious air leaks. Now, plug in your air conditioner and turn it on. Listen for any unusual noises and check that it’s blowing cool air. Many appliance guidelines suggest a test run of about 15-30 minutes to ensure everything is working correctly.
Quick Checklist for Crank Window AC Installation
Here’s a handy list to make sure you’ve covered all your bases:
- Window opening thoroughly measured.
- Correct support bracket installed securely.
- AC unit properly seated and leveled.
- All gaps around the unit sealed tightly.
- Window can be partially secured against unit.
- Electrical cord safely plugged in.
Conclusion
You’ve learned that installing an air conditioner in your crank window is entirely doable with the right preparation and steps. By focusing on accurate measurements, using a sturdy support bracket, and sealing all gaps, you’ll ensure a secure and efficient cooling solution. We’ve found this method to be a reliable way to beat the heat in rooms with this window type. Your next step is to gather your supplies and follow the guide to enjoy a cooler space very soon!
Frequently Asked Questions
Can I install a window AC unit in a crank window without a support bracket?
We strongly advise against installing a window AC in a crank window without a support bracket. Because these windows open outward, the bracket is essential to safely bear the unit’s weight and prevent damage to your window frame. Our research and findings show it’s the key to a stable installation.
How much should I tilt the AC unit for drainage in a crank window?
Most appliance guides suggest a slight forward tilt, about 1/4 inch, for proper drainage. This ensures condensation flows out of the unit and away from your home. Using a level during installation will help you achieve this crucial angle.
Will my crank window close completely with an AC unit installed?
Often, you won’t be able to close a crank window fully once an AC unit is installed. The goal is to close it as much as possible against the unit or the sealing materials you’ve added. This partial closure helps secure the unit and improve insulation.
What are the best sealing materials for gaps around a crank window AC?
We found that a combination works best. Use the AC unit’s adjustable side panels first. Then, apply foam weatherstripping for smaller gaps and cut-to-size foam insulation boards for larger openings. Securing these with strong tape can also help create an airtight seal.
Is it safe to have the AC unit’s electrical cord running through a partially closed window?
Yes, it’s generally safe as long as the cord isn’t pinched or damaged. Ensure the window closure doesn’t put stress on the cord. You can also use weatherstripping to seal the gap around the cord where it exits the window for better efficiency.


![7 Best Rated Personal Air Conditioner [2026]](https://bathroomexplorer.com/wp-content/uploads/2026/06/7-best-rated-personal-air-conditioner-2026-featured-768x432.jpg)