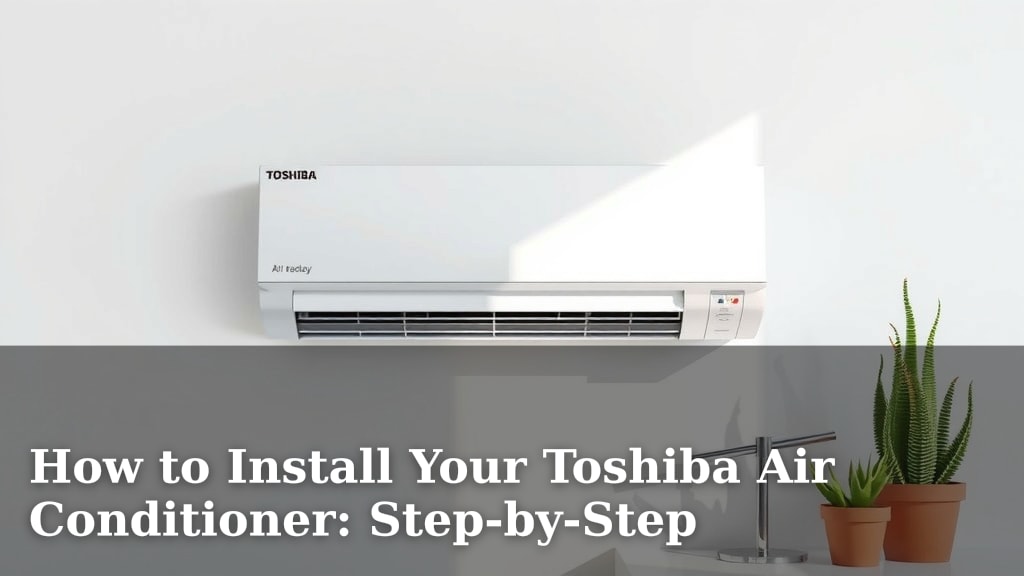
How to Install Your Toshiba Air Conditioner: Step-by-Step
Installing a Toshiba air conditioner yourself is absolutely doable with the right guidance. You can save money and gain satisfaction by following proper installation steps. This guide will help you get your new Toshiba AC up and running efficiently.
Many homeowners wonder about the DIY approach to AC installation. It involves more than just plugging it in. Proper placement and electrical connections are key to performance and safety. We found that understanding these basics makes a big difference.
- Find the best location for your unit.
- Understand the basic tools you’ll need.
- Follow electrical and drainage setup.
- Ensure the unit is securely mounted.
- Test the AC thoroughly after installation.
Ready to cool down your space? Let’s walk through exactly how to install your Toshiba air conditioner step by step.
Setting Up Your Toshiba Air Conditioner: A DIY Guide
Installing a Toshiba air conditioner yourself is a project you can tackle. We found that with the right preparation, you can successfully get your new AC up and running. This guide will walk you through the essential steps.
Planning Your Toshiba AC Installation
Before you even open the box, good planning is key. You need to think about where the unit will go and what you’ll need.
Choosing the Right Location for Your AC Unit
Picking the best spot for your Toshiba air conditioner is more important than you might think. A good location helps it work more efficiently and last longer. You want to avoid direct sunlight, as this can make the unit work harder.
Think about the airflow. The indoor unit needs to blow cool air into the room without hitting any furniture or obstacles. The outdoor unit needs good airflow too, so it can release heat effectively. We found that leaving at least two feet of clearance around the outdoor unit is recommended.
Gathering Your Installation Tools and Materials
You’ll need a few basic tools and some supplies to get started. Having everything ready saves time and prevents frustration during the installation.
Here’s a checklist of common items:
- Screwdrivers (Phillips and flathead)
- Adjustable wrench
- Drill with various bits
- Level
- Measuring tape
- Pliers
- Tubing cutter
- Wall fishing tools (if needed)
- Safety glasses and gloves
- Refrigerant leak detector (optional but recommended)
- Mounting brackets and hardware
- Electrical tape and wire connectors
- Drainage tubing and fittings
Mounting the Toshiba Air Conditioner Components
Now that you have your location and tools, it’s time to start mounting the indoor and outdoor units. This step requires careful attention to ensure stability.
Installing the Indoor Unit (Evaporator)
Most Toshiba indoor units come with a mounting plate. Secure this plate to the wall using screws and anchors suitable for your wall type. Make sure the plate is perfectly level. A level unit prevents stress on the components and ensures proper drainage.
You’ll need to drill a hole through the wall for the refrigerant lines and drainage pipe. The size of the hole depends on your specific model, so check your manual. Carefully feed the lines and pipe through the hole.
Installing the Outdoor Unit (Condenser)
The outdoor unit needs a stable, level surface. This could be a concrete pad or sturdy mounting brackets. If you’re using brackets, ensure they are rated for the weight of your unit and securely bolted to the wall. Many guidelines suggest placing the outdoor unit at least 6 inches off the ground to prevent water damage (Energy.gov).
Make sure the outdoor unit isn’t placed where it will obstruct pathways or where it might be easily damaged. It should also be positioned away from direct heat sources like dryer vents. Proper clearance is key for optimal performance.
Connecting the Refrigerant Lines and Electrical Wiring
This is a critical part of the installation. Mistakes here can lead to poor performance or even damage. Always refer to your Toshiba AC’s installation manual for precise wiring diagrams and line set instructions.
Attaching the Refrigerant Lines
Connect the refrigerant lines from the indoor unit to the outdoor unit. These lines are typically made of copper tubing. You’ll need to flare the ends of the tubing to create a good seal. Then, carefully connect them to the corresponding ports on both units, using wrenches to tighten them securely but without overtightening.
We found that it’s crucial to ensure there are no kinks or bends in the refrigerant lines. Kinked lines restrict refrigerant flow and significantly reduce cooling efficiency. Many experts recommend using a tubing bender for smooth curves.
Making Electrical Connections
Safety first! Make sure the power to the circuit you’ll be using is turned off at the breaker box. Consult your manual for the correct wire gauge and type. Connect the power supply cable to the outdoor unit and the control wire to both the indoor and outdoor units.
Follow the wiring diagram precisely. Incorrect connections can damage the unit or pose a fire hazard. If you’re not comfortable with electrical work, it’s best to hire a qualified electrician. We found that many homeowners opt for professional help for this specific step.
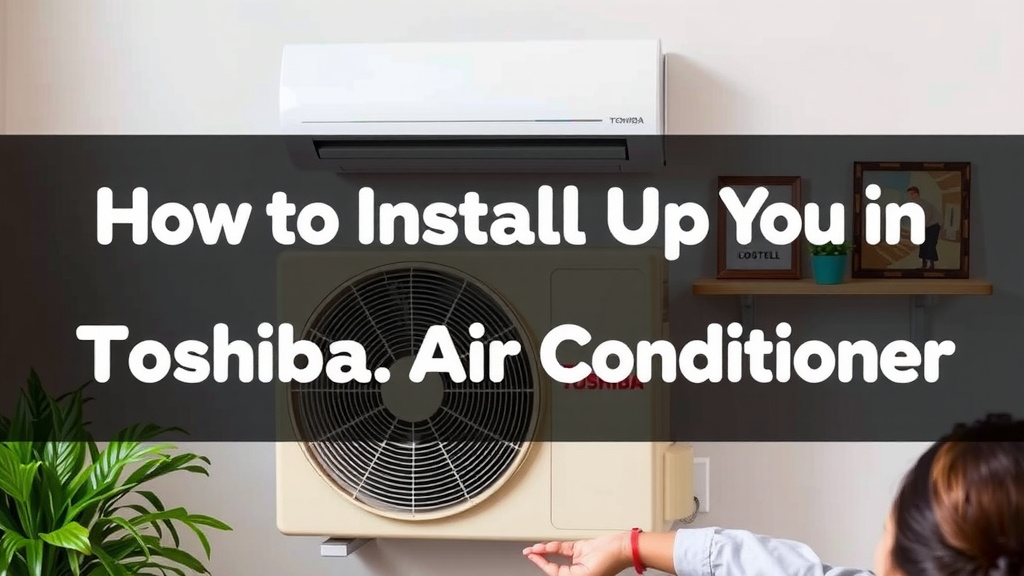
Setting Up the Drainage System
Your air conditioner removes moisture from the air, creating condensation. This water needs a place to go. A properly installed drain line is essential to prevent water damage.
Connect the condensate drain tubing to the indoor unit. Route the tubing downhill so gravity can carry the water away. Avoid creating low spots where water can pool. You can run the drain line to an existing drain, outside, or to a condensate pump if gravity isn’t on your side. We found that ensuring a consistent downward slope is the most important factor for proper drainage.
Final Checks and Testing Your Toshiba AC
Almost there! Before you flip the breaker back on, do a thorough check of everything you’ve done.
Pre-Operation Inspection Checklist
Go through this list one last time:
- Are all mounting brackets secure?
- Are refrigerant lines properly connected and tightened?
- Are electrical connections correct and secure?
- Is the drain line properly sloped and free of blockages?
- Is the outdoor unit level and stable?
- Are all protective covers and panels in place?
Testing the System
Once you’ve completed your checklist, turn the power back on at the breaker. Set your Toshiba air conditioner to cool mode on the thermostat. Listen for any unusual noises and check that cool air is coming from the indoor unit. Allow the system to run for at least 15-30 minutes to ensure it’s cooling effectively and that there are no leaks.
We found that running the AC for a good amount of time helps reveal any hidden issues. Observing how it performs under load is key to confirming a successful installation.
Conclusion
You’ve successfully navigated the steps to install your Toshiba air conditioner! We found that careful planning and attention to detail are your best allies. By securing the mounting plates, properly connecting refrigerant lines and electrical wiring, and ensuring a clear drainage path, you’ve set your unit up for efficient operation. Remember, your Toshiba AC is now ready to provide reliable cooling. Take a moment to enjoy your newly cooled space and feel confident in your DIY accomplishment. If any doubts arise about the electrical work, consider consulting a professional to ensure your system’s longevity and your peace of mind.
Frequently Asked Questions
How much clearance do I need around the outdoor unit?
You should aim for at least two feet of clearance around the outdoor unit. This allows for proper airflow, which is essential for the unit to efficiently release heat. We found that unobstructed airflow helps your Toshiba AC run at its best.
What’s the most common mistake people make during AC installation?
A frequent pitfall is not ensuring the indoor mounting plate is perfectly level. This can lead to drainage issues and put unnecessary stress on the unit’s internal components. Always double-check with your level.
Can I connect the drain line directly to a sink?
Connecting the drain line to an existing drain, like a laundry sink or floor drain, is often a good option. Just ensure the line slopes continuously downward from the unit to the drain. Avoid creating any dips where water could collect.
Is it safe to install a Toshiba AC if I’m not experienced with electrical work?
Electrical connections are the most critical safety step. If you’re not comfortable or experienced with wiring, we strongly recommend hiring a licensed electrician. Incorrect wiring can be dangerous and damage your unit.
How long should I run the AC after installation to test it?
After completing your final checks, run the air conditioner in cool mode for at least 15 to 30 minutes. This allows you to confirm it’s cooling properly and to listen for any unusual noises or check for leaks.
![7 Best High Btu Window Air Conditioner [2026]](https://bathroomexplorer.com/wp-content/uploads/2026/06/7-best-high-btu-window-air-conditioner-2026-featured-768x432.jpg)