
How to Install an Air Conditioner Through a Wall
Installing an air conditioner on your wall is a manageable DIY project for many homeowners. You’ll need the right tools and a bit of patience to ensure a secure and efficient setup. This guide will walk you through the process, making it less daunting than you might think.
Mounting an AC unit correctly is vital for its performance and longevity. Improper installation can lead to drafts, reduced cooling efficiency, and even potential damage. We found that understanding the proper bracket placement and ensuring the unit is level and sturdy are key steps for success.
- Gather all necessary tools and materials first.
- Select the right wall location, considering support and obstructions.
- Use sturdy mounting brackets and ensure they are securely attached.
- Follow the manufacturer’s instructions precisely for wiring and sealing.
Ready to tackle that wall AC installation? Let’s get started on making your space cooler and more comfortable.
Mounting Your Air Conditioner Securely on the Wall
Installing a window or wall-mounted air conditioner yourself can be a rewarding DIY project. It helps you save money and gives you a sense of accomplishment. This guide will help you navigate the steps needed for a safe and stable installation. We’ve found that taking your time and following instructions carefully is key.
Proper mounting ensures your AC unit runs efficiently. It also prevents issues like water leaks or the unit falling. Many people worry about the structural integrity. We’ll address how to make sure your wall can handle the weight and vibration. Let’s make sure your cool air stays where it belongs!
Choosing the Perfect Spot for Your AC Unit
The location you pick for your AC unit matters a lot. You need a spot that is structurally sound and free from obstructions. Think about where the heat will exhaust. Also, consider where the cool air needs to go within your room. Most wall ACs are designed to fit into pre-cut openings or special sleeves.
Assessing Wall Strength and Support
Your air conditioner needs a strong wall to hold it. Not all walls are created equal when it comes to supporting heavy appliances. You’ll want to find a spot between wall studs if possible. These are the vertical beams that form the frame of your wall.
Use a stud finder to locate them. Mark their positions clearly. The AC unit will be much more stable if it can be secured to these studs. If you can’t position the unit directly over studs, you might need to add extra bracing. Many manufacturers recommend this for window and through-the-wall units.
We found that older homes or those with plaster walls might require extra reinforcement. Consulting a professional can be wise if you’re unsure about your wall’s strength. They can assess the situation and suggest the best approach for added support.
Considering Obstructions and Airflow
Before drilling any holes, check for hidden pipes or electrical wires. Use a non-contact voltage tester. Also, look for obstructions outside. You don’t want the exterior part of your AC to be blocked by a bush or a deck. Good airflow is essential for the unit to work correctly. It needs to be able to expel hot air freely.
Think about the direction of airflow inside the room. Where do you want the cool air to reach? Avoid placing the AC unit where furniture or curtains will block the cool air output. Proper placement means more efficient cooling and less strain on the unit.
Gathering Your Tools and Materials
Having everything ready before you start is a game-changer. It prevents frustrating interruptions. You’ll want to have your tools and materials laid out and easily accessible. This makes the installation process much smoother.
Essential Tools for Installation
Here’s a list of tools that will likely come in handy:
- Drill with various bits: For pilot holes and driving screws.
- Screwdriver set: Phillips and flathead.
- Level: To ensure the unit is perfectly straight.
- Tape measure: For accurate measurements.
- Pencil or marker: To mark your drilling points.
- Stud finder: To locate wall studs.
- Caulking gun and exterior caulk: For sealing gaps.
- Safety glasses and gloves: To protect yourself.
Necessary Mounting Hardware and Accessories
Your air conditioner should come with some mounting hardware. However, you might need additional items.
- Wall mounting brackets: These are vital for support. Many through-the-wall units come with them. For window units, you might need an external support bracket.
- AC sleeve (if applicable): Some through-the-wall units require a sleeve to be installed first.
- Weather stripping or foam insulation: To seal gaps around the unit.
- Screws and fasteners: Ensure they are rated for exterior use if needed.
We found that using high-quality brackets is non-negotiable. They bear the weight of the unit. Don’t skimp here! Check the manufacturer’s manual for specific recommendations.
Step-by-Step Installation Process
Now let’s get to the actual installation. Remember to always refer to your AC unit’s manual. Different models have slightly different requirements.
Preparing the Wall Opening
If you’re installing a through-the-wall unit, you’ll need to cut an opening. Mark the dimensions from your AC’s manual or sleeve onto the wall. Carefully cut along these lines. Be sure to check for wiring or plumbing before cutting! Many people hire a professional for this step.
If you’re replacing an old unit, you might just need to clean out the existing opening. Ensure it’s the correct size for your new AC. For window units, you’ll typically be using the window frame itself.
Installing the Mounting Brackets
This is where your stud finder and level become super important. Position the mounting brackets according to the instructions. If you’re using wall studs, secure the brackets directly into them with heavy-duty screws.
The brackets need to be perfectly level and plumb. An unlevel unit can cause drainage issues. Water might back up and leak into your home. We found that many installation guides stress the importance of a slight tilt towards the outside for drainage.
Ensuring Proper Bracket Placement
Measure twice, drill once! Ensure the brackets are spaced correctly. They need to support the weight of the AC unit evenly. The front of the AC should ideally be slightly lower than the back. This allows condensation to drain outside.
A common recommendation is a tilt of about 1/2 inch for every 10 inches of depth. Check your AC’s manual for the exact specification. This small detail makes a big difference in preventing water damage.
Securing the Air Conditioner Unit
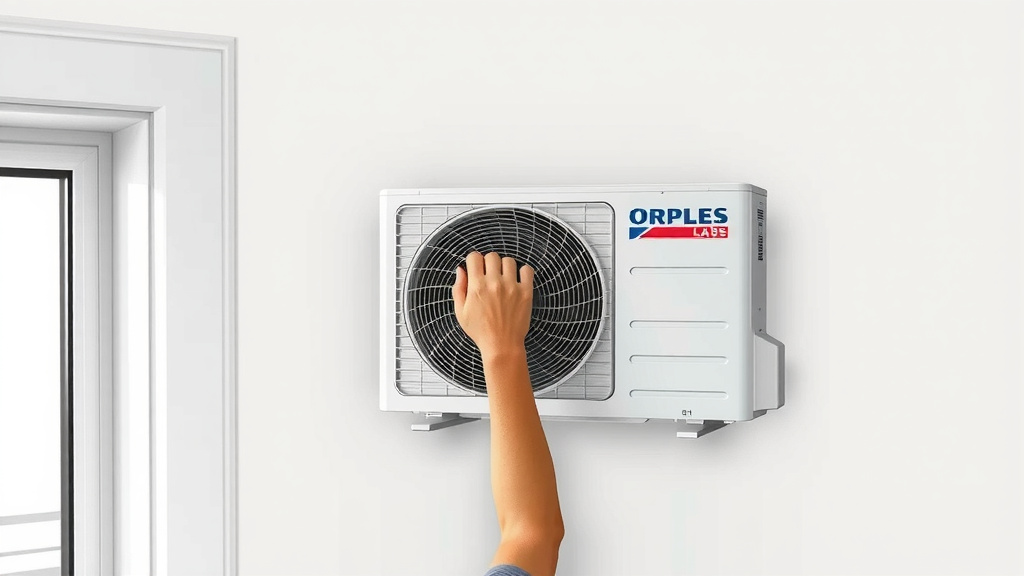
With the brackets in place, it’s time to carefully slide the AC unit into the opening. This might require two people, as AC units can be heavy and awkward. Gently maneuver the unit until it sits snugly on the brackets and within the wall opening or sleeve.
Use the screws provided or recommended by the manufacturer to secure the unit to the brackets and the wall. Double-check that it feels solid and doesn’t wobble. It should be firmly in place, ready to deliver cool air.
Sealing and Finishing Touches
Once the unit is secured, you need to seal any gaps. This prevents air leaks and keeps pests out. Use caulk on the exterior where the unit meets the wall. For window units, use weather stripping around the edges where it meets the window frame and sash.
Foam insulation can be used to fill larger gaps. Make sure not to block any vents or drainage ports on the unit. We found that a good seal is often overlooked but is critical for efficiency. It helps keep the cool air in and the hot air out.
A Quick Checklist for Your Installation
Here’s a simple checklist to help you keep track:
- Confirm Wall Support: Are your wall studs located and ready for mounting?
- Gather All Tools: Do you have everything from drills to caulk?
- Check for Obstructions: Are there any hidden wires or pipes?
- Mount Brackets Level: Are your support brackets perfectly straight?
- Secure the Unit Firmly: Does the AC feel solid and stable?
- Seal All Gaps: Is there no room for air or pests to sneak in?
Conclusion
You’ve learned that installing your wall air conditioner is achievable with careful planning. We found that securing the right location and using sturdy mounting brackets are key. Taking the time to level the unit and seal all gaps ensures efficient cooling. You’ve also got a handy checklist to confirm you haven’t missed any steps. Now you’re ready to enjoy a cooler, more comfortable home. Go ahead and tackle that installation with confidence!
Frequently Asked Questions
How do I know if my wall can support an air conditioner?
We recommend using a stud finder to locate wall studs. Mounting the brackets directly into these studs provides the best support. If you cannot align with studs, consider adding extra bracing or consult a professional to assess your wall’s strength.
What is the proper tilt for a wall AC unit?
Your AC unit needs a slight tilt towards the outside to allow condensation to drain properly. A common guideline is about a 1/2 inch tilt for every 10 inches of the unit’s depth. Always check your specific model’s manual for exact recommendations.
Can I install a wall AC if I don’t hit any studs?
While hitting studs is ideal, it’s not always possible. If you can’t secure brackets to studs, you’ll need to use heavy-duty anchors designed for your wall type and the weight of the AC unit. Adding extra support beams might also be necessary.
How important is sealing around the AC unit?
Sealing is very important for efficiency and preventing issues. It stops cool air from escaping and warm air from entering. Proper sealing also helps keep pests out and prevents water damage by ensuring condensation drains correctly outdoors.
What if my AC unit is too heavy for me to lift alone?
Air conditioners can be quite heavy and awkward. We found that having a second person assist you is highly recommended for safely maneuvering and lifting the unit into place. If you’re concerned about the weight, consider hiring a professional for the installation.
![7 Best Lightweight Portable Air Conditioner [2026]](https://bathroomexplorer.com/wp-content/uploads/2026/06/7-best-lightweight-portable-air-conditioner-2026-featured-768x432.jpg)