
Quiet Your RV Air Conditioner: Simple Fixes
You can make your RV air conditioner quieter by taking a few smart steps. Simple fixes like checking for loose parts and adding insulation can make a big difference. Often, the noise comes from vibrations or airflow issues you can easily address.
Many RV owners find their AC unit to be a bit noisy. This can disrupt your peace and quiet while camping. Research shows that most RV AC noise stems from either the fan operation or the compressor. Addressing these common culprits will lead to a more peaceful RV experience.
- Check for loose panels and screws.
- Add sound-dampening insulation around the unit.
- Clean the air filter regularly.
- Inspect and clean the fan blades.
- Ensure the unit is level.
Ready to enjoy a quieter RV? Let’s walk through the easiest ways to reduce that RV air conditioner noise so you can relax.
“`htmlQuieting Your RV Air Conditioner for Peaceful Camping
You’re out enjoying the great outdoors in your RV, ready for some relaxation. Suddenly, your RV air conditioner kicks on, and it sounds like a small jet engine is taking off. It’s incredibly disruptive, right? You want to hear the birds, the crickets, or just enjoy the quiet. Fortunately, you don’t have to live with a noisy RV AC unit. Many simple adjustments can dramatically reduce the sound.
We’ve found that the most common noise sources are related to the fan and the compressor. These are the mechanical heartbeats of your cooling system. When they vibrate or push air inefficiently, that noise travels. Let’s walk through how to address these issues, starting with the most straightforward fixes you can tackle yourself.
Addressing Vibration and Loose Parts
Vibrations are a major culprit behind RV air conditioner noise. Think of it like a loose screw on your washing machine – it rattles and shakes. Your AC unit is no different. If panels or mounting hardware are loose, they’ll vibrate against the unit or the RV roof, creating that annoying racket.
Tighten Up What’s Loose
The first step is a good ol’ fashioned check for anything that’s rattling. Grab a screwdriver and inspect the exterior panels of your AC unit. Are the screws snug? Sometimes, the constant movement of your RV on the road can loosen them over time. Gently tighten any screws you find that are loose.
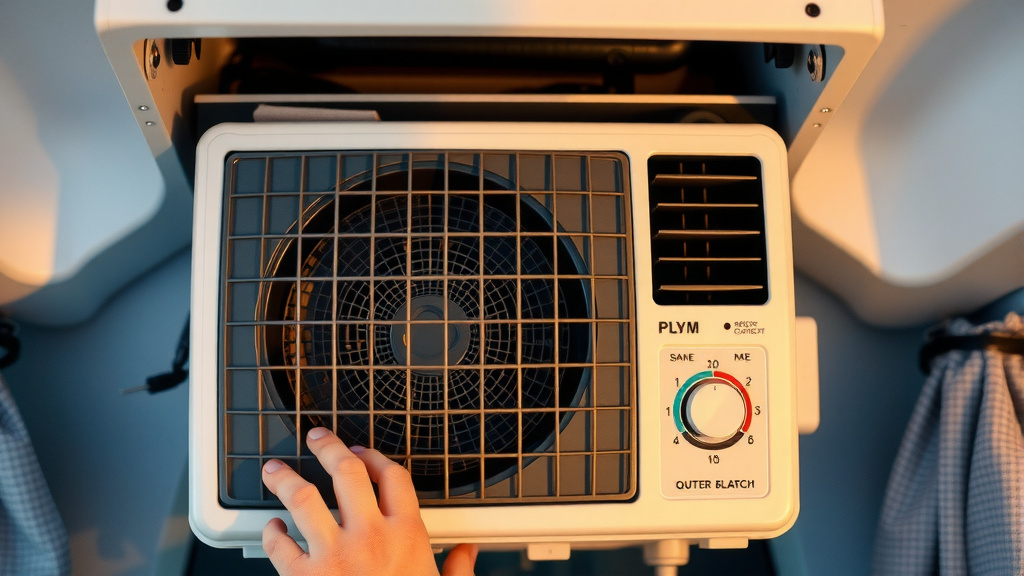
Don’t forget the interior parts, too. The air diffuser and grille inside your RV might also have loose screws. Tightening these can stop rattling noises coming from inside your living space. It’s a good idea to do this periodically, maybe during your regular RV maintenance checks.
Checking the Mounting Frame
The AC unit itself is typically mounted to a frame on the roof. This frame needs to be secure. If the bolts securing the unit to the frame are loose, this can transmit vibrations directly into your RV’s structure. While this is a bit more involved, it’s worth checking if you’re hearing significant low-frequency rumbling.
Improving Airflow for Less Noise
Air moving through a system creates sound. When that airflow is obstructed or turbulent, the noise level goes up. Think about how a narrow pipe makes more noise than a wide one. Your RV AC is similar; efficient airflow means less noise.
Clean That Air Filter!
This is one of the easiest and most impactful things you can do. A dirty, clogged air filter restricts airflow. When the unit struggles to pull air through, it has to work harder, and that often means more noise. Plus, a clean filter improves efficiency, saving you energy.
We found that cleaning your RV AC filter monthly, or even more often if you use your AC frequently, is key. You can usually access it by removing the interior grille. Most filters are washable or disposable. Check your owner’s manual for specific instructions.
Fan Blade Inspection and Cleaning
The fan is the workhorse of your AC unit. If the fan blades are dirty, unbalanced, or damaged, they can cause significant noise and vibration. Dust and debris can build up on the blades, making them heavier and less efficient. Sometimes, small twigs or other debris can get lodged in the fan housing.
Safety first! Always make sure the AC unit is completely powered off and unplugged before you attempt to inspect or clean the fan blades. You can usually access the fan from the interior or sometimes through an exterior panel. Gently wipe down the blades with a damp cloth. If you notice any damage, it might be time to consult a professional for replacement.
Clearing Obstructions in the Ducts
Just like the main filter, your air ducts can also accumulate debris. Leaves, dust bunnies, or even small critters can find their way into the ductwork, especially if your RV has been sitting for a while. This blockage forces the air through a smaller space, increasing noise.
Use a vacuum cleaner with a crevice tool to clean out the visible parts of the ducts. For deeper obstructions, a flexible brush or a shop vac with a long hose attachment might be needed. Ensuring clear pathways for air will help your unit run more smoothly and quietly.
Sound Dampening and Insulation Techniques
Sometimes, the mechanical noise is inherent to the unit, but you can reduce how much of it you hear. Adding insulation can create a barrier, absorbing some of the sound before it reaches your ears.
Adding Insulation to the Housing
Many RV AC units have an exterior housing. Some models might benefit from added sound-dampening material applied to the inside of this housing. You can purchase specialized acoustic foam or heavy-duty sound deadening mats designed for vehicles.
Carefully cut the material to fit the interior surfaces of the AC housing. Ensure you don’t block any vents or moving parts. This acts like putting a blanket around a noisy appliance – it absorbs and muffles the sound. Many experts recommend materials that are also fire-retardant for safety (National RV Association).
Soundproofing the Interior Diffuser
The part of the AC unit inside your RV, where the cool air blows out, can also be a source of noise. Sometimes, adding a thin layer of closed-cell foam or mass-loaded vinyl (MLV) to the inside of the diffuser panels can help absorb sound. Again, be careful not to impede airflow.
Ensuring Proper Installation and Leveling
How your RV air conditioner was installed plays a big role in its noise level. If the unit isn’t sitting correctly, it can cause all sorts of problems, including excess noise.
The Importance of a Level Unit
An RV air conditioner needs to be perfectly level on the roof to operate efficiently and quietly. If it’s tilted, the internal components, like the compressor and fan motor, might not be balanced. This imbalance can lead to increased vibration and noise.
Use a spirit level on the base of the AC unit. If it’s not level, you may need to add or adjust shims between the unit and the roof mounting frame. This is a task that many RV owners can handle, but if you’re unsure, a mobile RV technician can help ensure it’s perfectly aligned.
Quick Checklist for a Quieter RV AC
Here’s a quick rundown of the simplest steps you can take:
- Tighten screws: Check exterior and interior panels.
- Clean air filter: Do this regularly.
- Inspect fan blades: Wipe them clean and check for damage.
- Clear ductwork: Vacuum out any visible debris.
- Ensure unit is level: Check with a spirit level.
- Add sound mats: Consider lining the housing if noise persists.
Conclusion
You now have a solid plan to make your RV air conditioner much quieter. We’ve covered simple fixes like tightening loose parts and cleaning the filter. Addressing airflow issues and adding some sound dampening can also make a big difference. You can enjoy peace and quiet on your next trip by tackling these common noise sources. Your next step is to grab your tools and perform a quick inspection of your AC unit. Soon, you’ll be relaxing to the sounds of nature, not your AC.
Frequently Asked Questions
How often should I clean my RV AC air filter?
We recommend cleaning your RV AC air filter at least once a month. If you use your air conditioner frequently or camp in dusty areas, you might need to clean it even more often. A clean filter is key to both quiet operation and efficient cooling.
Can I really add insulation to my RV AC unit?
Yes, you can! Adding sound-dampening insulation to the inside of the AC unit’s housing can help muffle operational noise. Just be sure to use materials that are fire-retardant and do not block any vents or moving parts.
What if my RV AC still sounds loud after checking for loose parts?
If tightening screws and checking panels doesn’t help, the noise might be from airflow or the fan. Inspecting and cleaning the fan blades is the next best step. Ensuring the unit is also level can prevent vibrations from internal components.
Is it safe to clean the RV AC fan blades myself?
Safety first is always important! Make sure the AC unit is completely powered off and unplugged before attempting to clean the fan blades. You can usually access them from inside your RV and gently wipe them down with a damp cloth.
What’s the most common cause of rattling noises from my RV AC?
Rattling noises are very often caused by loose screws and panels. The vibrations from your RV traveling down the road can loosen them over time. A simple check and tightening of all visible screws on the exterior and interior parts usually solves this.

![7 Best Small Through The Wall Air Conditioner [2026]](https://bathroomexplorer.com/wp-content/uploads/2026/06/7-best-small-through-the-wall-air-conditioner-2026-featured-768x432.jpg)

