
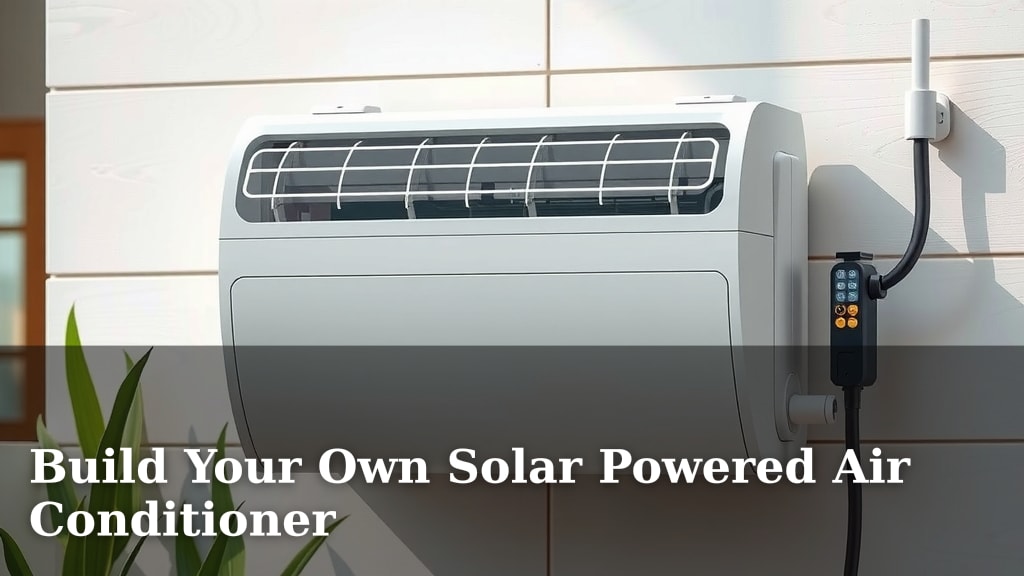
Build Your Own Solar Powered Air Conditioner
Yes, you absolutely can make your own solar-powered air conditioner to beat the heat! It’s a fantastic way to stay cool using **renewable energy**. This DIY project can significantly **reduce your electricity bills** while helping the environment. We’ll show you how to get started on this cool project.
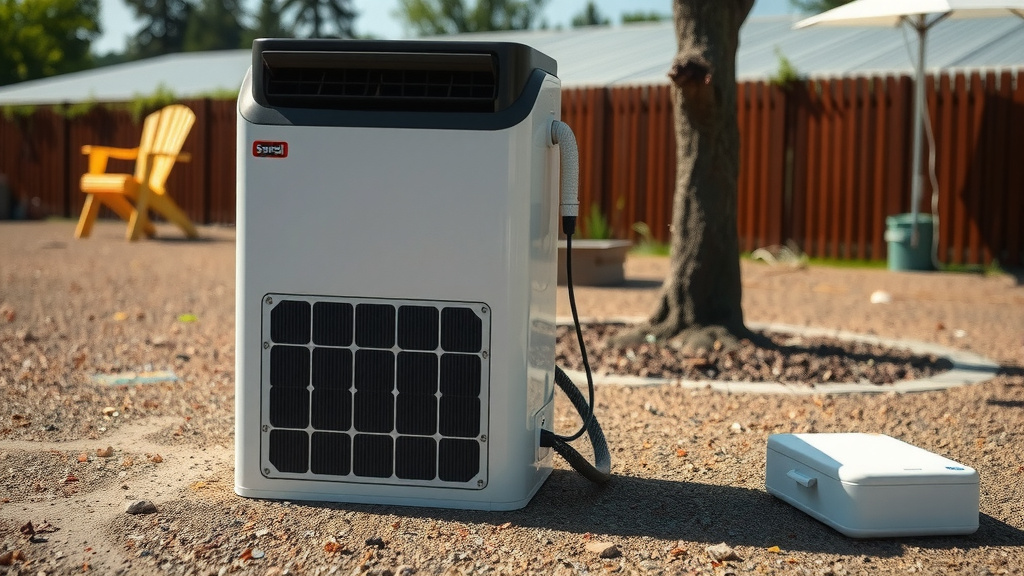
Building a solar AC unit often involves combining a few key components. You’ll typically need a solar panel, a DC fan, a water reservoir, and some sort of evaporative cooling medium. Many people are looking for **eco-friendly cooling solutions** that don’t rely on the grid. This type of system offers a **sustainable alternative** for personal comfort.
- DIY solar AC is possible.
- It uses renewable energy.
- Components include panels, fans, and water.
- Great for reducing electricity bills.
- Eco-friendly cooling option.
Ready to build your own solar air conditioner? Let’s walk through the basic principles and the components you’ll need step by step.
“`htmlBuilding Your Own Solar-Powered Cooler: A Step-by-Step Guide
Creating a solar-powered air conditioner yourself is a rewarding project. It allows you to harness the sun’s energy for cooling. This eco-friendly approach can help you stay comfortable. It also reduces your reliance on traditional electricity. Many DIY enthusiasts have successfully built these units. They often use readily available components.
The core principle behind many DIY solar ACs is evaporative cooling. This method uses less energy than traditional compressor-based air conditioning. It works by evaporating water. This process draws heat from the surrounding air. You’re essentially using the sun to power a fan that pushes air through a moist medium. Let’s break down the parts you’ll need.
Essential Components for Your DIY Solar AC
Gathering the right parts is key to a successful build. You don’t need to be an expert electrician or engineer. Simple tools and a clear plan will get you far. Think of it like building a really cool fan with a built-in mister. We’ll cover what you need and why.
1. The Solar Panel: Your Sun Power Source
This is where the magic starts. Your solar panel captures sunlight. It converts this light into electricity. This electricity will power your fan. The size of your panel matters. A larger panel generates more power. For a small personal cooler, a 10-watt to 30-watt panel is often sufficient. You can find these online or at solar supply stores. Make sure it’s designed for outdoor use. Its voltage should match your fan’s needs.
2. The DC Fan: Moving the Cool Air
A direct current (DC) fan is essential. This type of fan runs on the power generated by the solar panel. You’ll want a fan that’s energy-efficient. Many computer case fans are a good choice. They are quiet and use little power. A 12-volt DC fan is common. Ensure its power draw is within the capabilities of your solar panel. A fan that uses too much power won’t run effectively. You might need to do a little research on the fan’s amperage rating. Your solar panel’s amperage output should be higher than the fan’s draw.
3. The Water Reservoir: Holding the Cooling Medium
This container holds the water for the evaporative cooling process. A simple plastic storage bin works well. It needs to be large enough. It should also be sturdy. You’ll need to place your cooling medium inside it. The reservoir should be easy to access. This makes refilling the water simple. A lid is also a good idea. It helps keep debris out. It also conserves water by reducing evaporation before it reaches the fan.
4. The Evaporative Cooling Medium: The Wet Stuff!
This is what actually cools the air. Think of materials that hold water well. Common options include:
- Sponges: Thick, absorbent sponges work well. They have a large surface area.
- Cellulose pads: These are often used in commercial swamp coolers. They are very efficient.
- Cotton cloth: Thick, natural cotton fabric can also absorb and hold water.
5. The Housing: Putting It All Together
You’ll need a way to connect all these parts. A simple plastic bucket or a sturdy cardboard box can serve as the housing. The goal is to direct the airflow. The solar panel should be mounted so it faces the sun. The fan needs to be positioned to draw air through the wet cooling medium. The reservoir will sit inside or be connected to the housing.
Putting Your Solar Air Conditioner Together: The Build Process
Now for the fun part! Assembling your solar cooler is straightforward. It’s important to plan the layout. You want to ensure good airflow. This is the key to effective cooling.
Step 1: Prepare Your Reservoir and Cooling Medium
If you’re using a storage bin, clean it thoroughly. Cut your chosen cooling medium to fit inside. If using sponges, arrange them so there are no large gaps. You want the air to pass through them, not around them. Some builders create a frame or rack to hold the sponges in place. This keeps them from collapsing.
Step 2: Mount the Fan
Position the DC fan. It should be placed so it blows air across or through the wet cooling medium. If your housing is a box, you might cut a hole for the fan. Ensure a snug fit. You want to minimize air leaks. This makes the fan work harder. A good seal is important for efficiency.
Step 3: Connect the Solar Panel
This step involves some simple wiring. Most DC fans have two wires: positive and negative. Solar panels also have positive and negative terminals. Connect the positive wire from the fan to the positive terminal on the solar panel. Connect the negative wire from the fan to the negative terminal on the solar panel. You can use wire connectors for a secure connection. Make sure the connections are insulated to prevent shorts. If you’re unsure about wiring, consult with someone experienced. Safety first!
Step 4: Assemble the Housing
Place your prepared reservoir and cooling medium into your housing. Position the fan so it can draw air through the wet medium. Secure the fan to the housing. Mount the solar panel on top or to the side. Angle it to catch the most sunlight. Ensure all components are stable and won’t easily fall out.
Step 5: Test Your Creation!
Once assembled, it’s time for a test run. Place the unit in direct sunlight. Wet your cooling medium thoroughly. Turn on the fan (it should start automatically if the sun is strong enough). You should feel cooler air being blown out. The effectiveness will depend on humidity. Evaporative coolers work best in dry climates. Higher humidity reduces the rate of evaporation. Think of it like trying to dry clothes on a very humid day – it takes longer!
Tips for Maximizing Your Solar AC’s Performance
To get the most out of your DIY solar cooler, consider these tips:
- Location, Location, Location: Place your solar panel in direct, unobstructed sunlight for the longest part of the day.
- Water Levels: Keep your cooling medium consistently moist. Don’t let it dry out.
- Airflow Management: Ensure the air can easily enter and exit the unit. Don’t block vents.
- Climate Matters: Understand that this type of cooler is most effective in low-humidity environments.
- Maintenance: Clean your reservoir and cooling medium regularly. This prevents mold and mildew.
Understanding the Science Behind Evaporative Cooling
Evaporative cooling is a natural process. When water evaporates, it changes from a liquid to a gas. This transition requires energy. The energy is absorbed from the surrounding air in the form of heat. This makes the air cooler. It’s the same reason you feel cooler when you sweat. The sweat evaporates from your skin, taking heat with it.
The rate of evaporation depends on several factors. These include temperature, humidity, and airflow. Warmer air can hold more moisture. Lower humidity means there’s more room for water vapor in the air. Increased airflow helps move moist air away, allowing more evaporation to occur. This is why your DIY unit performs better when there’s a good breeze and the air isn’t already saturated with moisture (Cleveland Clinic).
Comparing DIY Solar AC to Traditional Air Conditioners
It’s helpful to know what to expect when comparing your DIY project to a store-bought AC. They function very differently.
| Feature | DIY Solar AC | Traditional AC |
|---|---|---|
| Cooling Method | Evaporative Cooling | Refrigerant Cycle (Compressor) |
| Energy Source | Solar Power (Sunlight) | Grid Electricity |
| Electricity Usage | Very Low (DC Fan) | High |
| Environmental Impact | Very Low | Higher (uses refrigerants, high energy consumption) |
| Initial Cost | Low | Moderate to High |
| Cooling Power | Personal, gentle cooling | Room cooling, significant temperature drop |
| Best Use Case | Dry climates, personal cooling, reducing energy bills | Humid climates, whole-room cooling |
Your DIY solar cooler is a fantastic way to get started with renewable energy. It offers a tangible benefit by providing personal comfort. It’s also a great learning experience. You’ll gain a better understanding of solar power and cooling principles.
Safety and Considerations for Your Project
While this project is generally safe, a few points are worth noting. Always handle tools with care. Ensure all electrical connections are secure and insulated. If you’re working with higher voltage panels, extra caution is advised. Always disconnect the solar panel before making or modifying connections. Think about the placement of your unit. You don’t want it where it could easily be knocked over. Keep it away from sensitive electronics that could be damaged by moisture. Remember to clean your unit regularly to prevent mold growth.
“`Conclusion
You’ve learned how to build your own solar-powered air conditioner, a fantastic way to embrace renewable energy. This DIY project offers a tangible way to reduce your electricity bills and stay comfortable using the sun’s power. Remember, the core principle is evaporative cooling, which works best in drier climates. With just a few key components like a solar panel, DC fan, and a water reservoir, you can create a personal cooling unit. Your next step is to gather your materials and start building. Enjoy your eco-friendly, sun-powered cool air!
Frequently Asked Questions
How much power do I need for a DIY solar air conditioner?
For a small personal cooling unit, a 10-watt to 30-watt solar panel is generally sufficient. Ensure its voltage matches your DC fan’s requirements. This setup is designed for low power consumption, running only a fan.
Will a DIY solar AC work in humid weather?
Evaporative coolers, like the DIY solar AC, are most effective in low-humidity environments. High humidity slows down the evaporation process, reducing its cooling power. For humid areas, this type of cooler will provide less noticeable temperature drops.
Where should I place my DIY solar air conditioner?
Place your solar AC in direct sunlight for maximum power. Position it where you need personal cooling, like on your desk or bedside. Ensure good airflow around the unit for optimal performance.
How often do I need to refill the water reservoir?
You’ll need to refill the water reservoir as it gets used for evaporation. Check the water level regularly, especially on hot days. Keeping the cooling medium consistently moist is key to maintaining airflow cooling.
Can I use a regular house fan with a solar panel?
No, you should use a Direct Current (DC) fan, typically a 12-volt fan. Standard household fans are Alternating Current (AC) and require a different power source. Matching the fan’s DC power needs to your solar panel’s output is essential for it to run.
![7 Best Air Conditioner For Small Room [2026]](https://bathroomexplorer.com/wp-content/uploads/2026/07/7-best-air-conditioner-for-small-room-2026-featured-768x432.jpg)