Assemble Your Dyson Vacuum: A Simple Step-by-Step Guide
Assembling your new Dyson vacuum cleaner is a straightforward process that you can usually complete in under 10 minutes. Most models click together easily without needing any tools, making it simple for anyone to get started right away. You just need to identify the main parts and connect them.
We’ve found that Dyson’s design prioritizes an intuitive setup. This means you can quickly move from unboxing to cleaning your home. Understanding the basic assembly helps ensure your vacuum is put together correctly for optimal performance and longevity.
- Identify the main components.
- Connect the wand to the bin assembly.
- Attach the cleaner head to the wand.
- Insert the battery and charger.
- Ensure all parts click securely into place.
Let’s walk through exactly how to assemble your Dyson vacuum cleaner step by step.
Putting Your Dyson Vacuum Together: A Quick Guide
Unboxing your new Dyson vacuum cleaner can feel exciting, but seeing all those parts might make you wonder how they all connect. Don’t worry! Dyson designs their vacuums to be surprisingly simple to assemble. You won’t need a toolbox or any confusing instructions. Most models just click together easily. We’ve found that the assembly process is usually done in about 5 to 10 minutes. This guide will walk you through each step so you can start cleaning your home without delay.
Identifying Your Dyson’s Main Components
Before you start clicking pieces together, let’s identify the main parts you’ll find in the box. This will make the assembly feel much more intuitive. You’ll typically see a few key items:
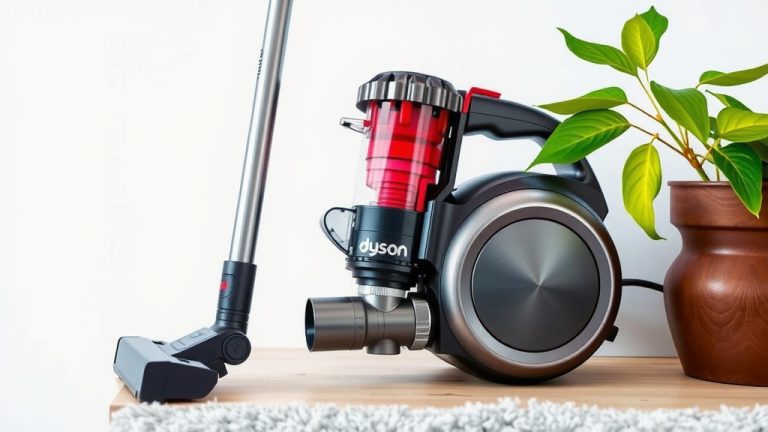
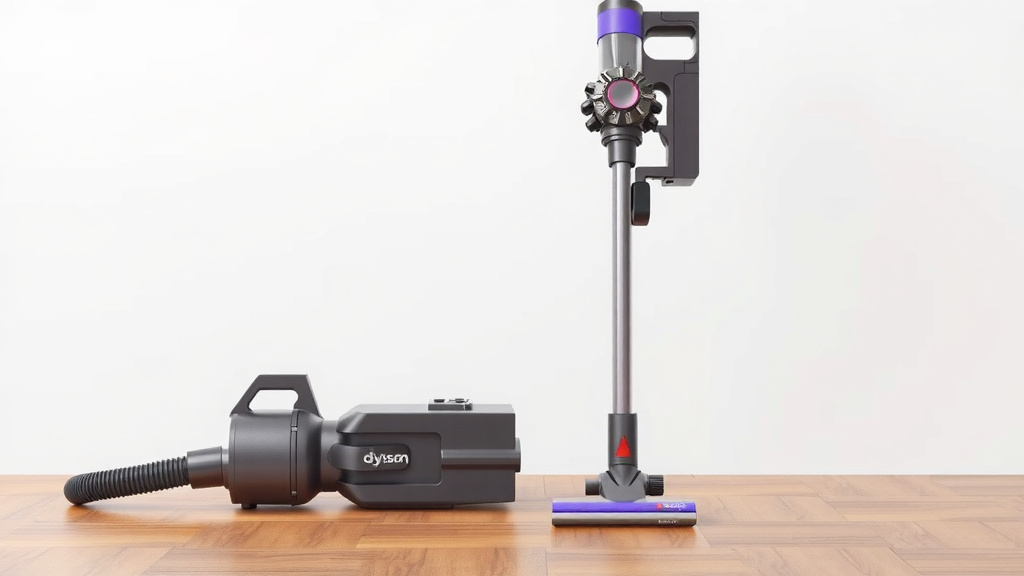
- The Bin Assembly (or main body): This is the part that holds the dirt. It often includes the motor and the cyclone technology.
- The Wand: This is the long, often colorful, pipe that extends the reach of your vacuum.
- The Cleaner Head (or floor tool): This is the part that actually sucks up dirt from your floors. It might look slightly different depending on your specific Dyson model.
- The Battery: Your Dyson will have a rechargeable battery, which might be pre-attached or a separate piece.
- The Charger: This is what you’ll use to power up your vacuum’s battery.
Sometimes, there are also smaller attachments included, like crevice tools or brush heads. For basic assembly, focus on these larger, primary components first. They are the ones that make the vacuum functional.
Connecting the Wand to the Bin Assembly
This is often the first major connection you’ll make. Look at the top of your bin assembly. You should see a slot or a connection point designed to receive the wand. The wand usually has a wider end designed for this connection.
Simply align the wand with the opening on the bin assembly. You should feel it slide in. Give it a gentle push until you hear or feel a distinct click. This click is important; it tells you the two parts are securely locked together. Many experts recommend giving a gentle tug to ensure it’s firmly attached, preventing any accidental disconnections during use (Dyson Support).
Attaching the Cleaner Head
Now, let’s attach the part that does the heavy lifting – the cleaner head. Take your assembled wand and bin unit. Look at the bottom of the wand. There will be another connection point here.
The cleaner head usually has a specific slot or pipe that fits onto the bottom of the wand. Again, align the parts carefully. You might need to twist or angle it slightly to get the perfect fit. Push it firmly until you hear that satisfying ‘click’. This ensures the suction path is clear and the cleaner head is securely attached for efficient cleaning.
Different Cleaner Head Types
Dyson offers various cleaner heads for different floor types. For example, some are designed for both carpets and hard floors, while others might be specialized. Regardless of the type, the assembly process to the wand remains largely the same. You’re looking for that secure, clicking connection.
Handling the Battery and Charger
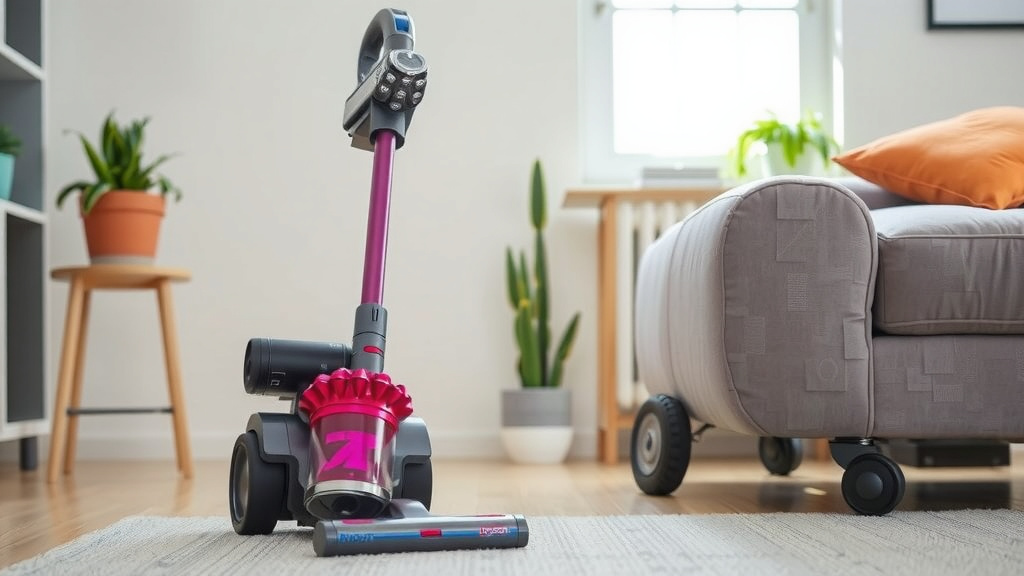
Your Dyson vacuum relies on its battery for power. Some models come with the battery already installed in the main body. Others require you to slide it into a designated slot. You’ll usually find a button or latch to release the battery, and it will click into place when inserted correctly.
The charger is also straightforward. It typically consists of a plug and a charging dock or cable. You’ll need to charge the battery fully before your first use. The manual will show you the best way to connect the charger to the battery or the vacuum itself. Most Dyson batteries are designed to be charged while attached to the vacuum, often mounted on a wall dock. This makes recharging super convenient.
Final Checks for Secure Assembly
Once you’ve connected the main parts, it’s wise to do a quick check. Are all the connections firm? Did you hear that ‘click’ at each stage? A secure assembly is key for your vacuum’s performance and your safety. We found that giving each connected part a gentle wiggle confirms they are locked in place. This prevents them from coming apart during vigorous cleaning sessions.
Common Assembly Checklist
Here’s a quick rundown to ensure you’ve got it right:
- Did the wand click firmly onto the bin assembly?
- Did the cleaner head click securely onto the wand?
- Is the battery properly seated and locked?
- Are there any loose parts that seem out of place?
- Does the vacuum feel solid and well-connected?
If you answered ‘yes’ to these, you’re almost ready to clean! Your Dyson vacuum is designed with user-friendliness in mind, so this process should feel quite intuitive.
| Part | Connection Point | Confirmation |
|---|---|---|
| Wand | Top of Bin Assembly | Audible ‘click’ and firm attachment |
| Cleaner Head | Bottom of Wand | Audible ‘click’ and secure fit |
| Battery | Designated slot on main body | Audible ‘click’ and locked in place |
Following these steps ensures your Dyson vacuum cleaner is assembled correctly. This setup is vital for optimal suction power and an enjoyable cleaning experience. You’re now ready to tackle dust and debris like a pro!
Conclusion
You’ve successfully navigated the assembly of your Dyson vacuum cleaner! We’ve seen how Dyson’s smart design makes connecting the wand, bin, and cleaner head a simple, tool-free process. Remember that satisfying ‘click’ is your confirmation of a secure fit, which is essential for optimal suction and a smooth cleaning experience. Ensure your battery is properly seated and charged. Now that your Dyson is ready to go, you can confidently tackle any mess. Your next step is to simply power it on and start cleaning!
Frequently Asked Questions
Do I need any tools to assemble my Dyson vacuum?
No, you typically won’t need any tools to assemble your Dyson vacuum cleaner. Dyson products are designed for intuitive assembly, relying on click-together parts. You can usually get your vacuum ready for use straight out of the box.
What if a part doesn’t seem to click into place?
If a part doesn’t click, double-check that you’re aligning it correctly with the intended connection point. Sometimes, a slight angle or gentle twist is needed. Ensure no packaging material is obstructing the connection. Consult your specific model’s manual if you continue to have trouble.
How do I know if the battery is installed correctly?
When the battery is installed correctly, you should hear a distinct ‘click’ as it locks into place. Most Dyson batteries have a visible latch or button that engages. A secure fit is vital for proper charging and power delivery to your vacuum.
My Dyson vacuum came with extra attachments. Do I need to assemble those too?
For basic assembly, you focus on the main components like the wand, bin, and cleaner head. Most extra attachments, like crevice tools or brush heads, simply slot into place without needing to ‘click’ or lock. They’re ready to use when you need them for specific cleaning tasks.
Can I use my Dyson if the battery isn’t fully charged?
You can often use your Dyson vacuum for a short period even if the battery isn’t fully charged. However, for the best performance and longest run time, we recommend charging the battery completely before your first extensive cleaning session. This ensures you get the most power out of your machine.


![7 Best Handheld Vacuum For Dorm Rooms [2026]](https://bathroomexplorer.com/wp-content/uploads/2026/05/7-best-handheld-vacuum-for-dorm-rooms-2026-featured-768x432.jpg)