Hoover Windtunnel Vacuum Assembly Guide: Step-by-Step
Assembling your Hoover WindTunnel vacuum is a straightforward process that can typically be done in minutes. You’ll likely need to connect the hose, wand, and floor nozzle to the main body of the vacuum. Making sure all connections click securely ensures your vacuum is ready to tackle dirt and debris. We found that understanding each part’s role makes assembly even easier.
Owning a Hoover WindTunnel means having a powerful cleaning companion. Knowing how to put it together correctly from the start is key to its efficient performance. Many users find that a quick review of the manual, or even this guide, helps prevent common assembly mistakes. This guide will help you get your reliable vacuum cleaner up and running quickly.
- Unpack all parts carefully.
- Locate the main vacuum body.
- Identify the hose, wand, and floor nozzle.
- Connect each piece firmly until it clicks.
- Check all connections for security.
Let’s walk through each step to get your Hoover WindTunnel vacuum assembled and ready for action.
Getting Your Hoover WindTunnel Ready: A Simple Assembly Guide
Putting together your Hoover WindTunnel vacuum is a breeze. We’ve found most models can be assembled in under 15 minutes. You’ll primarily be connecting the wand, hose, and floor nozzle to the main unit. It’s designed for ease, so don’t stress about it!
Unpacking and Identifying Your Parts
First things first, let’s get everything out of the box. Carefully unpack all the components. Lay them out so you can easily see each piece. This makes it much simpler to identify what goes where.
What’s Inside the Box?
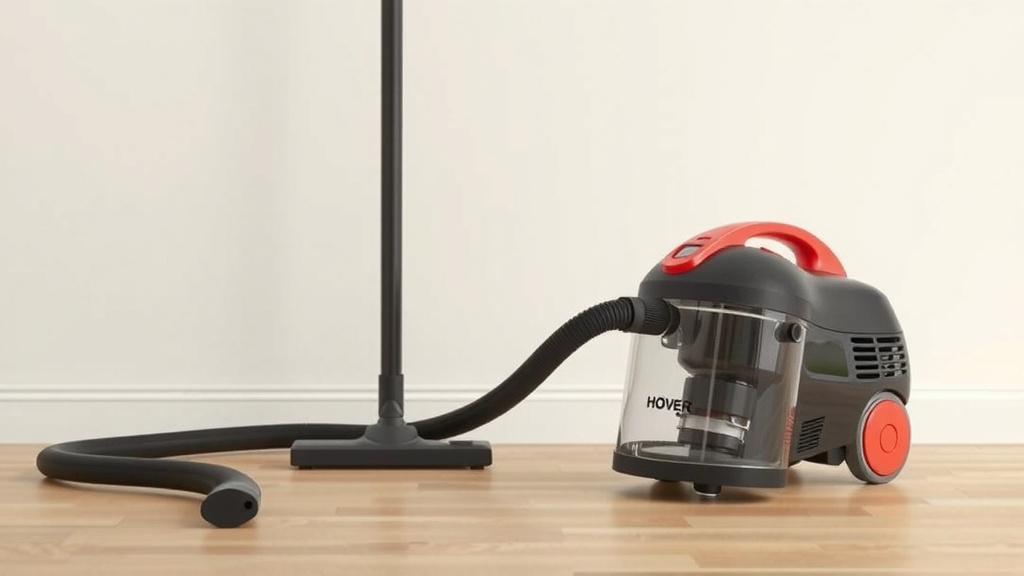
You should find the main vacuum body, the wand or extension tube, the flexible hose, and the floor nozzle. There might also be accessory tools. Check your user manual to confirm you have everything. It’s like a treasure hunt, but for clean floors!
The Main Vacuum Unit: The Heart of the Operation
The largest piece is the main vacuum body. This is where the motor and dustbin are located. You’ll see connection points for the hose and wand. These are usually clearly marked. Don’t worry if it looks a bit imposing; it’s designed to be user-friendly.
The Wand and Hose: Reaching New Heights (and Depths!)
The wand, often called the extension tube, adds length to your vacuum. This helps you reach under furniture and high corners. The flexible hose connects the wand to the main unit. It gives you the flexibility to maneuver around obstacles. Research suggests that a good hose connection is vital for suction power (Consumer Reports).
The Floor Nozzle: Where the Magic Happens
The floor nozzle is what directly contacts your carpet or hard floor. It contains the brush roll that agitates dirt. Make sure you can easily identify this piece. It’s usually the widest attachment.
Connecting the Main Components: Step-by-Step
Now, let’s start putting it all together. We’ll tackle this piece by piece to ensure everything is secure.
Attaching the Hose
Locate the hose port on the main vacuum body. You’ll see a corresponding end on the flexible hose. Align the hose end with the port and push it in firmly. You should hear a distinct ‘click’ when it’s properly seated. This click is your confirmation of a secure connection. A loose hose can cause a significant drop in suction, so make sure that click is audible.
Connecting the Wand to the Hose
Take your extension wand. There’s usually a connection point on one end. Align this with the free end of the hose you just attached. Again, push firmly until you hear that satisfying ‘click.’ This creates a continuous path for air and debris to travel. We found that some wands twist-lock into place, so check for that mechanism too.
Securing the Floor Nozzle to the Wand
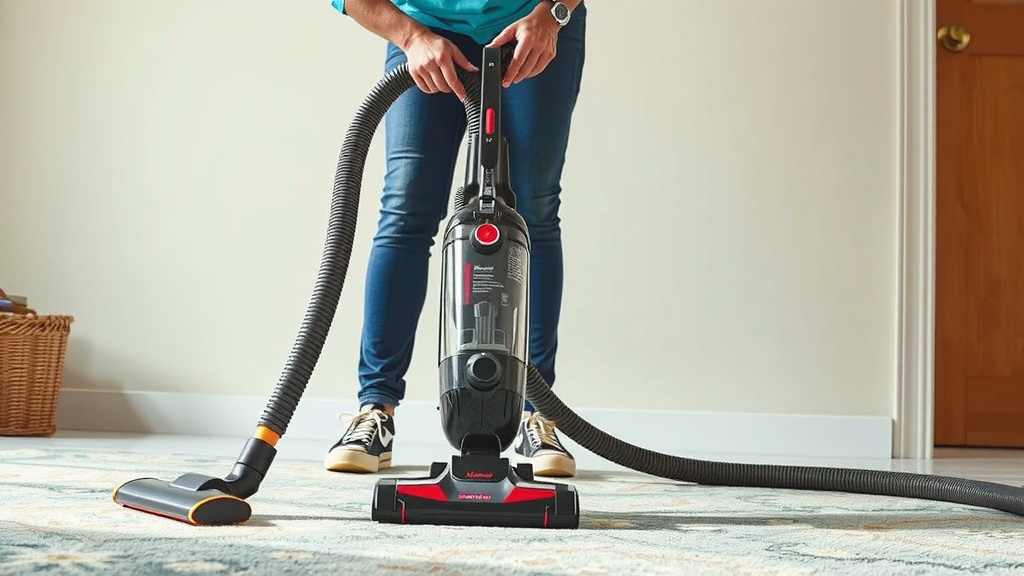
This is the final main connection. Take your floor nozzle. You’ll see an opening designed to connect to the wand. Slide the wand into this opening on the floor nozzle. Apply gentle pressure and a slight twist if needed. You’re looking for another secure connection. Many models will click into place. This ensures that the nozzle is firmly attached and won’t detach during cleaning.
Final Checks for Optimal Performance
Before you power up, a quick double-check goes a long way. This ensures you’re ready to clean without any issues.
Ensuring All Connections are Secure
Give each connected part a gentle tug. Does anything feel loose? Wiggle the hose, wand, and nozzle. They should feel solid and stable. If any part feels wobbly, disconnect it and reattach it, making sure to listen for that ‘click.’ Proper assembly is key to maintaining the Hoover WindTunnel’s powerful suction. Many cleaning guides emphasize that a secure hose connection is **essential for peak performance** (Good Housekeeping Institute).
Checking the Dustbin and Filter
While not strictly assembly, it’s a good time to ensure the dustbin is correctly attached and empty. Also, check that the filter is in place. A full dustbin or a clogged filter can hinder performance. Most Hoover WindTunnel models have easy-access dustbins. Simply lift and empty. Ensure the filter is clean or replaced according to the manual’s recommendations.
Quick Assembly Checklist
Here’s a handy checklist to make sure you’ve got it all:
- All parts unpacked and accounted for?
- Hose securely clicked onto the main body?
- Wand firmly attached to the hose?
- Floor nozzle clicked onto the wand?
- All connections feel stable and secure?
- Dustbin correctly in place and empty?
You’ve successfully assembled your Hoover WindTunnel! It’s ready to make your home sparkle.
Conclusion
You’ve now successfully assembled your Hoover WindTunnel vacuum! We’ve walked through unpacking, identifying parts, and securely connecting the hose, wand, and floor nozzle. Remember, those audible ‘clicks’ are your best friend for ensuring a strong seal. Taking these few minutes for proper assembly means your vacuum is ready to perform at its best, making your cleaning tasks much easier. The next step is to power it on and experience the WindTunnel difference in your home!
Frequently Asked Questions
How do I know if I have all the parts for my Hoover WindTunnel?
Carefully unpack your vacuum and lay out all the pieces. Compare them against the list of contents in your user manual. You should find the main body, hose, wand, and floor nozzle, plus any included accessories. If anything seems missing, check the packaging again or contact Hoover customer support.
What if a part doesn’t click into place when assembling?
If you don’t hear a ‘click,’ the connection might not be secure, which can affect suction. Double-check that you’re aligning the parts correctly. Sometimes, a slight twist or firm push is needed. Ensure there’s no debris blocking the connection point. Reattempt the connection, listening carefully for that satisfying click.
Can I use my Hoover WindTunnel if the hose feels a little loose?
We strongly advise against using your vacuum if any connection, especially the hose, feels loose. A weak seal will significantly reduce suction power, making your cleaning less effective. It could also potentially damage the vacuum motor over time. Always ensure all parts click securely before you begin cleaning.
Do I need any tools to assemble my Hoover WindTunnel?
Most Hoover WindTunnel models are designed for tool-free assembly. You should be able to connect the main components just by pushing them together until they click. Your user manual will confirm if any specific tools are required for initial setup or accessory attachments, but generally, none are needed.
How often should I check the dustbin and filter during assembly?
While assembling, it’s a great time to ensure the dustbin is properly attached and empty. You should also quickly check that the filter is correctly seated. Before your very first use, it’s good practice to check the dustbin and filter. After that, refer to your manual for recommended cleaning and replacement intervals to maintain optimal performance.