How to Attach Shark Vacuum Accessories Easily
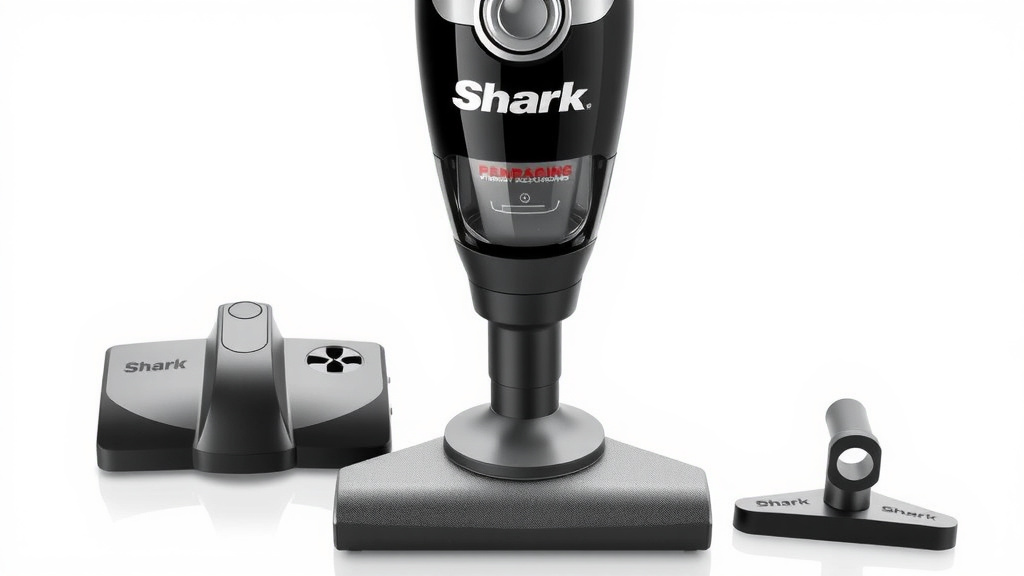
Attaching accessories to your Shark vacuum is usually a simple click. Most Shark models have a quick-release system. You’ll typically find a button or latch on the wand or the main unit. Pressing this will often allow you to detach or attach various tools. It’s designed to make switching between tasks quick and easy.
Getting the right attachment on your Shark vacuum is key. It helps you tackle everything from dusty shelves to stubborn pet hair. Many Shark vacuums come with a set of accessories. You might have crevice tools, dusting brushes, or even specialized pet tools. Understanding how they connect makes your cleaning routine much more efficient. You want to make sure you have the right tool for the job.
- Most Shark accessories click into place.
- Look for a release button or latch.
- Wands and main units often have connection points.
- Ensure the accessory is fully seated for a secure fit.
Let’s walk through exactly how to connect those handy Shark vacuum attachments to make cleaning a breeze.
Connecting Your Shark Vacuum Attachments Like a Pro
You’ve got your Shark vacuum, ready to tackle messes. But how do you actually get those cool accessories attached? It’s simpler than you think. We’ll guide you through the process. You’ll be swapping tools in seconds. This ensures you’re always using the right tool for the job.
Understanding Your Shark Vacuum’s Attachment System
Most Shark vacuums use a straightforward system. They are designed for ease of use. Think of it like LEGOs, but for cleaning! You’ll often find a specific point on the wand or the main body of the vacuum where attachments connect. This connection point is usually designed with a locking mechanism.
Locating the Connection Point
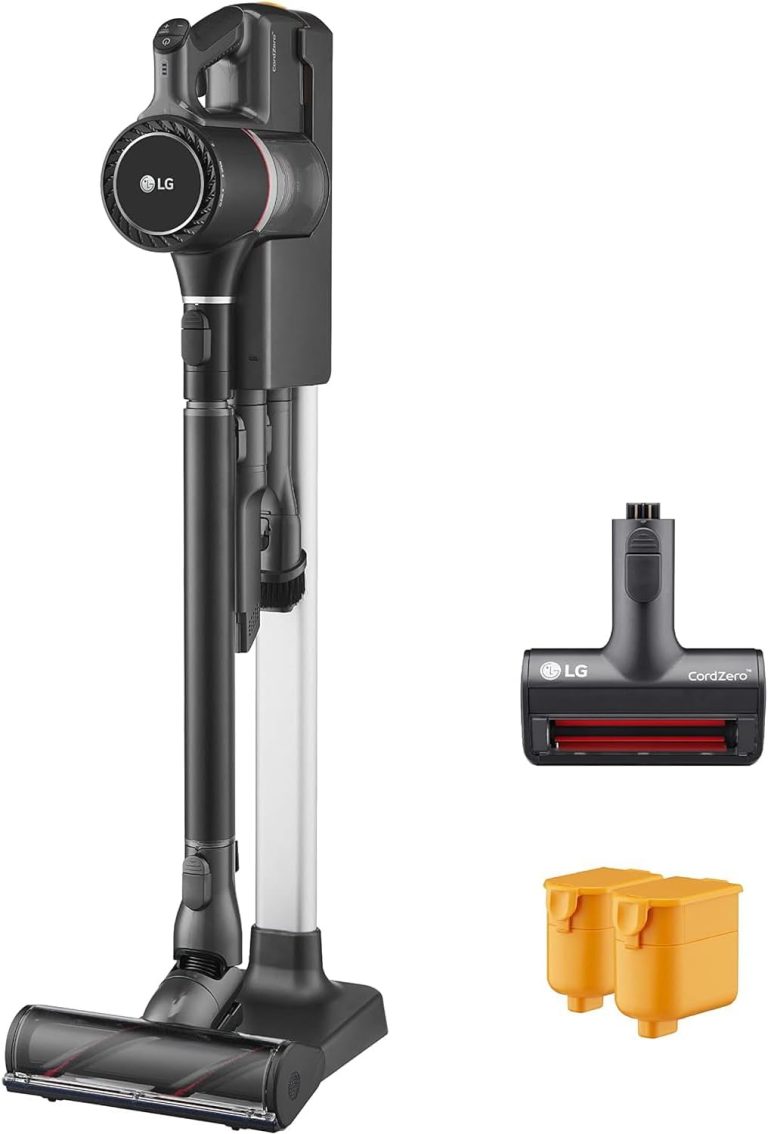
Take a look at your vacuum’s wand. This is that long, usually metallic tube. You’ll often see a flared end or a specific housing. This is where most attachments slide or click onto. Some upright models might also have a port on the main unit itself. This is for attachments used when the vacuum isn’t in its upright configuration.
The ‘Click’ You’re Listening For
When you’ve lined up an attachment correctly, you’ll feel and hear a satisfying click. This click means the accessory is securely locked in place. It’s important to ensure this click happens. A loose attachment won’t work effectively and could even fall off.
Attaching Common Shark Vacuum Accessories
Shark offers a variety of tools. Each is designed for a specific cleaning task. Knowing how they connect makes a big difference in your cleaning routine. We’ve found that most attachments follow a similar pattern.
The Crevice Tool
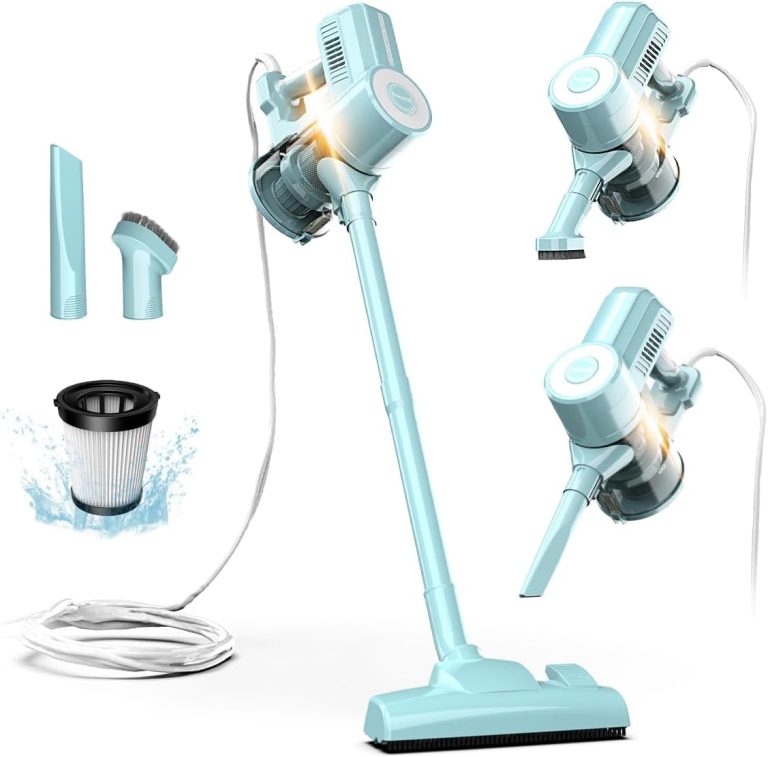
This skinny tool is your best friend for tight spots. Think between couch cushions or along baseboards. To attach it, find the end of the wand. You’ll likely need to push the crevice tool’s connector firmly into this end. You should feel it slide in smoothly. Then, apply a bit more pressure until you hear that reassuring click. If it doesn’t click, it might not be fully seated. Give it another gentle push.
The Dusting Brush
Got delicate surfaces like lampshades or blinds? The dusting brush is perfect. It usually has soft bristles. The attachment process is the same as the crevice tool. You’ll push the connector end into the wand. Make sure it’s snug. Then, push until you hear the locking sound. This prevents the brush from spinning off when you’re dusting at an angle.
The Upholstery Tool
For your furniture, this tool is a lifesaver. It’s wider than the crevice tool and often has a fabric strip. Attach it to the wand just like the others. Push it in firmly. Listen for the click. This ensures it won’t detach while you’re cleaning your sofa or car seats. Many users find this tool significantly improves furniture cleaning efficiency.
Pet Hair Attachments (Pet Power Brush)
If you have furry friends, these are essential. Shark’s pet tools often have rotating brushes. They are designed to grab stubborn pet hair. Attaching these follows the same reliable method. Align the connector with the wand or hose. Push until it clicks into place. A secure connection is key for these tools to work their magic. We found that this type of attachment really helps in reducing allergens.
Detaching Accessories: Just as Easy!
Removing an accessory is usually just as simple as attaching one. On most Shark wands, you’ll find a release button or a small lever. It’s often located near where the accessory connects.
Press and Pull
Find that button or lever. Press it down firmly. While holding the button, gently pull the accessory away from the wand. It should slide out with minimal effort. If it feels stuck, don’t force it. Double-check that you’re pressing the correct button and that nothing is jamming the mechanism. A quick twist might help dislodge it sometimes.
Troubleshooting Difficult Releases
Sometimes, an attachment might feel a bit stiff. This can happen if dust or debris gets into the connection point. Try wiggling the attachment gently while pressing the release button. If that doesn’t work, a quick wipe around the connection area with a damp cloth can help. Allow it to dry completely before reattaching anything. We found that regular cleaning of the attachment points keeps everything running smoothly.
Special Considerations for Different Shark Models
While the basic principle is the same, some Shark models have unique features. Always refer to your specific user manual for detailed instructions. This is especially true for newer or more advanced models.
Handheld Vacuums
For handheld Shark vacuums, attachments often connect directly to the main unit. There might not be a separate wand. The connection point is usually obvious. You’ll simply push the tool onto the nozzle until it clicks. Detaching involves pressing a release button on the unit, similar to the wand release.
Cordless Stick Vacuums
Cordless models often offer the most versatility. You might attach tools directly to the stick, to the floorhead assembly, or to the motor unit when it detaches for handheld use. The release and attachment methods are consistent across these points. Just look for the designated connection spots.
A Quick Checklist for Secure Attachment
To make sure you’re attaching your Shark vacuum accessories correctly every time, keep this checklist handy:
- Locate the connection point on your vacuum’s wand or main unit.
- Align the accessory connector with the vacuum’s connection point.
- Push firmly until you feel and hear a distinct click.
- Give a gentle tug to confirm the accessory is securely attached.
- To detach, locate and press the release button.
- Pull the accessory straight out.
By following these simple steps, you’ll be an accessory-swapping pro in no time! This makes your cleaning routine more efficient and helps you get the most out of your Shark vacuum. What will you clean first?
Conclusion
You’ve now mastered the art of attaching and detaching accessories for your Shark vacuum. Remember, it’s all about that satisfying click and the quick press of a release button. Using the right tool for the job makes cleaning faster and more effective. We’ve seen how simple it is to swap between the crevice tool for tight spaces and the dusting brush for delicate surfaces. With these skills, you’re ready to tackle any mess your home throws at you. Your next step? Grab your vacuum and put your newfound knowledge to work on your most challenging cleaning task!
Frequently Asked Questions
What if an accessory doesn’t click into place on my Shark vacuum?
If an accessory doesn’t click, ensure you’re aligning it correctly with the connection point. Try giving it a firm, even push. Sometimes, a bit of dust can get lodged in the connector, so a quick wipe of both the accessory and the vacuum port might help. Don’t force it, as this could damage the parts.
Can I use accessories from a different brand of vacuum with my Shark?
Generally, it’s best to stick with Shark-branded accessories for your Shark vacuum. Different brands have unique connector sizes and designs. Using incompatible accessories might not create a secure fit, leading to poor performance or potential damage to your vacuum or the attachment itself.
How do I clean the connection points for my Shark vacuum accessories?
You can easily clean the connection points with a damp cloth. After unplugging your vacuum, gently wipe down the part of the wand or main unit where the accessories attach. Make sure the area is completely dry before reconnecting any tools to prevent debris from sticking or causing issues.
My Shark vacuum has multiple wands; do accessories attach differently?
Most Shark vacuums maintain a consistent connection system across their wands and main units. You’ll typically find the same type of attachment port on different wands. Always look for the visual cues like a flared end or a specific housing, and listen for that familiar click to confirm a secure fit.
Is there a way to make detaching accessories easier if they feel stuck?
If an accessory is difficult to remove, first ensure you are pressing the release button completely. Gently wiggling the attachment while pressing the button can sometimes help dislodge it. Avoid excessive force. If debris is suspected, carefully inspect and clean the connection area before trying again.