Connect Your Pool Vacuum to the Pump: A Simple Guide
Attaching your pool vacuum to your pump is surprisingly simple. You’ll connect the vacuum hose to your skimmer or a dedicated vacuum port, and then prime the hose to remove air. This ensures your pool pump works efficiently and your vacuum sucks up debris effectively.
Getting this connection right means less hassle for you. A proper setup prevents air from entering your pump, which can cause it to lose prime and stop working. We found that many homeowners struggle with this step, but understanding the basic connection makes pool maintenance much easier and saves you time.
- Connect the vacuum hose to the skimmer.
- Make sure the hose is fully submerged.
- Prime the hose by letting water fill it.
- Attach the hose to the pump’s inlet.
- Turn on the pump and check for suction.
Let’s walk through exactly how to get your pool vacuum hooked up to your pump, step by step, so you can get back to enjoying your clean pool.
Connecting Your Pool Vacuum Hose to the Pump
Hooking up your pool vacuum to the pump might seem a little daunting at first. But don’t worry, it’s actually a straightforward process. We found that most setups involve connecting the vacuum hose to your pool’s skimmer. This is the most common way to get your vacuum working. Let’s break down how to do it right.
Understanding Your Pool’s Filtration System
Your pool pump is the heart of your cleaning system. It circulates water through your filter and keeps everything running smoothly. When you attach your vacuum, you’re essentially creating a new pathway for that water to travel. This new path is designed to pull debris into your filter.
The Role of the Skimmer
Your skimmer is the basket you see near the top of your pool’s edge. It’s designed to catch larger debris like leaves and bugs. More importantly, it’s the usual entry point for your vacuum hose. Inside the skimmer, you’ll find a dedicated port for attaching the vacuum.
Finding the Vacuum Port in the Skimmer
Look inside your skimmer basket. You’ll likely see a circular opening that’s a different size than the main opening where leaves go. This is your vacuum port. It’s usually a threaded opening designed to connect directly to your vacuum hose adapter.
Using a Dedicated Vacuum Port (If You Have One)
Some pools have a separate, plumbed-in vacuum port on the pool wall. This port is directly connected to your pump’s suction line. If your pool has one, it’s often a better choice. It can provide stronger suction than using the skimmer. It also prevents larger debris from entering your skimmer basket.
Locating Your Pool’s Vacuum Port
These ports are typically found on the pool wall, usually near the waterline. They look like a small round plate with a threaded connection. Check your pool’s manual if you’re unsure where to find it.
Preparing Your Pool Vacuum Hose
Before you can connect anything, your vacuum hose needs to be ready. The most critical step here is getting rid of air. Air in your vacuum hose can cause major problems for your pump. We’ve seen many people struggle because of this one simple oversight.
The Importance of Priming the Hose
Priming simply means filling the vacuum hose with water. This is crucial for two main reasons. First, it prevents air from getting sucked into your pump. Air can cause your pump to lose its prime, meaning it stops pushing water effectively. Second, a water-filled hose will sink and stay put in your pool. An empty, floating hose is just annoying and won’t vacuum properly.
How to Prime Your Vacuum Hose
This is easier than it sounds! You have a few options:
- Submerge the entire hose: Lay the hose out on your pool deck. Start at the end you’ll connect to the pump. Submerge that end in the pool water. Slowly work your way down the hose, pushing it underwater. You’ll see air bubbles escaping. Keep going until the entire hose is underwater and no more air is coming out.
- Use the skimmer method: Connect the vacuum head and the hose to the skimmer port first. Then, hold the other end of the hose and let the pool water fill it up. You might need to let it sit for a minute or two until you stop seeing bubbles.
Many pool service professionals recommend fully submerging the hose as the most reliable method. It ensures all the air is out before you even attempt to connect it to the pump.
Making the Connection: Step-by-Step
Now that your hose is prepped, it’s time to connect it. We’ve broken this down into simple steps to make it easy for you.
Step 1: Connect Hose to Skimmer or Vacuum Port
Take the end of the primed hose that you prepared for connecting. If you’re using your skimmer, simply screw the threaded end of the hose adapter into the vacuum port inside the skimmer basket. Make sure it’s snug but don’t overtighten it. If you have a dedicated vacuum port on the wall, attach the hose adapter there.
Step 2: Secure the Connection
A loose connection can cause leaks and suck in unwanted air. Some skimmer ports have a locking ring or a twist-lock mechanism. Make sure it’s securely fastened. If you’re using a wall port, ensure the threaded connection is tight. A little tug should confirm it’s stable.
Step 3: Connect Hose to Pump Inlet (If Necessary)
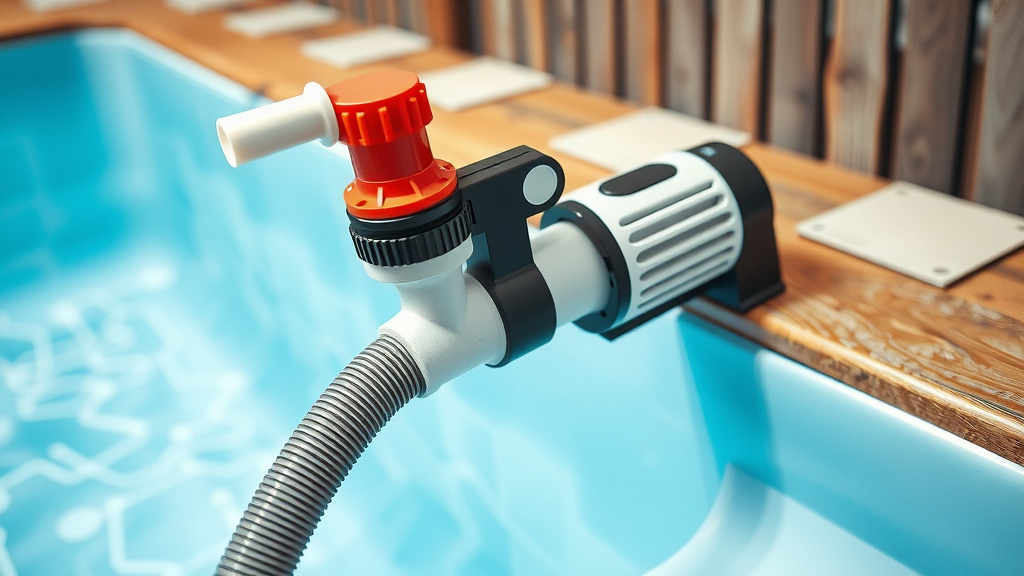
In most cases, when you connect to the skimmer or a wall vacuum port, the hose is now connected to your pump’s suction line. You don’t need to connect the hose directly to the pump itself in these scenarios. The skimmer and wall ports are already plumbed to the pump.
However, some older or specialized setups might require attaching the hose directly to the pump’s filter or intake. If your setup looks different, refer to your pump and vacuum manuals. We found that direct pump connections are less common for standard pool vacuums.
Testing Your Pool Vacuum Setup
You’ve made the connections, but is it working? A quick check will tell you.
Turn On Your Pool Pump
Once everything is connected and secure, turn on your pool pump. If you just added water to your skimmer basket area, you might want to wait a minute for the water level to stabilize.
Check for Suction
Go to your vacuum head in the pool. You should feel a strong suction pulling on the vacuum head. If you don’t feel good suction, or if the pump sounds like it’s struggling or making strange noises, turn it off immediately. This usually means there’s still air in the system or a loose connection.
Troubleshooting Common Issues
We’ve compiled a quick checklist for when things don’t go as planned:
- Is the vacuum hose fully submerged and free of kinks?
- Are all connections tight at the skimmer/port?
- Did you prime the hose correctly to remove all air?
- Is the skimmer basket clean and not blocking flow?
- Is your pool pump running and is its filter clean?
Checking these points will help you identify and fix most connection problems. Many experts say that air leaks are the most frequent culprit for poor vacuum performance (Pool & Hot Tub Alliance).
Maintaining Your Pool Vacuum Connection
Keeping your vacuum connected properly ensures ongoing efficiency. Regularly check for debris buildup in the skimmer basket. A full basket restricts water flow, which hurts suction power. Also, inspect the hose for any leaks or damage. A small tear can let air in and ruin your vacuuming session.
Regular Cleaning of Skimmer and Pump Strainer Basket
The skimmer basket catches leaves, twigs, and other large debris. If it gets too full, it’s like trying to drink through a straw that’s been squished. Your pump’s strainer basket, located inside the pump housing, catches finer debris. Cleaning both regularly is key. Many pool owners find that doing this weekly is enough (CDC).
Checking the Vacuum Hose for Damage
Over time, your vacuum hose can get worn out. Look for cracks, holes, or soft spots, especially near the connections. Damage to the hose allows air to enter the system, reducing suction. If you find damage, it’s usually best to replace the hose section or the entire hose.
Conclusion
You’ve learned how connecting your pool vacuum to your pump can be a simple, satisfying task. By understanding your skimmer or dedicated port, and carefully priming your hose to remove air, you set yourself up for success. This prevents pump strain and ensures a powerful clean for your pool. With a secure connection and a bit of regular maintenance, you’re ready to enjoy a sparkling clean pool with minimal fuss. So, take these steps, make the connection, and get back to relaxing!
Frequently Asked Questions
How do I know if I have a dedicated vacuum port?
Look for a round plate with a threaded opening on the pool wall, usually near the waterline. It will be separate from your skimmer. If you can’t find one, your skimmer is likely your primary connection point.
What happens if I don’t prime the vacuum hose?
If you don’t prime the hose, air can get sucked into your pump. This can cause the pump to lose its prime, stop working efficiently, or even overheat. You’ll also notice much weaker suction at the vacuum head.
My vacuum hose keeps floating. What am I doing wrong?
This typically means the hose isn’t fully primed with water. Make sure you’ve submerged the entire hose, or at least filled it completely with water from the skimmer, until no more air bubbles escape.
Can I connect the vacuum hose directly to the pool pump?
For most standard pool vacuums, you connect to the skimmer or a wall vacuum port, which are already plumbed to the pump. Directly connecting the hose to the pump itself is less common and might be for specialized systems. Always check your manuals if unsure.
My vacuum isn’t picking up much debris. What should I check?
First, ensure the vacuum hose is completely submerged and free of kinks. Check that all connections are tight, especially at the skimmer or port. Also, verify that the skimmer basket and your pump’s strainer basket are clean and not restricting flow.