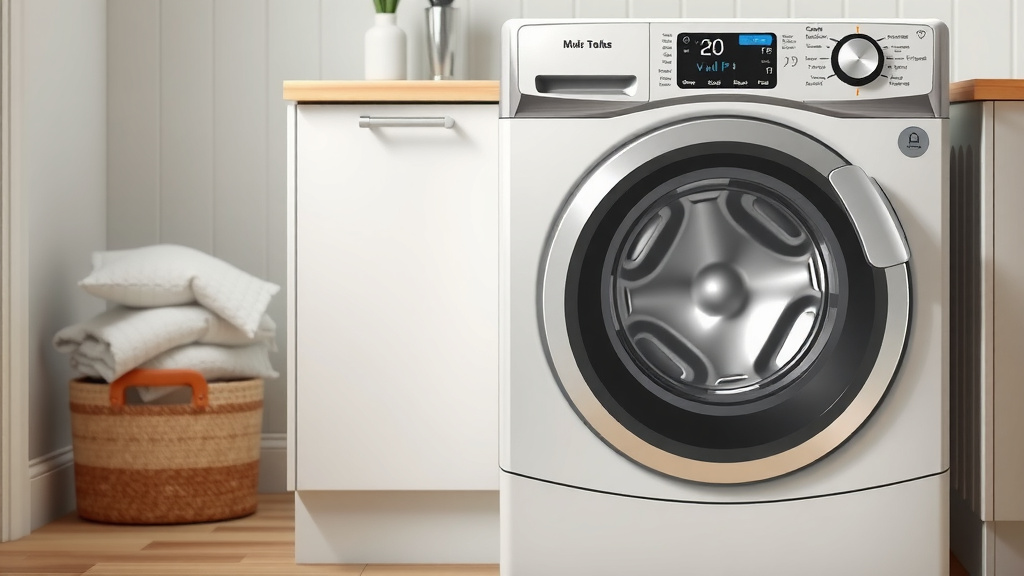
Setting Up Your Front Loader Washing Machine: A Simple Guide
Setting up your new front loader washing machine is easier than you think. The key is to ensure it’s level and properly connected to water and drain lines. You’ll need to remove shipping bolts before your first wash to prevent damage.
Getting this right from the start means smoother operation and a longer lifespan for your appliance. Many people overlook the leveling step, which can lead to excessive vibration and noise. We found that taking a little extra time now saves a lot of headaches later.
- Remove shipping bolts.
- Level the machine.
- Connect water supply.
- Connect drain hose.
- Run a test cycle.
Ready to get your laundry room humming? Let’s walk through exactly how to set up your front loader washing machine step by step.
So, you’ve got a shiny new front loader waiting to tackle your laundry! That’s fantastic. Getting it set up correctly is the first step to happy, efficient washing. We know unboxing and installing can feel a bit daunting, but don’t worry. We’ve broken down the process into simple, manageable steps. You’ll have your machine purring like a contented kitten in no time.
Installing Your New Front Loader Washing Machine
Setting up your front loader correctly ensures it runs smoothly and lasts longer. Following these guidelines will prevent common issues like excessive vibration or leaks.
Step 1: Remove Shipping Bolts – The Most Important First Step!
This is a critical step that many people accidentally overlook. Your new washing machine has shipping bolts installed to keep the drum stable during transit. If you don’t remove them, your machine will vibrate violently, potentially causing serious damage. Think of them as temporary braces for the drum. You absolutely must take them out before the first wash.
Where are they? Check the back of your machine. They are usually 3 to 5 bolts. Your owner’s manual will show you their exact location and how to remove them. Most require a wrench. Keep these bolts! You’ll need them if you ever move the machine again.
Step 2: Position Your Washing Machine Correctly
Now that the shipping bolts are out, it’s time to get your machine into its permanent spot. It needs to be close enough to the water hookups and the drain. Ensure there’s enough space around it for airflow and access. We recommend at least a few inches of clearance on the sides and back. This helps prevent overheating and makes future maintenance much easier.
Achieving a Level Surface
This is probably the most crucial part of the setup. A level machine runs quieter and more efficiently. An unlevel machine will shake, rattle, and roll right out of its spot! You can check if it’s level using a small spirit level. Place it on top of the machine, both front-to-back and side-to-side.
Most front loaders have adjustable feet. You’ll likely need to turn these feet up or down. This is often done with a wrench. You might need to slightly tilt the machine to access and adjust the feet. Adjust them until the bubble in your spirit level is perfectly centered in both directions. It might take a few tries to get it just right. We found that patience here pays off handsomely.
Step 3: Connect the Water Supply Hoses
You’ll need two hoses: one for hot water and one for cold water. Most machines come with them, but if yours didn’t, you’ll need to purchase them. Make sure they are the correct type and length. Check the ends of the hoses for rubber washers. These are essential for preventing leaks.
Attach the cold water hose to the cold water inlet valve on the back of your machine. It’s usually blue. Then, attach the hot water hose to the hot water inlet valve. This one is typically red. Connect the other ends of the hoses to your home’s hot and cold water supply valves. Turn the water on slowly and check for any drips or leaks. Tighten connections gently if needed. Many experts recommend replacing these hoses every 3-5 years to prevent bursting (Consumer Product Safety Commission).
Step 4: Connect the Drain Hose
Your front loader needs a way to get rid of the used water. The drain hose usually comes attached to the machine. You need to route it to your home’s standpipe or utility sink. Make sure the hose is securely in place and won’t pop out during the spin cycle.
The end of the drain hose should sit at least 30 inches above the machine’s base. It also needs to be no more than 96 inches from the base. This prevents siphoning and ensures proper drainage. A hose that’s too low can cause water to drain out too quickly. A hose that’s too high makes it hard for the pump to push water out. You can use a zip tie or a U-shaped hose guide to keep it positioned correctly. We found that a simple clamp often does the trick.
Step 5: Plug It In and Prepare for the First Wash
Once everything is connected, plug your washing machine into a grounded electrical outlet. Ensure the outlet is the correct voltage for your machine. Avoid using extension cords if possible. They can sometimes overheat or cause power issues.
Running a Test Cycle
Before you wash your first load of clothes, run a short test cycle. Use a small amount of detergent. This helps flush out any residual manufacturing fluids or debris. It also confirms that the water is filling, draining, and the machine is spinning correctly. Listen for any unusual noises. Check again for leaks around the hoses.
Step 6: Your First Load!
Now you’re ready for real laundry! Load your clothes, add your detergent, and select your cycle. You might notice your new machine runs much quieter and smoother than your old one, especially if it was a top-loader.
Here’s a quick checklist to ensure you haven’t missed anything:
- Shipping bolts removed?
- Machine is perfectly level?
- Water hoses connected securely?
- Drain hose properly positioned?
- Electrical plug is firmly in the outlet?
- Test cycle completed without issues?
You did it! Setting up your front loader washer is a satisfying task. You’ve successfully prepared it for years of reliable service. Enjoy your cleaner clothes!
Conclusion
You’ve successfully navigated the setup process for your new front loader washing machine! Remember, removing those shipping bolts and ensuring your machine is perfectly level are the most critical steps for smooth operation and longevity. Connecting your water and drain lines correctly prevents leaks and ensures efficient draining. By following these steps, you’ve set yourself up for years of reliable, quiet washing. Now, go ahead and load up that first real load of laundry – you’ve earned it!
Frequently Asked Questions
What if I can’t find my shipping bolts?
Your owner’s manual is your best friend here. It will have diagrams showing the exact location of the shipping bolts on your specific model. If you still can’t find them, double-check the back and sides of the machine near the drum. They are usually quite obvious once you know where to look.
My washing machine still vibrates a lot even after leveling. What else could be wrong?
Even with a level machine, if shipping bolts were left in, it will vibrate severely. If you’re certain the bolts are out, check that the flooring beneath the machine is solid and not warped. Sometimes, unevenly distributed laundry loads can also cause excess vibration during the spin cycle.
How often should I replace my washing machine hoses?
Experts and the Consumer Product Safety Commission generally recommend replacing your washing machine hoses every 3 to 5 years. Over time, rubber hoses can degrade, crack, or bulge, increasing the risk of a burst hose and water damage.
Can I use an extension cord for my washing machine?
It’s best to avoid extension cords for washing machines if at all possible. Washing machines draw a lot of power, and extension cords can overheat or not provide a stable enough electrical connection. Always try to plug directly into a grounded outlet of the correct voltage.
Is it okay if my drain hose is a little kinked?
No, a kinked drain hose can cause significant problems. It can prevent water from draining properly, leading to clothes staying wet or the machine leaving water in the drum. It also puts extra strain on your machine’s pump. Ensure the hose is smooth and free of obstructions for optimal drainage.