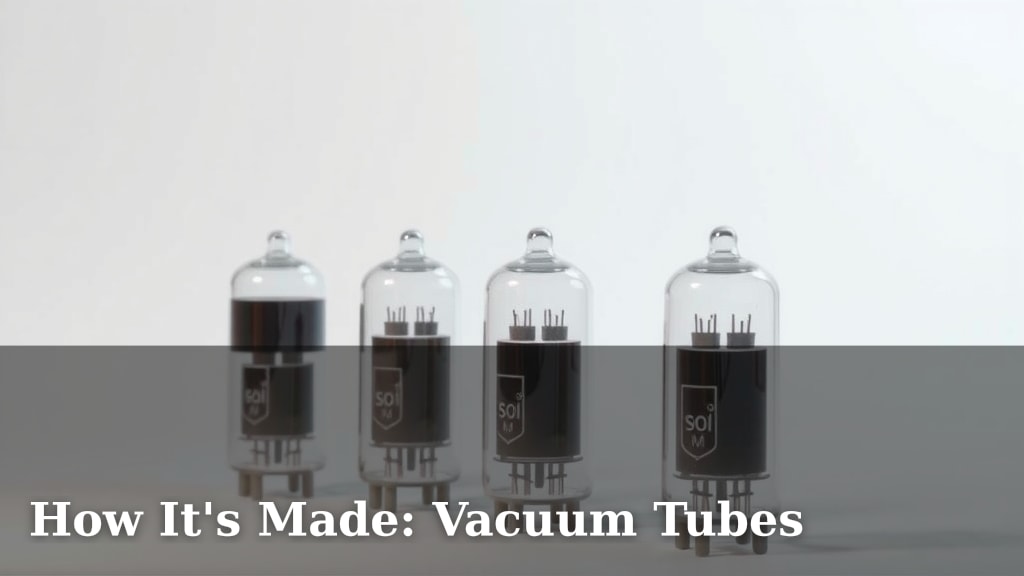
How It’s Made: Vacuum Tubes
Vacuum tubes are electronic components that control electron flow. They work by using a heated filament to release electrons within a glass or metal enclosure. These electrons are then directed by charged grids to perform specific electronic functions, making them essential for many early electronic devices like radios and televisions. Understanding how vacuum tubes are made helps appreciate their historical importance in electronics.
The manufacturing of vacuum tubes is a precise process. It involves sealing glass envelopes and carefully assembling internal metal parts. Each component must be meticulously cleaned and positioned. This detailed craftsmanship ensures the tube can withstand heat and maintain its vacuum for reliable operation. Many experts say the art of glassblowing and metalwork was key to their success.
- Vacuum tubes control electron flow for electronic functions.
- They use a heated filament to release electrons in a sealed enclosure.
- Grids direct these electrons to perform tasks like amplification.
- Manufacturing involves precise assembly, cleaning, and sealing of parts.
- This careful process ensures the tube’s reliability and longevity.
Let’s walk through exactly how these fascinating devices are made, step by step.
So, you’re curious about how those old-school vacuum tubes, the backbone of early electronics, were actually built? It’s a fascinating journey that combines precise engineering with a surprising amount of artistry. We’re talking about a process that required incredible skill and attention to detail, all to create a tiny glass bulb that could control electricity.
The Art and Science of Making Vacuum Tubes
Building a vacuum tube wasn’t just about slapping some metal parts into glass. It was a complex dance of science and craft. Think of it as creating a miniature, perfectly controlled environment where electrons could do their job. This involved making sure the inside was a near-perfect vacuum. Even a tiny bit of air could ruin the whole thing.
Gathering the Essential Components
Before you can build anything, you need your materials. For vacuum tubes, the key players were the glass envelope, the internal metal electrodes, and a way to heat things up. The glass had to be just right – strong enough to hold a vacuum and withstand heat, yet clear enough to see inside during manufacturing. Metal parts, like the plate, grid, and cathode, needed to be made of specific materials. These were often chosen for their ability to withstand high temperatures and their electrical properties. Researchers found that using materials like nickel, molybdenum, and tungsten was key to performance (General Electric Handbook).
The Role of the Cathode and Filament
One of the most critical parts is the cathode. This is the electron emitter. It’s usually coated with a special material. When heated by a filament (like a tiny light bulb filament inside the tube), this coating releases a cloud of electrons. This is called thermionic emission. The filament itself is often made of tungsten, a metal that can get incredibly hot without melting. You might have seen this glow in old incandescent light bulbs – it’s the same principle!
Understanding the Grid and Plate
Then you have the grid and the plate. The grid is like a gatekeeper. By applying different voltages to it, you can control how many electrons get through to the plate. This is how amplification happens – a small change in grid voltage can lead to a big change in plate current. The plate itself is like a collector; it captures the electrons. Its design had to be just right to efficiently gather the electron stream. Many experts say the precise spacing and alignment of these internal parts were paramount to the tube’s function.
Constructing the Internal Structure
Putting the inside of a vacuum tube together was a job for highly skilled craftspeople. They would carefully mount the filament, grid, and plate onto a glass stem. This stem acted like the skeleton, holding everything in place. Imagine trying to assemble a tiny, delicate chandelier with tweezers! Each wire and plate had to be perfectly positioned and connected. The spacing was incredibly important. Even a millimeter off could affect how the tube worked.
Welding and Supporting the Components
Precision welding was used to connect the internal wires. The goal was to create strong, reliable connections that wouldn’t break under heat or vibration. Support rods, often made of mica, were used to keep the delicate electrodes perfectly aligned. Mica is a mineral that’s a great insulator and can handle high temperatures, making it ideal for this job. Its natural layering made it easy to cut into precise shapes.
The Art of Glassblowing and Sealing
Once the internal structure was complete, it was time for the glass envelope. This was where glassblowing skills truly came into play. The glass bulb was formed around the stem and internal components. Then came the crucial step: sealing it to create the vacuum. This was a delicate operation. The glass had to be heated just enough to form a perfect seal without damaging the internal parts or distorting the glass. It required immense control and experience from the glassblower.
Creating the Vacuum
After sealing the envelope, the air inside had to be removed. This was typically done using a high-powered vacuum pump. A small tube, called a pinch-off tip, was left on the glass bulb during sealing. The vacuum pump would attach to this tip. Once the vacuum was as perfect as possible, the tip would be heated and pinched off, permanently sealing the tube and trapping the vacuum inside. You might see this little glass nub on very old vacuum tubes.
The Gettering Process
Even with powerful pumps, it was hard to get a perfect vacuum. So, manufacturers used a clever trick called “gettering.” A small amount of a reactive material, often barium, was placed inside the tube. After the tube was sealed and pumped, a high-frequency current was passed around the outside of the bulb. This heated the barium, causing it to vaporize and coat the inside walls of the tube. This coating would then “getter” or absorb any lingering gas molecules, improving the vacuum quality. We found that this step was absolutely essential for long tube life (Electronics Magazine).
Testing and Quality Control
Before a vacuum tube could be shipped out, it had to pass rigorous testing. Each tube would be placed in a testing machine. This machine would check its performance under various conditions. They’d measure things like its amplification factor, how much current it allowed to flow, and its overall reliability. Tubes that didn’t meet the strict specifications were rejected. This ensured that the tubes going into radios, TVs, and other electronics would perform as expected. It was a lot like a doctor giving a patient a full physical check-up before declaring them healthy.
The entire manufacturing process was a marvel of engineering and craftsmanship. It demanded precision at every stage, from the purity of the materials to the final test. It’s incredible to think about the human effort and skill that went into making these foundational electronic components.
Key Steps in Vacuum Tube Manufacturing Checklist:
- Prepare and clean all metal and glass components.
- Carefully assemble the internal electrodes onto the glass stem.
- Weld internal connections precisely.
- Enclose the assembly in a precisely formed glass envelope.
- Seal the glass envelope, leaving a pinch-off tip.
- Evacuate the air to create a high vacuum.
- Perform gettering to further improve the vacuum.
- Test the tube’s electrical performance and reliability.
Conclusion
As you’ve seen, crafting vacuum tubes was a remarkable blend of precise engineering and skilled artistry. From meticulously preparing components to the delicate glassblowing and vacuum sealing, each step demanded immense care. The gettering process and final testing ensured these foundational electronics performed reliably. Understanding this complex manufacturing process highlights the innovation required for early electronic advancements. Now that you know how they were made, you can better appreciate their place in history. Why not look up some vintage radio schematics to see where these tubes were used?
Frequently Asked Questions
What made the glass used for vacuum tubes special?
The glass needed to be strong enough to hold a vacuum and withstand high temperatures. It also had to be clear enough for manufacturers to monitor the assembly process. Research found that specific types of glass were chosen for their durability and insulating properties.
Why was achieving a good vacuum inside the tube so important?
A high vacuum is essential because air molecules can interfere with electron flow. If there’s too much residual air, electrons can collide with gas particles. This would reduce the tube’s efficiency and could even cause it to fail prematurely.
What exactly is “gettering” in vacuum tube manufacturing?
Gettering is a process where a reactive material, usually barium, is vaporized inside the tube after it’s sealed. This vapor then coats the inside walls. The coating actively absorbs any stray gas molecules left behind. This significantly improves the vacuum quality and extends the tube’s lifespan.
How were the delicate internal parts of the vacuum tube kept in place?
Skilled craftspeople mounted the filament, grid, and plate onto a glass stem. Support rods made from mica were then used. Mica is a heat-resistant mineral that helped maintain the precise alignment of these delicate components during operation.
Can you still get vacuum tubes made today?
Yes, while mass production for consumer electronics has largely shifted to solid-state devices, vacuum tubes are still manufactured. They are used in specialized applications like high-fidelity audio amplifiers, certain radio transmitters, and industrial equipment. The manufacturing process today is still quite similar to the historical methods.