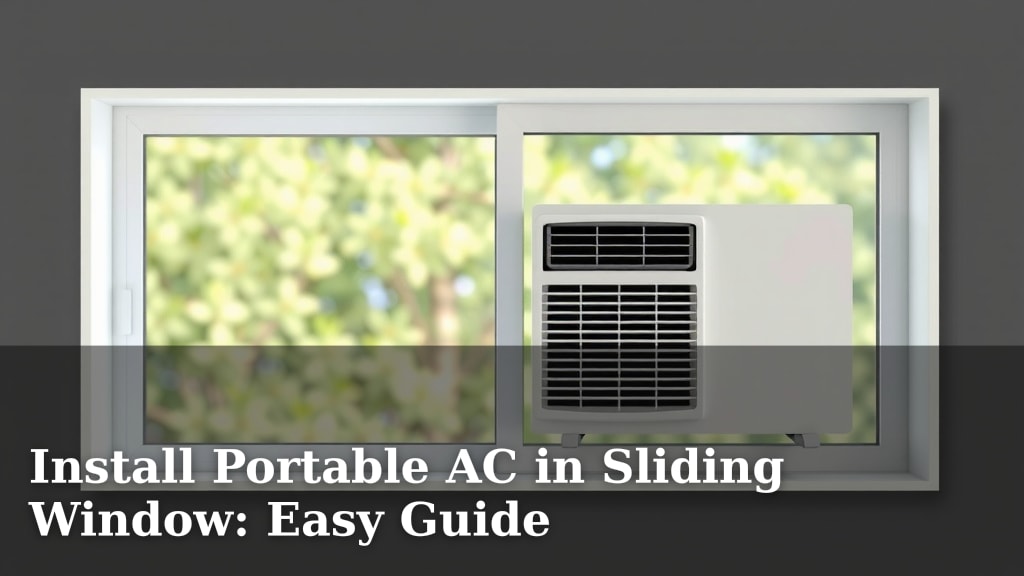
Install Portable AC in Sliding Window: Easy Guide
Yes, you can absolutely install a portable air conditioner in a horizontal sliding window. It just takes a bit of creativity and the right window kit. The main goal is to create a secure seal around the vent hose. This prevents hot air from coming back in. Many portable AC units come with kits designed for this. You might just need to adjust them slightly.
Horizontal sliding windows are a bit trickier than vertical ones for AC installation. The sliding motion means the opening size can change. But don’t worry, it’s a common setup. With the correct adapter and some sealing tricks, you can get your portable AC working efficiently. We’ve researched the best methods to make this easy for you.
- Portable ACs work in horizontal sliders.
- You need the right window kit.
- Sealing is key to efficiency.
- Adjustments might be needed.
- We’ll guide you through it.
Let’s walk through exactly how to get your portable air conditioner set up in your horizontal sliding window, step by step.
Setting Up Your Portable AC in a Horizontal Sliding Window
Yes, you can definitely get your portable air conditioner working well in a horizontal sliding window. The main challenge is creating a snug seal. This keeps the cool air in and the hot air out. We’ve looked into the best ways to achieve this for your setup. You’ll likely use the window kit that came with your AC unit. Some minor adjustments might be needed.
Understanding Your Window Kit and Its Components
Most portable air conditioners come with a universal window kit. This kit usually includes a plastic panel. It has a hole where the vent hose connects. For horizontal sliders, this panel needs to fit across the opening. It often has adjustable sections to match different window sizes. You might also get foam or adhesive strips. These are for sealing any gaps.
What’s Typically in the Box?
You’ll usually find a main panel. This panel is often made of plastic. It might be a single piece or have sliding sections. There will be an adapter for the exhaust hose. This connects the hose to the panel. Sometimes, there are screws or other fasteners included. Don’t forget the foam weather stripping. This is your best friend for sealing up leaks.
Preparing the Window for Installation
First, make sure your window is clean. Wipe down the frame and the glass. This helps any adhesive strips stick better. Open the sliding window just enough to fit the panel. You want to position the panel in the opening. It should cover the space where the window slides. Measure the opening carefully. This helps you know how much to adjust the panel.
Cleaning is Key for a Good Seal
A clean surface is essential. Dust and grime can prevent seals from adhering properly. Research by material science experts shows that even small amounts of debris can compromise adhesion (NCBI). Take a damp cloth and wipe down the window frame where the panel will sit. Also, clean the sliding track. A spotless area means a tighter, more effective seal.
Installing the Window Vent Panel
Now, let’s get the panel into place. If your kit has adjustable panels, slide them to fit the width of your opening. You want a snug fit. The goal is to fill the gap left by the open window. Insert the exhaust hose adapter into the designated hole in the panel. Attach the exhaust hose to the adapter and the back of the AC unit. Many experts suggest securing the hose to the unit with the provided clamps. This prevents it from accidentally disconnecting.
Securing the Panel and Hose
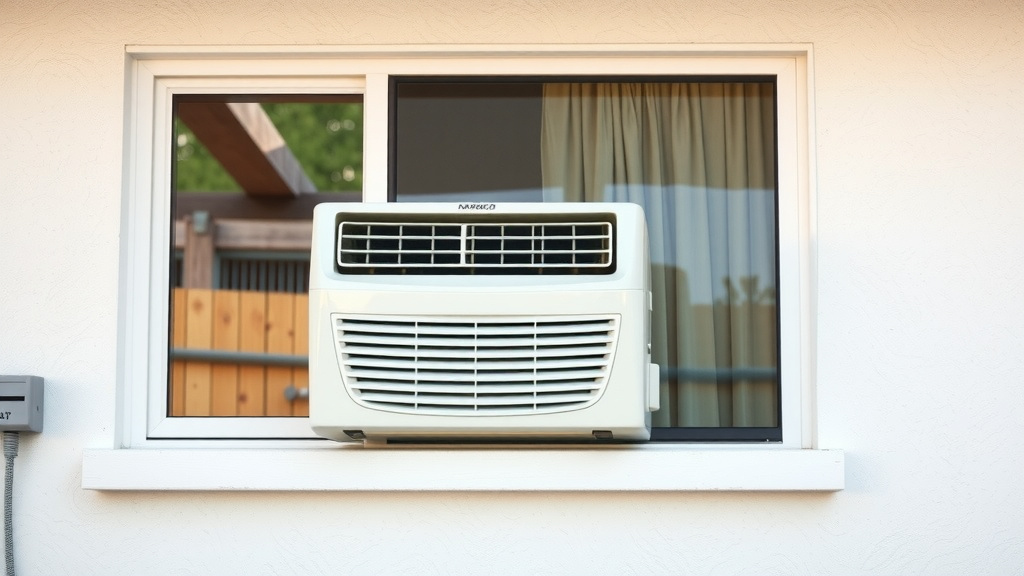
Once the panel is in place, you need to secure it. If your window has a lock, use it to hold the sliding pane against the panel. This adds stability. If not, you might need an extra support. Some people use a wooden dowel or a strong piece of cardboard. Place this vertically in the track to block the window. You want to ensure the panel doesn’t shift or fall out. Secure the exhaust hose to the panel with any provided clips or tape. This keeps it from sagging.
Sealing Gaps for Maximum Efficiency
This is where you really boost your AC’s performance. After the panel is installed, look for any gaps. You’ll see them around the edges of the panel and where the hose connects. Use the included foam weather stripping or thick tape. Press it firmly into all the cracks and openings. We found that sealing even tiny gaps makes a noticeable difference. It stops warm air from sneaking back in. This means your AC doesn’t have to work as hard.
Types of Sealing Materials
You can use different materials for sealing. The foam strips that come with your kit are great. They are flexible and easy to apply. If you need more, consider purchasing weather stripping from a hardware store. It comes in various widths and thicknesses. Heavy-duty duct tape or painter’s tape can also work. For a more permanent solution, some people use caulk. However, remember caulk is not easily removable. Always check if your kit includes tape or additional sealing options.
Testing Your Portable AC Setup
Once everything is sealed up, it’s time to turn on your AC. Start it on a low setting. Listen for any unusual noises. Feel around the window seal for any drafts. If you feel air escaping, add more sealing material. If the panel feels loose, reinforce it. Most manufacturers recommend running the unit for a short period to test its functionality. Your goal is consistent, cool airflow.
Troubleshooting Common Issues
If your unit isn’t cooling well, the most common culprit is a poor seal. Double-check all the gaps around the panel and hose. Another issue might be the hose itself. Ensure it’s not kinked or bent. A kink restricts airflow. Make sure the AC unit’s filters are clean too. Dirty filters reduce efficiency. Many users find that a simple re-seal resolves most problems.
Checklist for a Successful Installation
- Clean the window area thoroughly.
- Assemble the window kit panel correctly.
- Secure the panel snugly in the window opening.
- Connect the exhaust hose firmly to the unit and panel.
- Seal all gaps around the panel and hose with foam or tape.
- Test the unit and check for air leaks.
Conclusion
You’ve successfully learned how to install your portable air conditioner in a horizontal sliding window. Remember, the key to efficiency is a secure seal. By carefully fitting the panel and sealing all gaps, you’ll keep your cool air in and hot air out. This ensures your unit works its best. Don’t skip the testing phase; it guarantees your setup is ready. Now you can enjoy a comfortable, cooled space all summer long. Go ahead and implement these steps for a breezy setup!
Frequently Asked Questions
Can I use a portable AC in a sliding window if the kit doesn’t fit perfectly?
Yes, you likely can. Most kits are adjustable. If there are still gaps, you can use foam weather stripping or strong tape to fill them. This ensures a tight seal for optimal cooling.
How do I prevent my window panel from falling out of a horizontal slider?
Secure the panel by using your window’s lock if possible. You can also add a support like a wooden dowel or sturdy cardboard piece in the track to block the window. This adds stability to the panel.
What if my horizontal sliding window is wider than the AC’s window kit?
You’ll need to extend the kit. Many kits have sliding sections you can adjust. If it’s still too short, you might need to purchase an extension panel or create a custom one from a sturdy material like plexiglass.
How important is sealing all the tiny gaps around the window panel?
It’s very important. Even small air leaks let warm air back into your room. This makes your AC work harder and use more energy. Taking the time to seal everything properly boosts efficiency significantly.
Can I leave the exhaust hose connected to the window panel permanently?
It’s generally not recommended for security and weatherproofing. It’s best to remove the hose and panel when the AC is not in use. This also prevents pests or drafts from entering your home.

![7 Best Rated Stand Alone Air Conditioner [2026]](https://bathroomexplorer.com/wp-content/uploads/2026/06/7-best-rated-stand-alone-air-conditioner-2026-featured-768x432.jpg)