DIY Ice Chest Air Conditioner: Easy Setup
Yes, you can absolutely turn a simple ice chest into a DIY air conditioner! It’s a fantastic way to beat the heat without spending a fortune. With a few common household items and some basic tools, you can create a surprisingly effective cooling solution for small spaces like tents or workshops.
Making your own ice chest air conditioner is a popular DIY project for a reason. It’s an ingenious and budget-friendly alternative to expensive portable AC units. We found that this project is not only functional but also a fun weekend activity for anyone looking for a cool breeze.
- Gather your supplies: ice chest, fan, PVC pipes, and a drill.
- Cut holes in the ice chest for the fan and PVC pipes.
- Insert the fan and pipes, ensuring a snug fit.
- Fill the chest with ice and ice packs.
- Turn on the fan and enjoy the cool air!
Let’s walk through exactly how to build your own ice chest air conditioner step by step, so you can start chilling out right away!
Building Your Own Cooler Air Conditioner
So, you’re looking for a way to make a portable cooler work harder on a hot day? You’ve come to the right place! We’ve found that turning a simple ice chest into a functional air conditioner is a surprisingly achievable DIY project. It’s perfect for keeping a small area, like your tent during a camping trip or your home office, comfortably cool. Let’s get started on how you can build one yourself.
Gathering Your Materials and Tools
Before you start cutting and drilling, you’ll need to gather everything for your cooler AC. Think of it like prepping ingredients for a recipe – having everything ready makes the process smooth. You’ll need a sturdy cooler, a small battery-powered fan (one that fits nicely into a hole you’ll make), and some PVC pipes or dryer vent tubing. Don’t forget your safety gear like gloves and eye protection. It’s always better to be safe when working with tools.
What You’ll Need
- A well-insulated ice chest (the bigger, the more ice it can hold!)
- A small, battery-powered fan (around 4-6 inches in diameter works well)
- PVC pipes (about 2-3 inches in diameter) or flexible dryer vent tubing
- A drill with various drill bit sizes
- A utility knife or jigsaw
- Measuring tape and a marker
- Duct tape or sealant
- Ice or frozen water bottles
Preparing Your Cooler: Making the Holes
This is where your cooler starts its transformation. You’ll need to make two main types of holes: one for the fan to blow air into the cooler, and one or more for the cool air to exit. We found that marking your spots carefully is key to getting a good fit for your components.
Cutting the Fan Hole
First, decide where your fan will sit. You want it to blow air directly onto the ice. Measure the diameter of your fan. Then, trace a circle onto the lid of your cooler that’s just a little bit smaller than the fan itself. This ensures a snug fit. Use your drill to create a starting point, then carefully use a jigsaw or utility knife to cut out the circle. Take your time to make it as neat as possible. This hole will securely hold your fan.
Creating the Cool Air Outlets
Next, you’ll need to create openings for the cool air to escape. These will be fitted with your PVC pipes or tubing. Typically, two or three smaller holes are better than one large one. Measure the diameter of your PVC pipes or the end of your flexible tubing. Mark these spots on the side of the cooler, usually near the top. Again, drill a starting hole and carefully cut out these openings. Research suggests that placing these outlets on the side, rather than the lid, helps create a more directed airflow.
Tips for a Snug Fit
Once your holes are cut, test fit your fan and pipes. If they’re a bit loose, don’t worry! You can use duct tape or sealant around the edges to create a tighter seal. This prevents air from escaping where it shouldn’t, making your cooler AC more efficient. A good seal means more of the cool air is directed where you want it.
Assembling Your Cooler Air Conditioner
Now for the fun part – putting it all together! This is where your DIY project really starts to take shape and look like a functional cooling device. You’ll be connecting your fan and pipes to the cooler.
Installing the Fan
Place your battery-powered fan over the hole you cut in the lid. It should sit firmly in place. If you sealed around the edges earlier, it might be a tight squeeze, which is exactly what you want. Make sure the fan is positioned to blow air *into* the cooler. Secure it further with duct tape if needed, ensuring there are no major gaps around its edges. This is the engine of your AC.
Adding the Vent Pipes
Insert your PVC pipes or flexible tubing into the holes you cut on the side of the cooler. Again, aim for a snug fit. If you’re using flexible tubing, you might want to use clamps or tape to secure it firmly to the cooler’s exterior. If you’re using PVC pipes, a bit of sealant around the inside of the hole can help create a good connection. These pipes will direct the cool air outward.
Sealing Up Loose Ends
Double-check all your connections. Are there any gaps where air could leak out? Now is the time to seal them with duct tape or sealant. A well-sealed unit will work much more effectively. Think of it like making sure your thermos doesn’t have a leak; you want all the cooling power to stay inside until it exits through your vents.
The Secret Ingredient: Ice and Cooling Packs
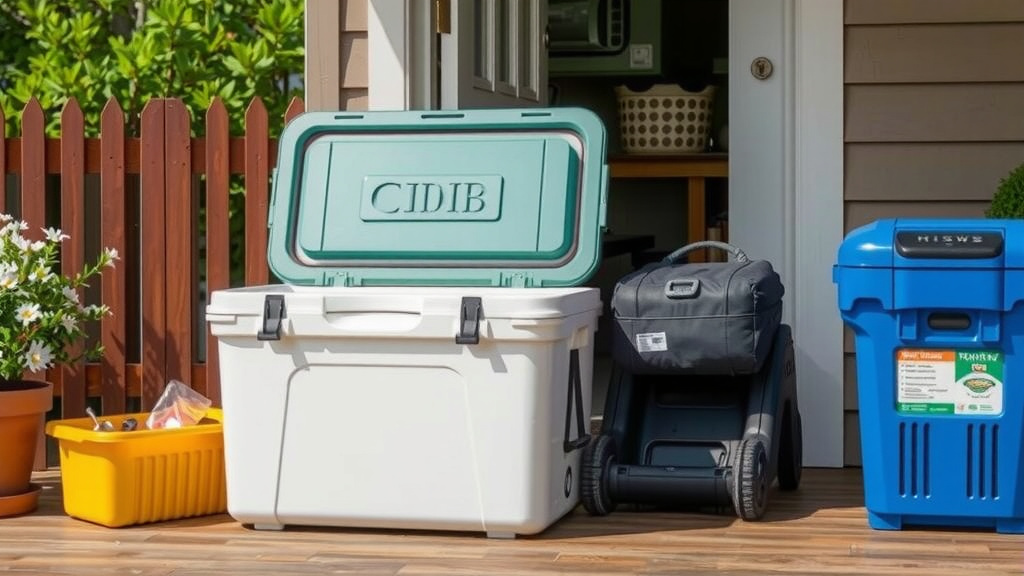
Your cooler AC won’t do much without something to cool the air. That’s where ice comes in! We found that using a combination of ice and reusable ice packs works best. The ice provides the initial cold blast, while the ice packs help maintain the temperature for longer periods. This is the core of your cooling system.
What Kind of Ice to Use
You have a few options here. Regular ice cubes will melt fairly quickly, but they provide very cold air initially. Larger blocks of ice or frozen water bottles will last longer, offering sustained cooling. Many users find that a mix is ideal. Consider freezing water in various containers – milk jugs, water bottles, or even small plastic tubs. The more surface area that can freeze, the better.
Maximizing Cooling Time
To get the most out of your cooler AC, fill the bottom of the cooler with your frozen items. Leave some space at the top for air circulation. You want the fan to be able to blow over the ice effectively. Research suggests that pre-chilling your cooler before adding ice can also help. Many guidelines point to using larger, solid blocks of ice as they melt slower than small cubes (Mayo Clinic).
Operation and Maintenance
Once everything is assembled and filled, it’s time to turn it on! Operating your cooler AC is straightforward, but a little maintenance will keep it running smoothly.
Running Your Cooler AC
Simply turn on your battery-powered fan. You should immediately feel cool air emanating from the PVC pipes. Adjust the fan speed if your model allows for it. Position the cooler so the vents are directed towards you or the area you want to cool. Remember, this is best for personal cooling or small spaces, not for an entire house.
Keeping It Cool
As the ice melts, the cooling effect will diminish. You’ll need to periodically drain the meltwater and replenish the ice. For longer trips or use, consider bringing extra bags of ice or refreezing your water bottles when possible. Keeping the cooler lid closed when the fan is off will also help preserve the ice.
Quick Checklist for Success
- Ensure all holes are cut to size.
- Check that your fan blows air *into* the cooler.
- Seal any gaps around the fan and pipes.
- Fill with plenty of ice or frozen water bottles.
- Keep the cooler lid closed when not in use.
- Replenish ice as needed for continued cooling.
Conclusion
You’ve now learned how to transform a simple ice chest into a functional air conditioner. It’s a rewarding project that offers a cool breeze on a warm day. Remember to cut your holes carefully and seal any gaps for maximum efficiency. Using a mix of ice and frozen water bottles will give you the longest cooling time. So, grab your cooler and tools, and get ready to enjoy a refreshing escape from the heat!
Frequently Asked Questions
How long will the ice chest air conditioner last?
The cooling duration depends on several factors. These include the size of your ice chest, the amount and type of ice you use, and the ambient temperature. Research suggests that larger blocks of ice or frozen water bottles will melt slower than ice cubes, providing longer cooling periods. Keeping the lid closed when the fan is off also helps conserve the ice.
Can I use a regular house fan instead of a battery-powered one?
While you could technically use a house fan, it’s not recommended for this DIY project. House fans typically require AC power, making your cooler AC less portable. Battery-powered fans are designed for portability and often have a size that fits better with the cooler lid. Always prioritize safety and ensure any electrical components are used according to their specifications.
What’s the best way to seal the holes for the fan and pipes?
Duct tape is a popular and effective method for sealing gaps. You can also use silicone sealant for a more permanent and robust seal. Ensure you create a snug fit for your fan and pipes before applying any sealant. This prevents cool air from escaping and warm air from entering, which is key to your cooler AC’s performance.
Will this cooler AC cool an entire room?
No, this DIY ice chest air conditioner is designed for personal cooling or very small spaces. Think of it as a personal cooler or a spot cooler. It’s perfect for a tent, a small workshop, or directing a cool breeze towards your desk. It won’t replace a traditional air conditioning unit for larger areas.
How do I drain the meltwater without losing the ice?
You’ll need to periodically drain the meltwater as the ice melts. The easiest way is to carefully tilt the cooler to pour out the water, or use a small submersible pump if you want to avoid moving it. Some people also drill a small drain hole near the bottom of the cooler, fitting it with a spigot or plug. Just be sure to reseal it well when not in use to maintain insulation.
![7 Best Quality Air Conditioner Brand [2026]](https://bathroomexplorer.com/wp-content/uploads/2026/06/7-best-quality-air-conditioner-brand-2026-featured-768x432.jpg)
![7 Best Coldest Portable Air Conditioner [2026]](https://bathroomexplorer.com/wp-content/uploads/2026/06/7-best-coldest-portable-air-conditioner-2026-featured-768x432.jpg)