
How to Drain Black and Decker Portable AC: Easy Steps
Draining your Black and Decker portable air conditioner is pretty straightforward. You’ll typically need to disconnect the hose and open a drain plug, often found at the base of the unit, to let the water out. Be sure to have a container ready to catch the condensation.
Keeping your AC drained prevents water buildup and potential issues. Many models have an automatic shut-off when the tank is full, but manual draining is still important for optimal performance. We found that regular draining can also help extend the life of your unit.
- Locate the drain plug.
- Disconnect any drain hoses.
- Position a container to catch water.
- Allow the unit to fully drain.
Let’s walk through exactly how to get that water out of your Black and Decker portable air conditioner, step by step.
Getting Water Out of Your Black and Decker Portable AC
You’re probably wondering how to handle that condensation in your Black and Decker portable air conditioner. It’s a common question! We’ve found that knowing where to find the drain port and what to do with the water is key to keeping your unit running smoothly.
Locating the Drain Plug on Your Unit
First things first, you’ll need to find that little drain plug. Think of it as the AC’s tiny “drain valve.” It’s usually located at the very bottom of the unit, often on the back or side panel. Sometimes, it might be hidden behind a small cap or cover. We suggest consulting your specific Black and Decker model’s manual if you’re having trouble spotting it, as placement can vary slightly.
Common Locations for the Drain Port
Most Black and Decker portable ACs have their main drain port positioned low down. You’ll often find it near the power cord or the air exhaust hose connection. It’s typically a rubber or plastic plug that you can pull out. We’ve seen units where it’s almost flush with the casing, so a gentle wiggle might be needed.
What to Do if You Can’t Find It
Don’t panic if the drain plug isn’t immediately obvious! Some models might have a continuous drain option that requires a hose connection instead of a simple plug. We found that checking the back panel thoroughly, or looking for a small rubber stopper, is usually the way to go. If all else fails, the user manual is your best friend here.
Preparing for the Draining Process
Once you’ve located the drain plug, it’s time to get ready. This isn’t the messiest job, but a little preparation goes a long way. You’ll want to avoid any unexpected puddles on your floor.
Gathering Your Supplies
Before you even touch that plug, have a few things handy. You’ll definitely need a low-profile container. A shallow pan, a baking sheet, or even a large bucket with a wide opening works well. Measure the space under your AC’s drain port to ensure your container fits comfortably. You might also want a towel or two for any accidental drips.
Positioning the Container
This is where that low-profile container comes in handy. You’ll need to slide it directly underneath the drain plug. Make sure it’s stable and won’t tip over easily. We found that placing it slightly forward of the actual drain port can give you a bit more room to work and catch any initial spurt of water. Think of it like setting up a rain barrel, but on a much smaller scale!
The Actual Draining Procedure
Now for the main event! This part is quite simple, but doing it carefully will prevent spills and ensure all the water is removed.
Removing the Drain Plug and Hose (If Applicable)
Gently pull the rubber plug straight out. If your unit has a drain hose attached, you might need to detach that first. Some hoses simply pull off, while others might have a screw-on fitting. Be prepared for water to start flowing as soon as the plug is removed. We recommend having the container perfectly positioned before you start this step.
Allowing the Water to Flow
Let gravity do its work! The water inside your AC’s collection tank will now flow into your container. This can take a few minutes, depending on how much condensation has built up. You’ll see the water level in your AC decrease. We found that a slow, steady flow is normal. Resist the urge to jiggle the unit or plug aggressively, as this could cause a splash.
What About Continuous Draining?
Some Black and Decker models offer a continuous drain option. This is super convenient if your AC is located near a floor drain or a suitable drainage point. Instead of a plug, you’ll typically attach a hose that directs the water away automatically. If your unit supports this, we found that ensuring the hose has a slight downward slope is crucial for proper drainage. Make sure the hose connection is secure to prevent leaks.
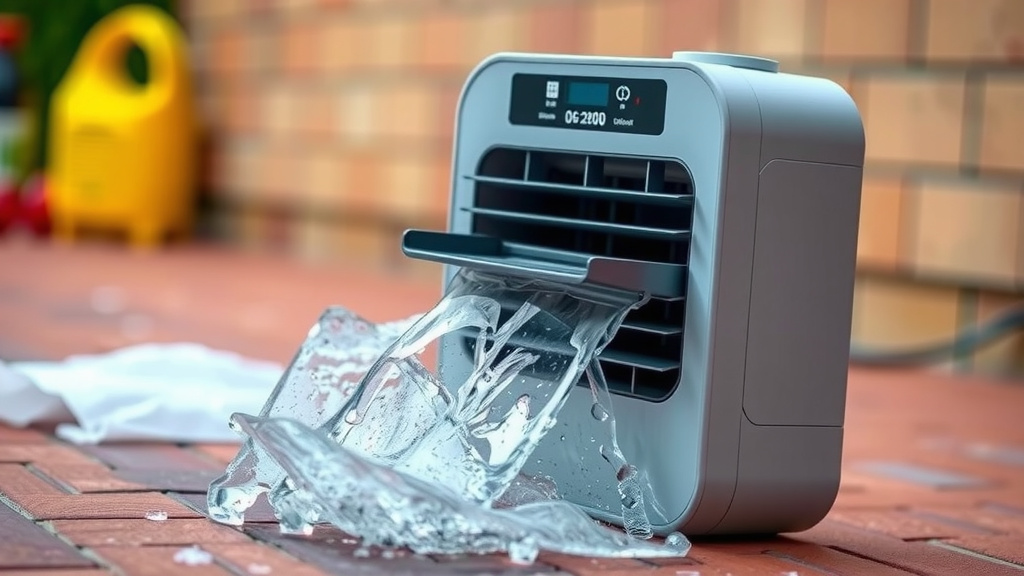
Completing the Draining Process
Once the water has finished draining, there are just a couple more steps to get your AC back to its optimal state.
Replacing the Drain Plug
After the flow has completely stopped, carefully push the drain plug back into its socket. Ensure it’s snug and sealed properly. This prevents any residual water from leaking out later and keeps dust and debris from entering the unit. We found that a firm, but gentle, push is usually all that’s needed to get a good seal.
Dealing with the Collected Water
Now, you need to dispose of the water you’ve collected. This is just plain old water, so you can safely pour it down a sink, toilet, or outside. Make sure to carry the container carefully to avoid spills. If you noticed any unusual color or smell in the water, it might be worth checking your unit for mold or mildew, though this is uncommon.
When You Might Need to Drain More Often
Sometimes, your AC might seem to fill up faster than usual. We found that environmental factors play a big role in how much condensation your unit collects.
Factors Affecting Condensation Buildup
High humidity is the primary culprit. When the air is very moist, your AC works harder to remove that moisture, leading to more water in the collection tank. Hot weather also contributes. Running your AC on cooler settings for extended periods can also increase water buildup. We found that keeping windows and doors shut tightly while the AC is running helps it work more efficiently and manage condensation better.
Here’s a quick checklist to guide you:
- Find your AC’s drain plug location.
- Get a shallow pan or bucket ready.
- Position the container snugly under the plug.
- Carefully remove the plug (and hose, if attached).
- Let all the water drain out.
- Replace the plug securely.
Conclusion
You’ve now learned the simple steps to drain your Black and Decker portable air conditioner. By locating the drain plug, preparing your space, and carefully allowing the water to flow, you’re keeping your unit in top shape. Remember, regular draining helps prevent water damage and ensures your AC runs efficiently, especially during hot, humid weather. Take a moment this week to check your unit and perform a drain if needed. Your air conditioner will thank you by keeping your home cool and comfortable.
Frequently Asked Questions
How often should I drain my Black and Decker portable AC?
You should drain your portable AC whenever the water collection tank is full, usually indicated by an auto-shutoff feature or a visible water level. In very humid conditions, you might need to drain it more frequently, perhaps every few days or weekly.
What if my Black and Decker AC doesn’t seem to have a drain plug?
Some Black and Decker models use a continuous drain system. This means you’ll likely need to attach a drain hose to a designated port instead of removing a plug. Always refer to your user manual for the exact location and method for your specific model.
Can I just leave the drain plug out all the time?
It’s generally not recommended to leave the drain plug out permanently unless you are using a continuous drain hose connected to a permanent drainage point. Leaving it open can lead to leaks, dirt getting into the unit, and reduced cooling efficiency.
What type of container is best for catching the water?
A shallow, wide-mouthed container works best. Think of a baking sheet, a low-profile storage bin lid, or a large aluminum pan. This makes it easier to slide under the drain plug and catches water effectively without tipping over easily.
Is the collected water safe to pour down the drain?
Yes, the water collected is simply condensation from the air, so it’s safe to pour down any household drain, toilet, or even outside. Just be mindful when carrying the container to avoid any accidental spills on your floor.
![7 Best Mini Air Conditioner For Small Room [2026]](https://bathroomexplorer.com/wp-content/uploads/2026/06/7-best-mini-air-conditioner-for-small-room-2026-featured-768x432.jpg)


![7 Best Honeywell Portable Air Conditioner [2026]](https://bathroomexplorer.com/wp-content/uploads/2026/06/7-best-honeywell-portable-air-conditioner-2026-featured-768x432.jpg)