Mount Dryer on Washer: A Step-by-Step Guide
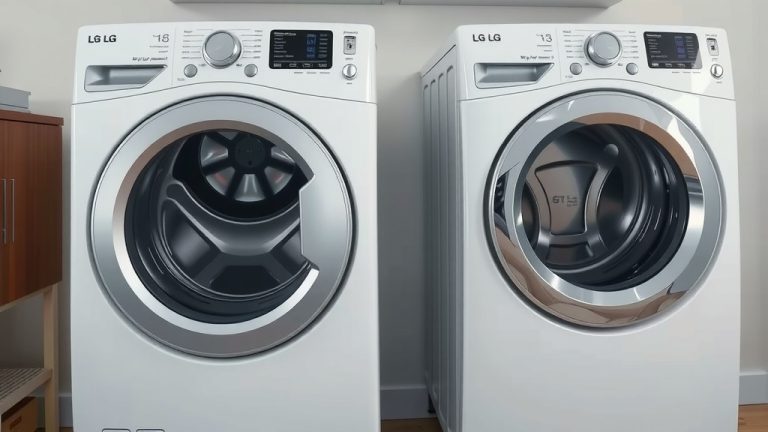
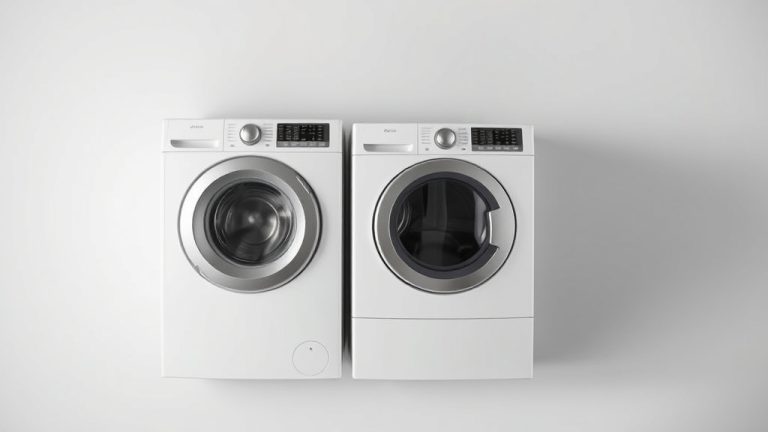
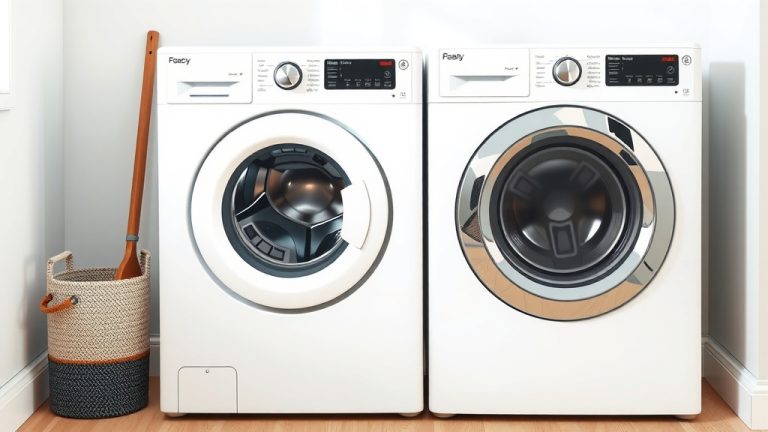
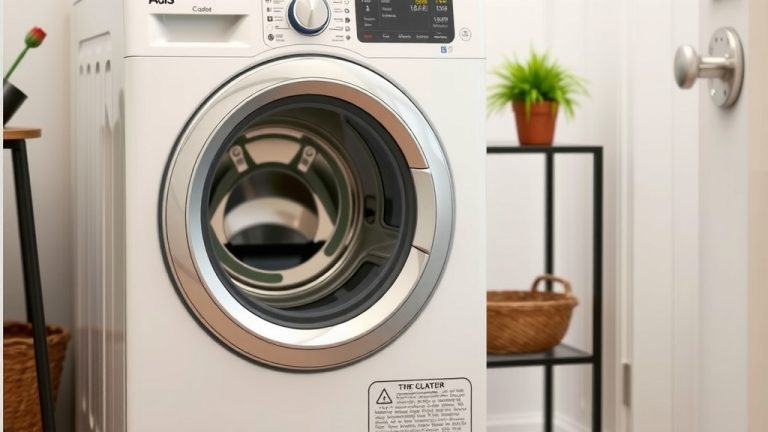
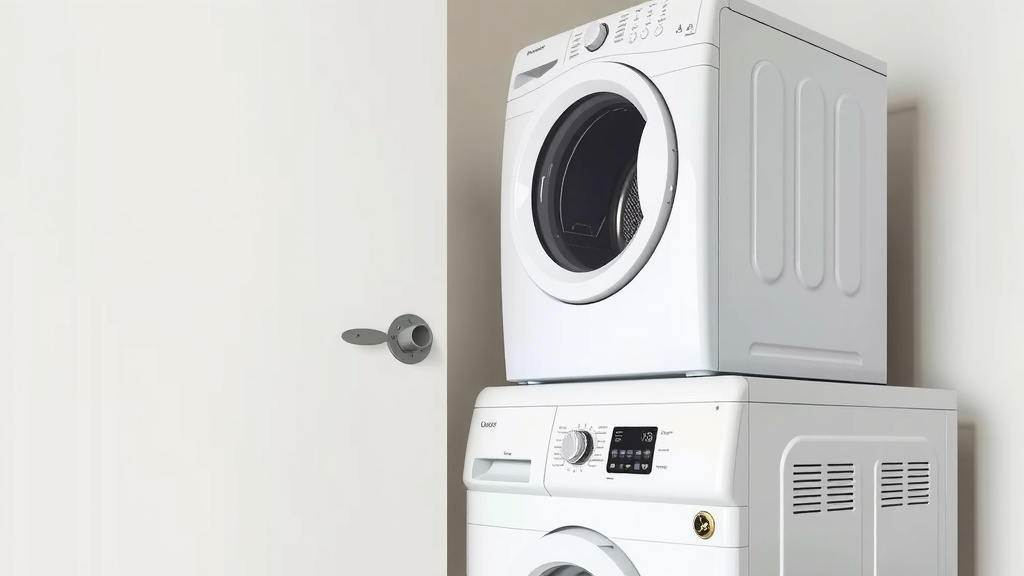
Yes, you can absolutely mount a dryer on top of a washing machine, but it requires a sturdy stacking kit and careful installation. This is a popular space-saving solution for many homes. Properly securing the two appliances together is essential for safety and stability.
This setup is a fantastic way to maximize laundry room efficiency. Before you start, it’s important to confirm your specific washer and dryer models are compatible for stacking. We found that using the manufacturer’s recommended kit is always the safest bet.
- Confirm model compatibility for stacking.
- Purchase a secure stacking kit.
- Ensure the washer can support the dryer’s weight.
- Follow installation instructions precisely.
Let’s walk through exactly how to mount your dryer on top of your washing machine, step by step.
You’ve got a great idea to stack your dryer on top of your washer. It’s a smart move for saving space. But how do you actually do it safely? Let’s get this done right.
Getting Your Washer and Dryer Stacked Safely
Mounting a dryer on top of a washing machine is a common method. It helps make small laundry rooms feel much bigger. We’ve found that the key to a successful and safe stack is using the right tools and following the steps carefully. Your washer needs to be strong enough to hold the dryer. It also needs to be leveled properly.
Confirming Your Appliances Are Ready to Stack
First things first, not all washers and dryers are designed to be stacked. You need to check your appliance manuals. They will tell you if your specific models are stackable. Many front-loading washers are built to support a dryer. However, top-loading washers usually are not. Trying to stack on a top-loader is a recipe for disaster. We found that the manufacturer’s instructions are the most reliable source for this information.
Also, consider the weight. Your washing machine must be able to handle the added weight of the dryer. Plus, it needs to withstand the vibration during spin cycles. Most front-load washers are robust enough. But it’s always best to double-check.
Choosing the Right Stacking Kit
A stacking kit is not optional; it’s essential. This kit securely fastens the dryer to the washer. It prevents the dryer from shifting or falling off. Many appliance manufacturers sell their own kits designed for their specific models. We found that using the manufacturer’s recommended kit is the safest option. These kits are tested to work perfectly with your appliances.
When buying a kit, make sure it matches both your washer and dryer models. Sometimes, the kits look similar, but there are slight differences. A universal kit might seem like a good idea, but it may not offer the same level of security. It’s worth the extra effort to get the exact kit recommended.
What’s in a Stacking Kit?
Typically, a stacking kit includes straps, brackets, and screws. These components work together to create a solid connection. Some kits have a built-in shelf, which can be handy for folding clothes. We found that the installation process is usually straightforward. But reading the kit’s instructions is always a good idea.
Preparing Your Workspace and Appliances
Before you even think about lifting, you need to prepare. Clear the area around your washer. You’ll need space to move the dryer. Make sure the floor is clean and dry. You don’t want any slippery surprises.
Safety First: Disconnect Power. This is non-negotiable. Unplug both the washing machine and the dryer from the electrical outlets. If you have gas dryers, turn off the gas supply valve. We found that many accidents happen when people skip this simple step.
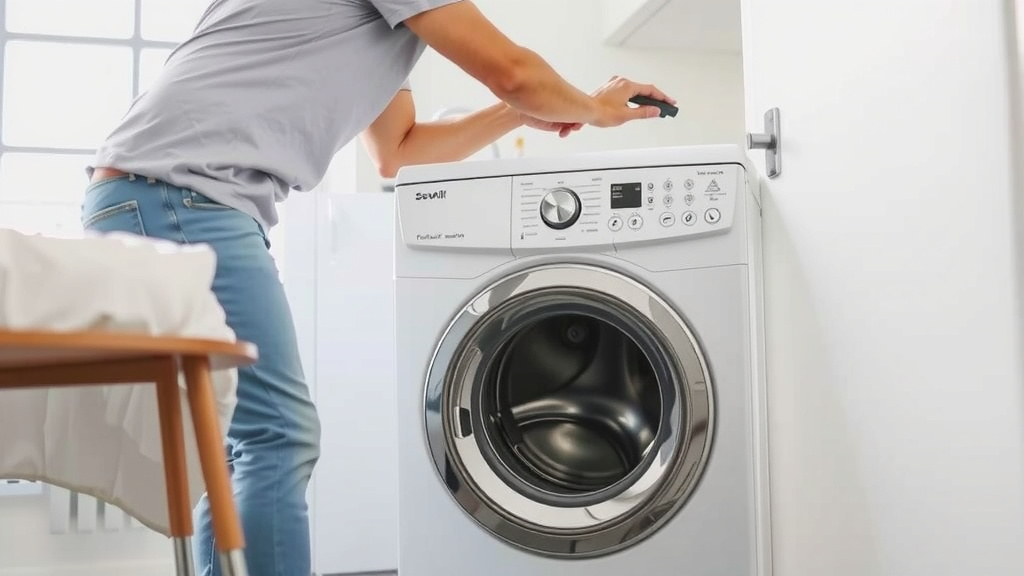
Leveling the Washer. Your washing machine must be perfectly level. If it’s not, the entire stack will be unstable. Use a spirit level on top of the washer. Adjust the machine’s feet until it’s dead level in all directions. A wobbly washer is a huge problem.
The Stacking Process: Step-by-Step
Now that everything is prepped, let’s get stacking. This part requires a bit of strength or an extra pair of hands. Remember, safety is key here.
Moving the Dryer into Position
Carefully move the dryer next to the washing machine. You might need a dolly or a furniture slider to help. Be gentle, you don’t want to scratch your floors or the appliances. If you have a helper, now is the time to use them!
Position the dryer so it’s facing the same direction as the washer. Make sure the back of the dryer is close to the back of the washer. You’ll need access to hook up the vent hose and power cord later. We found that having about 6 inches of space behind the washer is usually enough.
Attaching the Stacking Kit
This is where the stacking kit comes into play. Follow the specific instructions that came with your kit. Generally, you’ll attach brackets to the back of the washer or dryer. Then, you’ll use straps to secure them together.
One common method involves sliding brackets under the feet of the dryer. Then, you secure these brackets to the top of the washer. Another method uses straps that wrap around both appliances. We found that ensuring the straps or brackets are snug is vital. They should not be loose.
Connecting the Vent Hose. Before you lift the dryer, connect its vent hose to the back of the dryer. Then, connect the other end to the wall vent outlet. Make sure this hose isn’t kinked or crushed. A kinked hose reduces airflow and can be a fire hazard. Many experts say a flexible metal vent hose is better than a plastic one for safety and efficiency (Consumer Product Safety Commission).
Lifting and Securing the Dryer
This is the most physically demanding part. You’ll need at least two people. One person should be on each side of the dryer. Lift with your legs, not your back! Gently place the dryer onto the top of the washing machine.
As you place it, make sure the dryer’s feet align with the designated spots on the washer or the stacking kit’s platform. Once it’s in place, you’ll finish securing it according to your kit’s instructions. This might involve tightening straps or screwing brackets into place. We found that it’s important to push the dryer back gently until it’s flush with the washer’s back, if the kit allows.
Final Checks and Connections
Once the dryer is securely on top, double-check everything. Are the straps tight? Are the brackets firmly attached? Give the dryer a gentle push and pull to ensure it’s stable. It should feel solid, not wobbly.
Now, you can reconnect the power. Plug in both the washer and the dryer. If you have a gas dryer, turn the gas supply valve back on. Check for any gas leaks.
Testing the Stack. Run a short cycle on your washing machine. Then, run a short cycle on your dryer. Listen for any unusual noises or vibrations. Watch to see if the stack remains stable. We found that a little bit of normal vibration is okay. But excessive shaking means something isn’t right.
Here’s a quick checklist to ensure you’ve covered all the bases:
- Washer and dryer models confirmed as stackable?
- Manufacturer’s stacking kit purchased and ready?
- Washer is perfectly level before starting?
- Power and gas (if applicable) disconnected?
- Stacking kit installed according to its instructions?
- Dryer is stable and secure on top of the washer?
Conclusion
You’ve successfully learned how to securely stack your dryer on your washing machine! This space-saving setup is achievable with the right preparation and tools. Remember, confirming your appliance compatibility and using a manufacturer-recommended stacking kit are non-negotiable steps for safety. Always disconnect power before you start, ensure your washer is perfectly level, and get an extra pair of hands for lifting.
Take a moment to review your work, double-check all connections, and run a quick test cycle. You’ve made a smart upgrade to your laundry space. Now enjoy your more efficient and organized laundry room!
Frequently Asked Questions
Can I use a universal stacking kit instead of a manufacturer’s kit?
While universal kits exist, we found that using the manufacturer’s recommended stacking kit is always the safest approach. These kits are specifically tested for your appliance models, ensuring a secure and stable fit. Universal kits may not offer the same level of guaranteed compatibility.
What if my washing machine is slightly wobbly before I stack the dryer?
A wobbly washing machine is a major red flag. Before you even think about stacking, you must level the washer perfectly using its adjustable feet and a spirit level. Any instability in the base will be amplified with the added weight and vibration of the dryer.
How much space do I need behind the stacked units?
Generally, aim for about 6 inches of space behind the washer and dryer stack. This clearance is usually sufficient for connecting the vent hose and the power cords. It also allows for better airflow, which is important for both appliance efficiency and safety.
Is it safe to connect my dryer vent hose before lifting the dryer?
Yes, it is highly recommended! Connecting the dryer’s vent hose to both the appliance and the wall outlet before lifting the dryer makes the process much easier. Just be careful not to kink or crush the hose during installation, as this can impede airflow and pose a fire hazard.
What should I do if the stacked unit feels unstable after installation?
If you notice any excessive shaking or instability during the test cycle, stop immediately. First, re-check that all stacking kit components are securely tightened and that the dryer is properly seated. If the issue persists, you may need to re-level the washing machine or consult your appliance manuals or a professional.