How to Carbonate Water at Home Easily: A Complete Guide for Beginners
Have you ever wondered why that fizzy water tastes so refreshing compared to still water? There’s something magical about the gentle bubbles that dance across your tongue, creating a tingling sensation that seems to wake up your taste buds. The good news is that you don’t need to keep buying expensive bottled carbonated water or fancy seltzer from the store anymore. Creating your own carbonated water at home is easier than you might think, and I’m here to walk you through every step of the process.
In this comprehensive guide, I’ll show you multiple methods to carbonate water right in your kitchen, explain the equipment you’ll need, discuss the cost savings involved, and address common questions people have about this simple yet satisfying process. Whether you’re an environmental enthusiast looking to reduce plastic waste or simply someone who enjoys bubbly beverages, learning how to carbonate water at home is a game-changer.
Understanding Water Carbonation: What You Need to Know
Before we dive into the methods, let’s understand what’s actually happening when water becomes carbonated. Carbonation is the process of infusing carbon dioxide gas into liquid, creating those delightful bubbles you see and feel. When carbon dioxide dissolves in water under pressure, it forms carbonic acid, which gives carbonated water its slightly tangy taste and fizzy sensation.
The interesting thing about carbonation is that it’s completely safe and natural. Many mineral springs and natural water sources contain naturally occurring carbonation. By recreating this process at home, you’re essentially mimicking what nature has been doing for centuries. The carbonation doesn’t add calories, change the water’s nutritional value significantly, or pose any health risks when done properly.
Why People Are Making the Switch to Home Carbonation
The trend of home carbonation is growing rapidly, and there are several compelling reasons why. First, there’s the environmental factor. Producing, transporting, and disposing of plastic bottles creates a massive carbon footprint. By carbonating water at home, you’re significantly reducing your contribution to plastic waste. Second, there’s the cost consideration. Over time, buying carbonated water adds up quickly, whereas home carbonation equipment pays for itself within months.
The Equipment You’ll Need for Home Carbonation
Soda Makers: The Most Popular Option
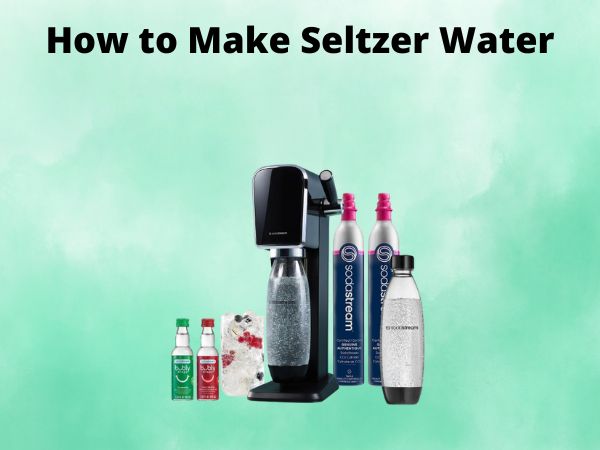
The easiest and most straightforward method for carbonating water at home is using a soda maker. These handy devices come in various styles and brands, with the most well-known being SodaStream. Here’s what you should know about them:
- Soda makers use small CO2 canisters to inject carbon dioxide into water
- They’re compact and fit easily on most kitchen countertops
- Most models are user-friendly and require minimal setup
- They typically come with reusable bottles designed specifically for carbonation
- The process takes just seconds to complete
How Soda Makers Work
Think of a soda maker as a small pump station for your kitchen. You fill the designated bottle with cold water, insert it into the machine, and press a button. The machine releases pressurized CO2 gas into the water, creating those refreshing bubbles. It’s that simple. Most soda makers allow you to control the level of carbonation by pressing the button one, two, or three times for light, medium, or heavy fizz respectively.
CO2 Canisters: The Fuel Behind Carbonation
Soda makers run on CO2 canisters, which are small, pressurized containers filled with food-grade carbon dioxide. When you need a refill, you can typically exchange your empty canister for a full one at various retailers. Most canisters last for several weeks of regular use, making them quite economical.
- Food-grade CO2 is the same gas used in commercial carbonation
- Canisters are small, lightweight, and safe to handle
- Exchange programs make refilling convenient and affordable
- One canister can carbonate approximately 60 liters of water
Step-by-Step Guide to Carbonating Water with a Soda Maker
Preparation: Getting Started Right
The key to achieving perfectly carbonated water is proper preparation. First, make sure you’re using cold water. This is crucial because carbonation works better with cold water than room temperature water. The colder the water, the more efficiently the carbon dioxide dissolves into it. Fill your soda maker bottle with cold, filtered water, leaving a small amount of space at the top—you’re aiming for about three-quarters full.
Next, ensure your soda maker is properly assembled and the CO2 canister is securely inserted. Check the manufacturer’s instructions for your specific model, as some machines have different assembly requirements. Don’t skip this step; a properly assembled machine is essential for safety and optimal performance.
The Carbonation Process: Making It Fizzy
Once you’ve prepared your water and equipment, the actual carbonation is straightforward. Insert the filled bottle into your soda maker by twisting it clockwise until it clicks into place. You’ll hear or feel this connection, which ensures the bottle is securely seated. Now press the carbonation button. You’ll hear a whooshing sound as carbon dioxide is injected into the water.
For your first attempt, press the button once and wait. You’ll see some activity inside the bottle as the gas is introduced. If you prefer more fizz, press again after a brief pause. Most people find that pressing two to three times creates the perfect level of carbonation. The whole process takes only a few seconds, which is why soda makers are so convenient.
After Carbonation: Finishing Touches
Once you’ve achieved your desired level of fizziness, remove the bottle by twisting it counterclockwise. Be gentle with your freshly carbonated water, as vigorous shaking can cause some fizz to escape. Your carbonated water is now ready to drink immediately, or you can refrigerate it if you prefer it even colder. Most people find that carbonated water stays bubbly for several hours when kept sealed and refrigerated.
Alternative Methods for Carbonating Water at Home
Using a CO2 Cartridge System: A More Flexible Approach
If you prefer a different system, CO2 cartridge devices offer an alternative to traditional soda makers. These systems use small 8-gram cartridges rather than larger canisters. They’re often more affordable upfront and work similarly to soda makers but with some distinct advantages and disadvantages.
The advantage of cartridge systems is their initial cost and portability. The disadvantage is that cartridges are more expensive per use over time compared to larger canisters. If you only carbonate water occasionally, cartridges might be practical. However, if you plan to make carbonated water regularly, a standard soda maker with larger canisters is more economical.
DIY Carbonation Methods: The Experimental Route
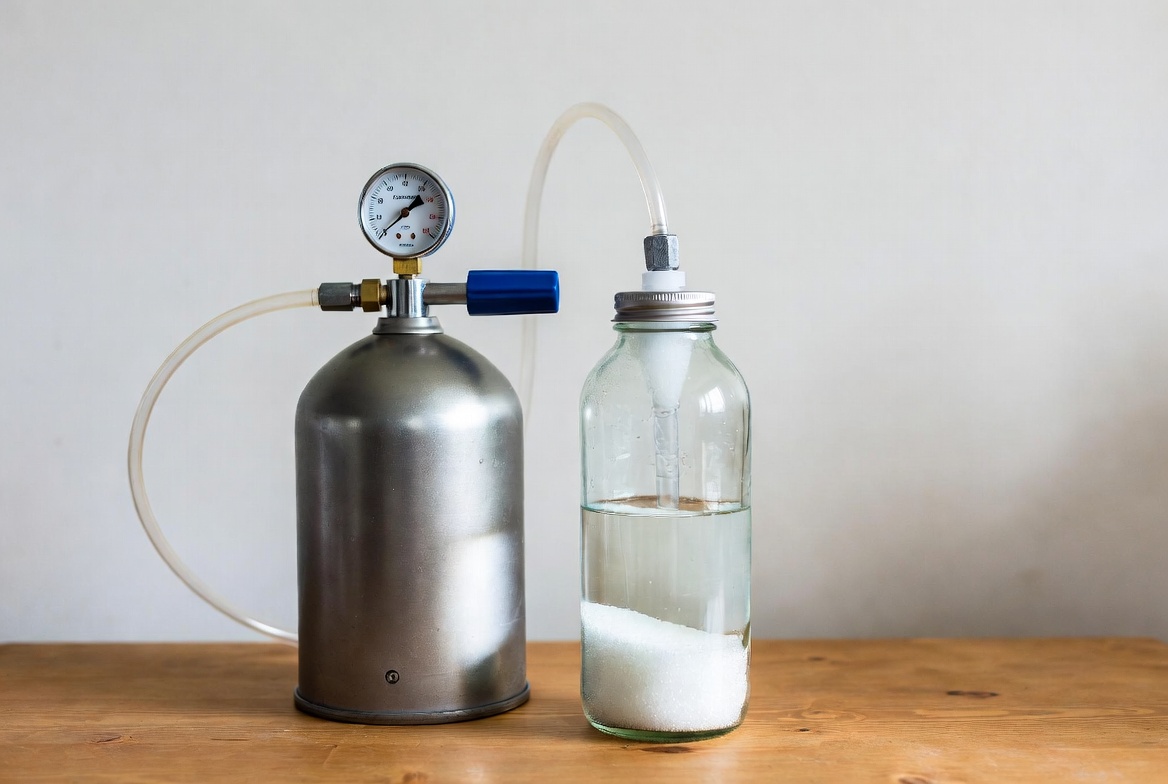
Some people enjoy experimenting with more DIY approaches to carbonation. While these methods are less reliable and more complex than commercial soda makers, they can work in a pinch. One approach involves using dry ice, though this requires extreme caution and isn’t recommended for most people. Another method uses a CO2 regulator system connected to larger tanks, similar to what brewers use, but this is quite elaborate for simply making fizzy water at home.
My honest recommendation? Unless you enjoy tinkering with equipment and have specific reasons to go the DIY route, investing in a proper soda maker is your best bet. The reliability, safety, and ease of use far outweigh any money you might save with improvised methods.
Choosing the Right Soda Maker for Your Needs
Comparing Popular Brands and Models
The market offers several excellent soda maker options, each with unique features. SodaStream remains the most popular brand, with numerous models ranging from basic to advanced. Other brands like Drinkmate and Aarke also offer quality alternatives with different price points and features.
When choosing a soda maker, consider your kitchen space, your carbonation preferences, and your budget. Some machines are compact and modern-looking, perfect for small kitchens, while others are larger but offer additional features like flavor dispensers or temperature control.
Important Features to Look For
- Carbonation level control with multiple settings
- Bottle capacity suitable for your household needs
- Durable construction and reliable performance
- Easy bottle insertion and removal mechanism
- Compatibility with widely available CO2 canisters
- User-friendly design with clear instructions
- Aesthetic appeal that matches your kitchen décor
Cost Analysis: How Much Can You Save?
Breaking Down the Numbers
Let’s talk money, because honestly, this is one of the biggest reasons people switch to home carbonation. If you buy carbonated water regularly, the numbers might surprise you. A typical bottle of store-bought sparkling water costs between $2 and $4. Over a month, if you consume just one bottle per day, you’re spending $60 to $120 on carbonated water alone.
A soda maker typically costs between $80 and $150 initially. A CO2 canister exchange usually costs around $10 to $15 and lasts approximately 60 liters of carbonated water. That breaks down to roughly $0.17 to $0.25 per liter, compared to $0.50 to $1.33 per liter for store-bought options.
Do the math with your own consumption habits. Many people find their investment pays for itself within three to six months. After that, every glass of carbonated water costs just a few cents to produce.
Environmental Benefits Beyond Cost
While financial savings are important, the environmental impact is equally significant. By choosing home carbonation, you’re eliminating the plastic waste from dozens of bottles each month. You’re also reducing transportation emissions since water doesn’t need to be shipped from distant bottling plants to your local store. When you consider the full lifecycle impact, the environmental benefit is substantial.
Tips and Tricks for Perfect Carbonation Every Time
Temperature Matters: Cold Water Is Your Friend
I cannot stress this enough: always use cold water. The colder your water, the better the carbonation. Cold water holds more dissolved gas than warm water, which means you’ll get better results and more consistent fizz. Many experienced users keep their water bottles in the refrigerator specifically for this reason. Some even pre-chill their soda maker bottles before carbonating.
Mastering Your Machine’s Sounds and Signals
Each soda maker has its own personality. Once you’ve used yours a few times, you’ll learn to recognize the sounds that indicate proper carbonation. Some machines make a distinct hissing sound, while others produce rapid clicking noises. Pay attention to these cues as they’ll help you determine when optimal carbonation has been achieved.
Storage and Maintenance Best Practices
- Store your machine in a cool, dry place away from direct sunlight
- Keep your bottles clean by rinsing them regularly
- Check the CO2 canister connection periodically for leaks
- Never expose your machine to extreme temperatures
- Follow manufacturer guidelines for specific maintenance requirements
- Keep carbonated water bottles sealed when not in use
- Replace bottles if you notice cracks or damage
Flavoring Your Homemade Carbonated Water
Adding Natural Flavors: Endless Possibilities
One of the fun aspects of making your own carbonated water is experimenting with flavors. You can add fresh lemon or lime juice for a classic twist, or get creative with other possibilities. Some people enjoy adding a splash of cranberry juice, a few berries, or even fresh mint leaves. The key is adding flavoring after carbonation, as sugary or pulpy liquids can affect your soda maker’s performance.
Here are some flavor combinations people absolutely love:
- Lemon and ginger for a spicy kick
- Raspberry and lime for a tropical feel
- Orange and vanilla for a classic taste
- Cucumber and basil for a refreshing garden-inspired drink
- Strawberry and balsamic for sophistication
Important Caution About Soda Maker Bottles
Here’s something crucial: never put anything other than water into your soda maker before carbonation. Juice, flavored drinks, milk, or any other liquid can damage your machine and void your warranty. Always start with plain water, carbonate it, then add flavoring afterwards. Your soda maker will thank you, and you’ll avoid expensive repairs.
Troubleshooting Common Carbonation Problems
Why Your Water Isn’t Getting Fizzy
If you’re pressing the button but not getting satisfactory carbonation, several issues could be at play. First, check that your CO2 canister isn’t empty. If it’s been a while since your last refill or exchange, the canister might be depleted. Second, make sure your water is cold enough. Room temperature water often results in disappointing fizz levels. Third, verify that your bottle is properly seated in the machine. If it’s not correctly inserted, the gas won’t be effectively delivered.
Dealing with Leaks and Gas Escapes
Occasionally, you might notice gas escaping or small leaks. This usually indicates an improper bottle connection or a worn seal. Make sure you’re twisting the bottle clockwise until you hear a clear click. If the problem persists, inspect the rubber gasket on your bottle for signs of wear and tear. These are typically inexpensive to replace and prevent future leaking.
When Your Machine Stops Working
If your soda maker suddenly stops functioning, don’t panic. The most common cause is an empty CO2 canister. Exchange it for a full one and try again. If that doesn’t solve the problem, check that all connections are secure and the bottle is properly inserted. For persistent issues, consult your machine’s manual or contact customer support.
Safety Considerations When Carbonating Water at Home
Handling CO2 Canisters Safely
While CO2 canisters are generally safe when used as intended, it’s important to handle them with respect. Never puncture or tamper with a canister, as the pressurized contents can be dangerous. Store canisters in a cool, upright position away from heat sources. Don’t expose them to extreme temperatures or rough handling. If you notice any damage to a canister, don’t use it—exchange it for a new one.
Using Your Soda Maker Correctly
Always follow the manufacturer’s instructions for your specific machine. Don’t overpress the carbonation button excessively, as this can create too much pressure. Modern soda makers have safety features to prevent over-pressurization, but there’s no reason to test them. Use food-grade water or filtered water, and never carbonate anything other than water in the machine itself.
Maintaining Your Machine for Longevity
A well-maintained soda maker can last for many years. Clean your bottles regularly with warm soapy water and allow them to dry completely. Wipe down your machine’s exterior periodically to keep it looking like new. Store it in a stable position where it won’t be jostled around. Check the rubber seals and gaskets occasionally, replacing them if they become hard or cr