How to Drain RV Water Heater Without Mess: A Complete Guide for RV Owners
Introduction to RV Water Heater Maintenance
Let me be honest with you—maintaining your RV’s water heater isn’t the most glamorous part of RV ownership. In fact, most people skip right over it and hope everything keeps working smoothly. But here’s the thing: neglecting this simple maintenance task can lead to serious problems down the road. Think of your RV water heater like the heart of your home on wheels. Just as your body needs regular check-ups, your water heater needs periodic attention to function at its best.
Draining your RV water heater is one of those tasks that seems intimidating at first, but once you understand the process, you’ll realize it’s actually quite straightforward. Whether you’re a seasoned RV traveler or someone who just picked up their first motorhome, this guide will walk you through everything you need to know.
Why Draining Your RV Water Heater Matters
Have you ever wondered why water sometimes comes out looking a bit cloudy or rusty? That’s often sediment buildup inside your water heater tank. Over time, minerals and debris accumulate at the bottom of the tank, reducing efficiency and potentially damaging the heating element. Regular draining prevents this buildup and keeps your system running like a well-oiled machine.
Beyond just efficiency, draining your water heater is crucial for several reasons:
- Prevents corrosion and rust inside the tank
- Maintains water quality and taste
- Extends the lifespan of your water heater
- Ensures optimal heating performance
- Prepares your RV for seasonal storage
Think of draining as preventive medicine for your RV. It’s much cheaper to drain your water heater twice a year than to replace the entire unit because of internal corrosion.
Types of RV Water Heaters and Their Differences
Tankless Water Heaters
Modern RVs often come equipped with tankless water heaters, which heat water on demand rather than storing it in a tank. These systems are more compact and energy-efficient, but they require slightly different maintenance approaches compared to traditional tank heaters. The good news? Tankless systems don’t need draining in the traditional sense, but they do require periodic flushing.
Traditional Tank-Style Water Heaters
If you’re driving an older RV or have a traditional setup, you likely have a tank-style water heater. These units store water in an insulated tank and maintain its temperature. This is the type we’ll focus on in this guide, as it requires the actual draining process.
Combination Systems
Some RVs use hybrid systems that combine both tank and tankless technology. If you’re unsure which type you have, check your owner’s manual or look inside your water heater compartment to identify the specific model and type you’re working with.
Tools and Materials You’ll Need
Before you even think about touching your water heater, gather your supplies. Having everything ready prevents frustration and ensures the job goes smoothly. Here’s what you’ll want to have on hand:
- Adjustable wrench or socket set
- Flathead and Phillips screwdrivers
- Bucket or large container (at least five gallons)
- Garden hose or drain pan
- Teflon tape for resealing connections
- Rag or towels for cleanup
- Flashlight or headlamp for visibility
- Work gloves to protect your hands
- Safety glasses for eye protection
- Plumber’s putty or sealant if needed
Don’t skip the safety equipment. Even though this is a relatively simple task, protecting yourself is always worth the extra effort.
Safety Precautions Before You Start
Turn Off Power and Gas
This is absolutely critical. Whether your water heater runs on electricity or propane, you need to switch it off completely before you begin. Water heaters maintain their temperature through active heating elements. If you drain hot water without turning off the heater, you could damage the element or create a safety hazard.
Locate the breaker switch for your electrical water heater or the propane valve for a gas heater. Turn it off and wait at least 30 minutes for the water to cool down. I know patience isn’t always fun, but hot water can cause serious burns.
Allow the Water to Cool
Even after turning off the heater, the water inside remains hot for quite some time. Let it cool down gradually. This cooling period serves two purposes: it prevents burns and it also makes the draining process easier since you won’t be working with scalding water.
Pressurize Release
Most RV water heaters have a pressure relief valve. Open this valve slightly to release any built-up pressure before you begin draining. This prevents water from suddenly spraying out when you open the drain plug.
Step-by-Step Guide to Draining Your Water Heater
Step 1: Locate Your Water Heater
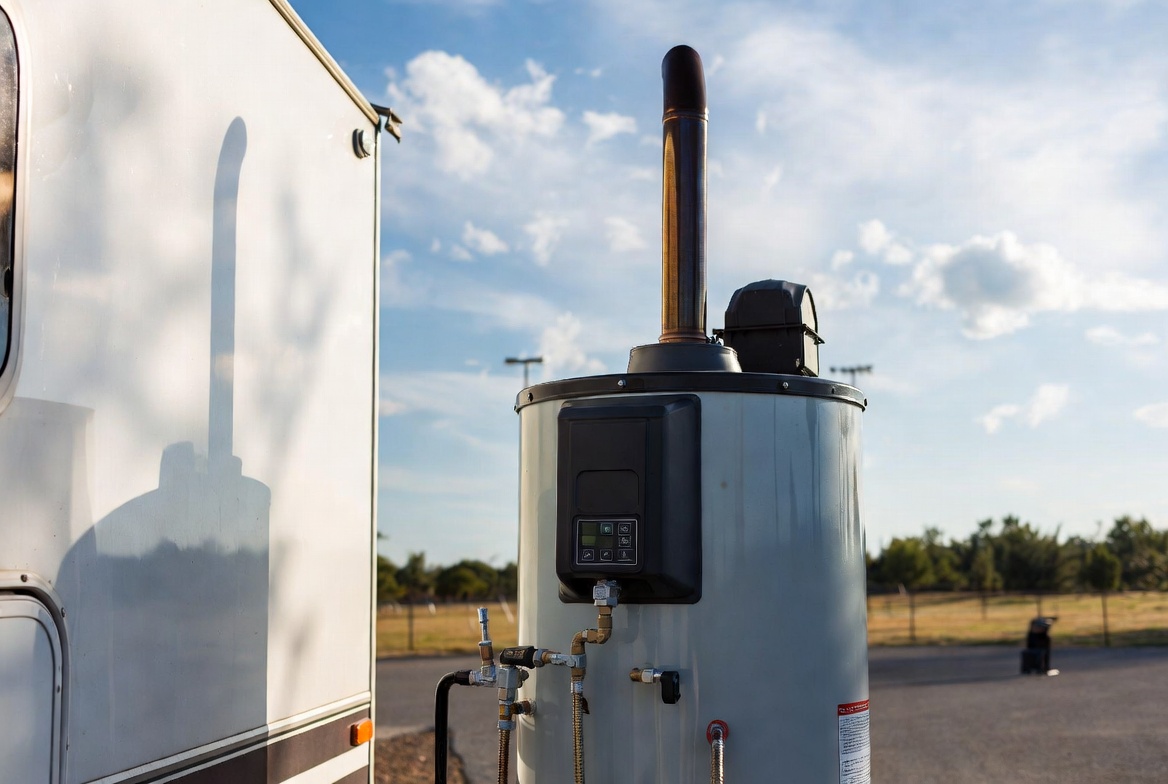
Your RV water heater is typically located outside your living space, usually on the side or back of the unit. Look for a compartment with vents and a door. Inside, you’ll find the water heater tank, which looks like a large cylindrical or rectangular container. Take a moment to familiarize yourself with the location of the drain plug, pressure relief valve, and any electrical or gas connections.
Step 2: Turn Off All Power Sources
Switch off the circuit breaker for your electric water heater or the propane valve for a gas heater. Double-check that it’s completely off before proceeding. Some RVs have both electric and propane options, so make sure you’ve disabled both if applicable.
Step 3: Let the Water Cool
Wait at least 30 minutes to an hour for the water to cool. During this time, you can prepare your workspace and gather any additional materials you might need. This waiting period is not wasted time—it’s an investment in your safety.
Step 4: Open the Pressure Relief Valve
Find the pressure relief valve on top of your water heater. It usually looks like a small lever or button. Turn or press it gently to release any pressure that’s built up inside the tank. You might hear a slight hiss or see a small amount of water spray out. This is completely normal and indicates that pressure has been released successfully.
Step 5: Position Your Drain Container
Place your bucket or drain pan directly under the drain plug. If you’re outside and have a hose attached, position the hose so it drains away from your RV and any surrounding areas. Water heater sediment isn’t dangerous, but it can stain surfaces.
Step 6: Open the Drain Plug
Using your wrench, carefully loosen the drain plug at the bottom of the water heater tank. Turn it counterclockwise slowly. Water will begin to flow out into your container. If you have a hose attached, open the hose valve and let the water flow through. The process might take 15 to 30 minutes depending on your tank size.
Step 7: Monitor the Drainage
Keep an eye on the water flowing out. Initially, you might notice the water looks cloudy, rusty, or discolored. This is sediment—exactly what you’re trying to remove. As the draining continues, the water should gradually become clearer. Once it runs clear for a minute or two, your tank is empty and relatively clean.
Step 8: Close the Drain Plug
Once the tank has drained completely, close the drain plug by turning it clockwise with your wrench. Make it snug, but don’t overtighten it. Over-tightening can strip the threads and cause leaks later.
Step 9: Refill the Tank
Turn on your RV’s water supply to refill the water heater tank. You’ll know it’s full when water starts flowing from your faucets at normal pressure. This usually takes a few minutes.
Step 10: Restore Power
Switch the power back on—whether that’s the circuit breaker for electric or the propane valve for gas. Your water heater will begin heating the fresh water supply.
Dealing with Stubborn Sediment Buildup
Sometimes, sediment doesn’t drain as easily as you’d like. If the water seems to stop flowing before the tank is completely empty, you might have a significant buildup clogging the drain opening. Here’s what you can do:
The Flushing Method
After you’ve drained as much as possible, leave the drain plug open and connect a hose to the inlet side of the tank. Turn on the water supply and let it flush through the tank, pushing sediment out through the drain. This creates a powerful flow that can dislodge stubborn buildup.
Manual Sediment Removal
If flushing doesn’t work, you might need to be more aggressive. Use a long stick or plumbing snake to carefully probe around the drain opening from inside. This can help break up and dislodge hardened sediment. Be gentle—you don’t want to damage the tank interior.
Chemical Descaling
For heavily mineralized water, consider using a water heater descaling solution designed for RV use. These products break down mineral deposits and make them easier to flush out. Follow the product instructions carefully, as different descalers have different application methods.
Common Mistakes to Avoid
Draining Without Cooling
This is the number one mistake people make. Hot water can cause severe burns. Always wait for the water to cool before you start draining.
Over-Tightening the Drain Plug
When you reinstall the drain plug, make it snug but not overly tight. Over-tightening can damage the threads and create future leaks.
Forgetting to Release Pressure
Skipping the pressure relief step can result in water suddenly spraying out when you open the drain plug. It’s a simple step that prevents a big mess.
Not Checking for Leaks
After you’ve completed the process and refilled the tank, monitor the drain area for leaks over the next few hours. If you notice dripping, the drain plug might need to be tightened slightly more.
Ignoring the Anode Rod
Some RV water heaters have an anode rod that prevents rust. If you notice it’s corroded during your inspection, consider replacing it while you have the tank open.
When to Drain Your Water Heater
Seasonal Draining Schedule
Ideally, you should drain your RV water heater at least twice per year. Many experienced RV owners drain it in the spring after winter storage and again in the fall before storing for the winter season.
Signs Your Water Heater Needs Draining
- Water comes out discolored or cloudy
- Water smells metallic or has a rotten egg odor
- You notice rust spots on fixtures
- The heater is making unusual noises or crackling sounds
- Heating performance has decreased noticeably
Before Extended Storage
If you’re planning to store your RV for more than a month or two, draining the water heater is essential. Stagnant water can develop bacterial growth and mineral accumulation, leading to quality issues when you reopen the system.
Post-Draining Maintenance Tips
After you’ve successfully drained your water heater, there are a few additional steps you can take to maximize its lifespan and performance.
Inspect Connections
While you have the drain plug open, take a moment to inspect all the connections around the water heater. Look for any signs of corrosion, rust, or mineral deposits on the outside. These can indicate that moisture is getting where it shouldn’t be.
Check Your Anode Rod
Many tank-style water heaters have a sacrificial anode rod designed to corrode instead of the tank. If you can access it, inspect its condition. If it’s more than half corroded, consider replacing it. A new anode rod is inexpensive compared to replacing an entire water heater.
Clean the Area
Once you’re finished, clean up any spilled water and sediment. Make sure the exterior of your water heater compartment is dry to prevent rust and corrosion on the external components.
Monitor Initial Operation
After refilling and turning the power back on, run your hot water for a few minutes to ensure the system is working properly. Check that you have adequate hot water pressure and that the water heats up as expected.
Winterization and Water Heater Care
Winter Draining Importance
If you live in a cold climate or plan to store your RV outdoors during winter, draining your water heater is non-negotiable. Frozen water inside the tank can expand and crack the tank, causing expensive damage. In freezing temperatures, any standing water becomes a liability.
Adding Antifreeze
After draining for winter, some RV owners add antifreeze to their water heater system. This extra protection ensures that any residual water won’t freeze. Check your owner’s manual to see if this is recommended for your specific model.
Spring Recommissioning
When you bring your RV back out of winter storage, drain the antifreeze completely, refill with fresh water, and run your hot water system for several minutes before using it for cooking or bathing. This flushes out any residual antifreeze.


