
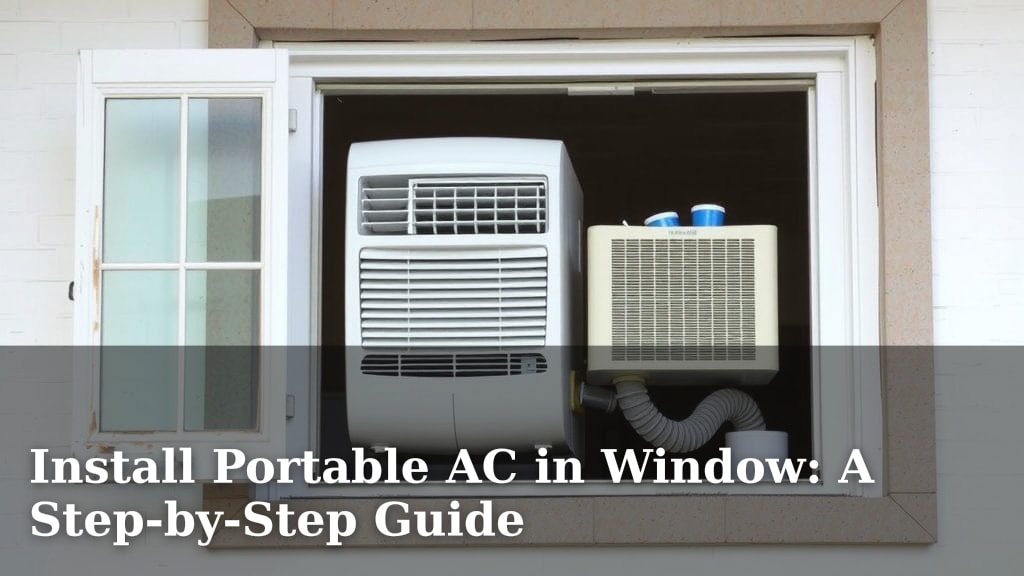
Install Portable AC in Window: A Step-by-Step Guide
Installing a portable air conditioner in a window is a straightforward process. You can set up your AC unit in under an hour with basic tools. This allows you to enjoy **cooler temperatures** without complex installation or permanent changes to your home. It’s a **fantastic temporary cooling solution**.
Portable ACs are designed for ease of use. Most come with window kits that are **adjustable for different window sizes**. You’ll find that setting one up is far simpler than you might expect, making it an accessible way to beat the heat. This guide will help you get your unit **operational quickly and safely**.
- Gather your window kit parts.
- Measure your window opening.
- Secure the window slider to the frame.
- Connect the exhaust hose.
- Seal any gaps around the kit.
Ready to get your portable AC up and running? Let’s walk through exactly how to install it in your window, step by step.
“`htmlSetting Up Your Portable Air Conditioner in a Window
So, you’ve got a portable air conditioner and you’re ready to ditch the sticky heat. Great choice! Installing one in your window is a **smart and simple way** to cool your space without any major fuss. Most models are designed to be user-friendly, meaning you won’t need a toolbox full of specialized gear. Let’s get this done so you can start enjoying that cool breeze.
What You’ll Need Before You Start
Before you dive in, it’s good to gather everything. This makes the process go much smoother. You’ll want to have your portable AC unit and its accompanying window kit ready. This kit typically includes an adjustable window slider panel and an exhaust hose. You might also need a few basic tools, like a screwdriver, and possibly some extra sealing materials, though often the kit has everything. Checking your unit’s manual is always a good first step to see what’s included.
The Window Kit: Your Key Component
The star of the show here is the window kit. These kits are engineered to fit most standard sliding windows, whether they open vertically or horizontally. The main part is the adjustable slider panel. This panel has a hole or opening where the exhaust hose connects. It’s designed to fill the gap in your window frame. Many kits are adjustable, allowing you to extend or shorten them to fit your specific window width or height.
Tools and Extra Materials
While many installations require minimal tools, having a screwdriver on hand is often useful. Some kits might need a few screws to secure them in place. You may also want to have some weather stripping or foam tape. This can help seal up any small gaps that might form around the window kit. These little extras can make a big difference in efficiency. Think of it like adding extra insulation to keep that cool air in and the hot air out.
Preparing Your Window for Installation
Now, let’s get your window ready. The goal is to create a secure and sealed environment for the AC unit. This ensures it works its best and prevents unwanted outside air from creeping in. Taking a moment to prepare makes all the difference.
Measure Twice, Install Once
This is where that old saying really applies! You’ll need to measure the opening of your window. If you have a vertical sliding window, measure the width of the opening when the window is partly open. For horizontal sliding windows, you’ll measure the height of the opening. Most window kits have a range they can adjust to. Knowing your measurements ensures you can set the slider panel correctly. It’s about finding that **perfect fit**.
Cleaning Your Window Area
A clean window area helps the sealing materials stick better. Wipe down the window frame and the sill where the panel will sit. This removes any dust, dirt, or grime. A little bit of effort here goes a long way in making sure your seal is tight and effective. You want to create a barrier that the heat can’t penetrate.
Installing the Window Slider Kit
This is the core of the installation process. The window slider panel will act as a barrier, allowing only the exhaust hose to connect to the outside. Getting this right is key to your AC’s performance.
Positioning the Slider Panel
Place the adjustable slider panel into the open window frame. For vertical windows, it will sit across the opening. For horizontal windows, it will fill the gap vertically. Make sure the panel is snug within the frame. You might need to extend or retract the panel to match your window’s opening. Most panels have a way to lock into place once adjusted.
Securing the Panel
Depending on your kit, you might need to secure the panel. Some kits come with screws that you can use to anchor the panel to the window frame. Others might just rely on the pressure from the window itself. If your kit includes screws, gently drive them in. The aim is to keep the panel from shifting. A secure panel means a stable setup.
Testing the Window Fit
With the panel in place, carefully close the window sash against it. You want the sash to press firmly against the panel, creating a seal. This is crucial. It prevents warm air from leaking back into your room. If there’s a noticeable gap, don’t worry – we’ll address that next.
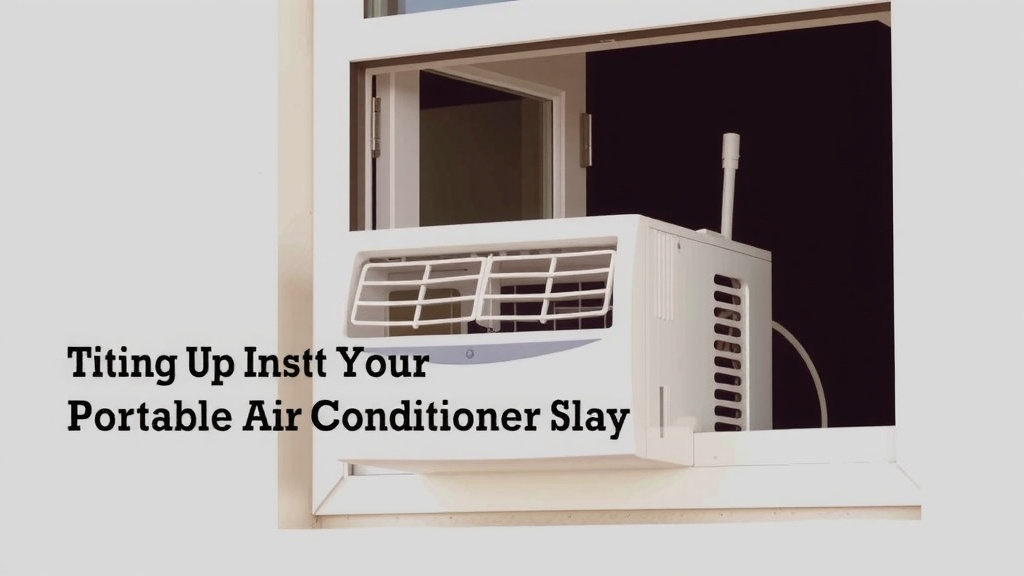
Connecting the Exhaust Hose and Sealing Gaps
The exhaust hose is what carries the hot air from your AC unit outside. Sealing any remaining openings is essential for efficiency.
Attaching the Exhaust Hose
Locate the connection points on both the AC unit and the window slider panel. These are usually threaded or have a quick-connect mechanism. Align the hose and twist or snap it into place. You should hear or feel a click when it’s properly connected. Double-check that both ends are securely attached. This hose gets warm during operation, so a good connection is vital.
Sealing Any Remaining Gaps
Now, inspect the edges of the window kit and where the window sash meets the panel. Are there any small gaps? This is where your extra materials come in handy. Use foam tape or weather stripping to fill these spaces. Press it firmly into place. This extra step ensures that you’re not letting any precious cool air escape or any unwanted heat enter. Think of it as putting a **cozy blanket** around your AC’s window setup.
Final Check of the Setup
Take a step back and look at your installation. Is everything secure? Does the window close firmly against the panel? Is the exhaust hose connected at both ends? A quick review can catch any issues before you turn the unit on. You’ve successfully installed your portable AC’s window kit!
Quick Checklist for Your Portable AC Window Setup
- Gather all your window kit parts and tools.
- Measure your window opening accurately.
- Adjust and position the slider panel correctly.
- Secure the panel in the window frame.
- Connect the exhaust hose firmly at both ends.
- Seal any gaps around the kit for maximum efficiency.
Conclusion
You’ve now learned how to install your portable air conditioner in a window, turning your space into a cool sanctuary. Remember, the key is to properly prepare your window and secure the slider kit. Taking the time to seal any gaps ensures your unit runs efficiently and keeps that hot air out. This simple setup can make a world of difference during those warmer months. Now, go ahead and enjoy your newly cooled room!
Frequently Asked Questions
How do I know if my window is compatible with a portable AC kit?
Most portable AC window kits are designed for standard sliding windows, both vertical and horizontal. Check the adjustable range of your kit against your window’s opening width or height. If your window opens outward or inward, you might need a different type of installation method.
Can I leave the window slightly open behind the AC unit?
No, it’s best to close the window sash firmly against the slider panel. Leaving a gap allows warm air to re-enter your room, significantly reducing the efficiency of your air conditioner. A tight seal is essential for optimal cooling performance.
What if my window is larger or smaller than the standard kit?
If your window opening is outside the adjustable range of your kit, you may need to get creative. Some users adapt the kit by adding pieces of sturdy plastic or plywood, ensuring a secure and sealed fit. Always prioritize a tight seal to prevent air leaks.
Do I need to permanently install anything for the portable AC?
Generally, no. Portable AC window kits are designed for temporary installation. You typically don’t need to drill holes or make permanent alterations to your window frame. The kits usually rely on the pressure of the closed window sash to stay in place.
How often should I clean the exhaust hose?
It’s a good practice to visually inspect the exhaust hose periodically. Ensure there are no kinks or blockages. While the hose itself doesn’t usually require deep cleaning, keeping the connections at both the unit and the window kit clean can help maintain airflow.
![7 Best Dog House Air Conditioner [2026]](https://bathroomexplorer.com/wp-content/uploads/2026/06/7-best-dog-house-air-conditioner-2026-featured-768x432.jpg)


![7 Best Quiet Through The Wall Air Conditioners [2026]](https://bathroomexplorer.com/wp-content/uploads/2026/06/7-best-quiet-through-the-wall-air-conditioners-2026-featured-768x432.jpg)

![7 Best Central Air Conditioner [2026]](https://bathroomexplorer.com/wp-content/uploads/2026/07/7-best-central-air-conditioner-2026-featured-768x432.jpg)